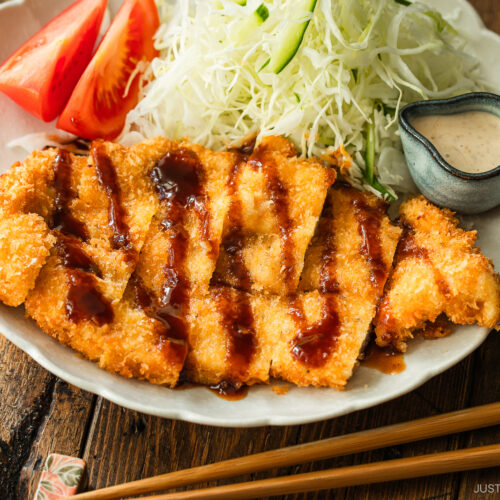
Crispy on the outside, juicy inside—Chicken Katsu is the ultimate comfort food you can whip up on a busy weeknight.
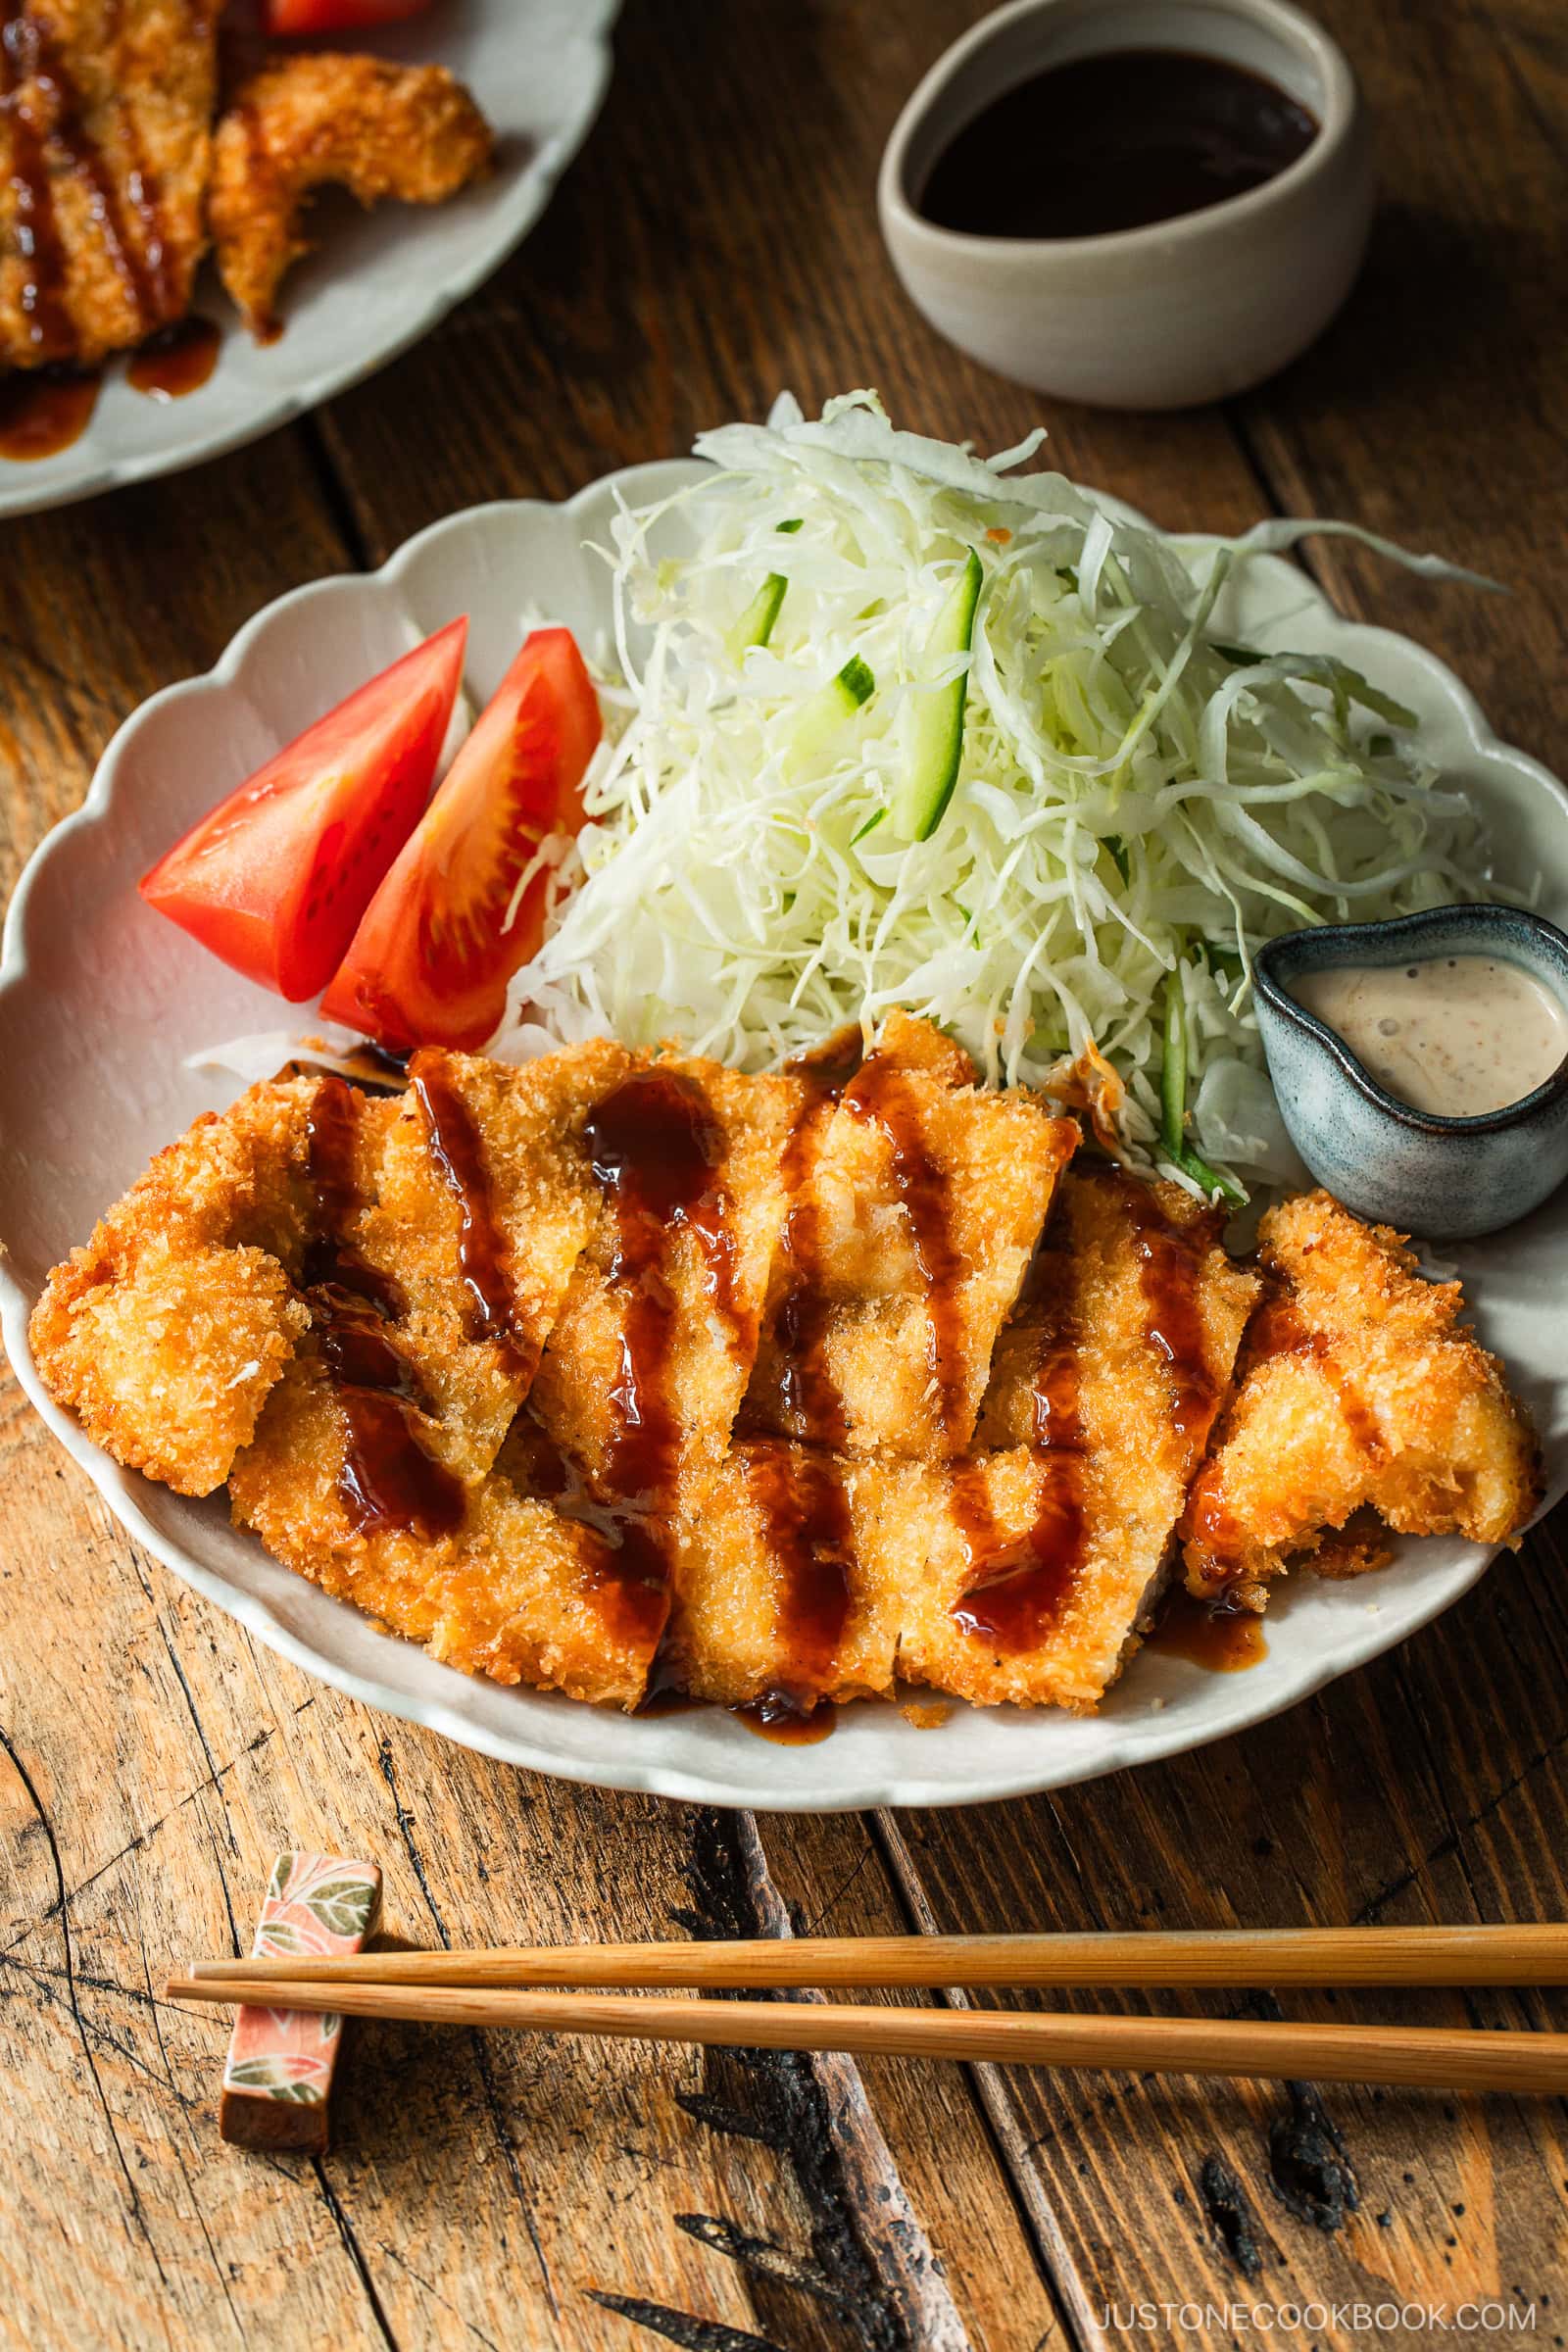
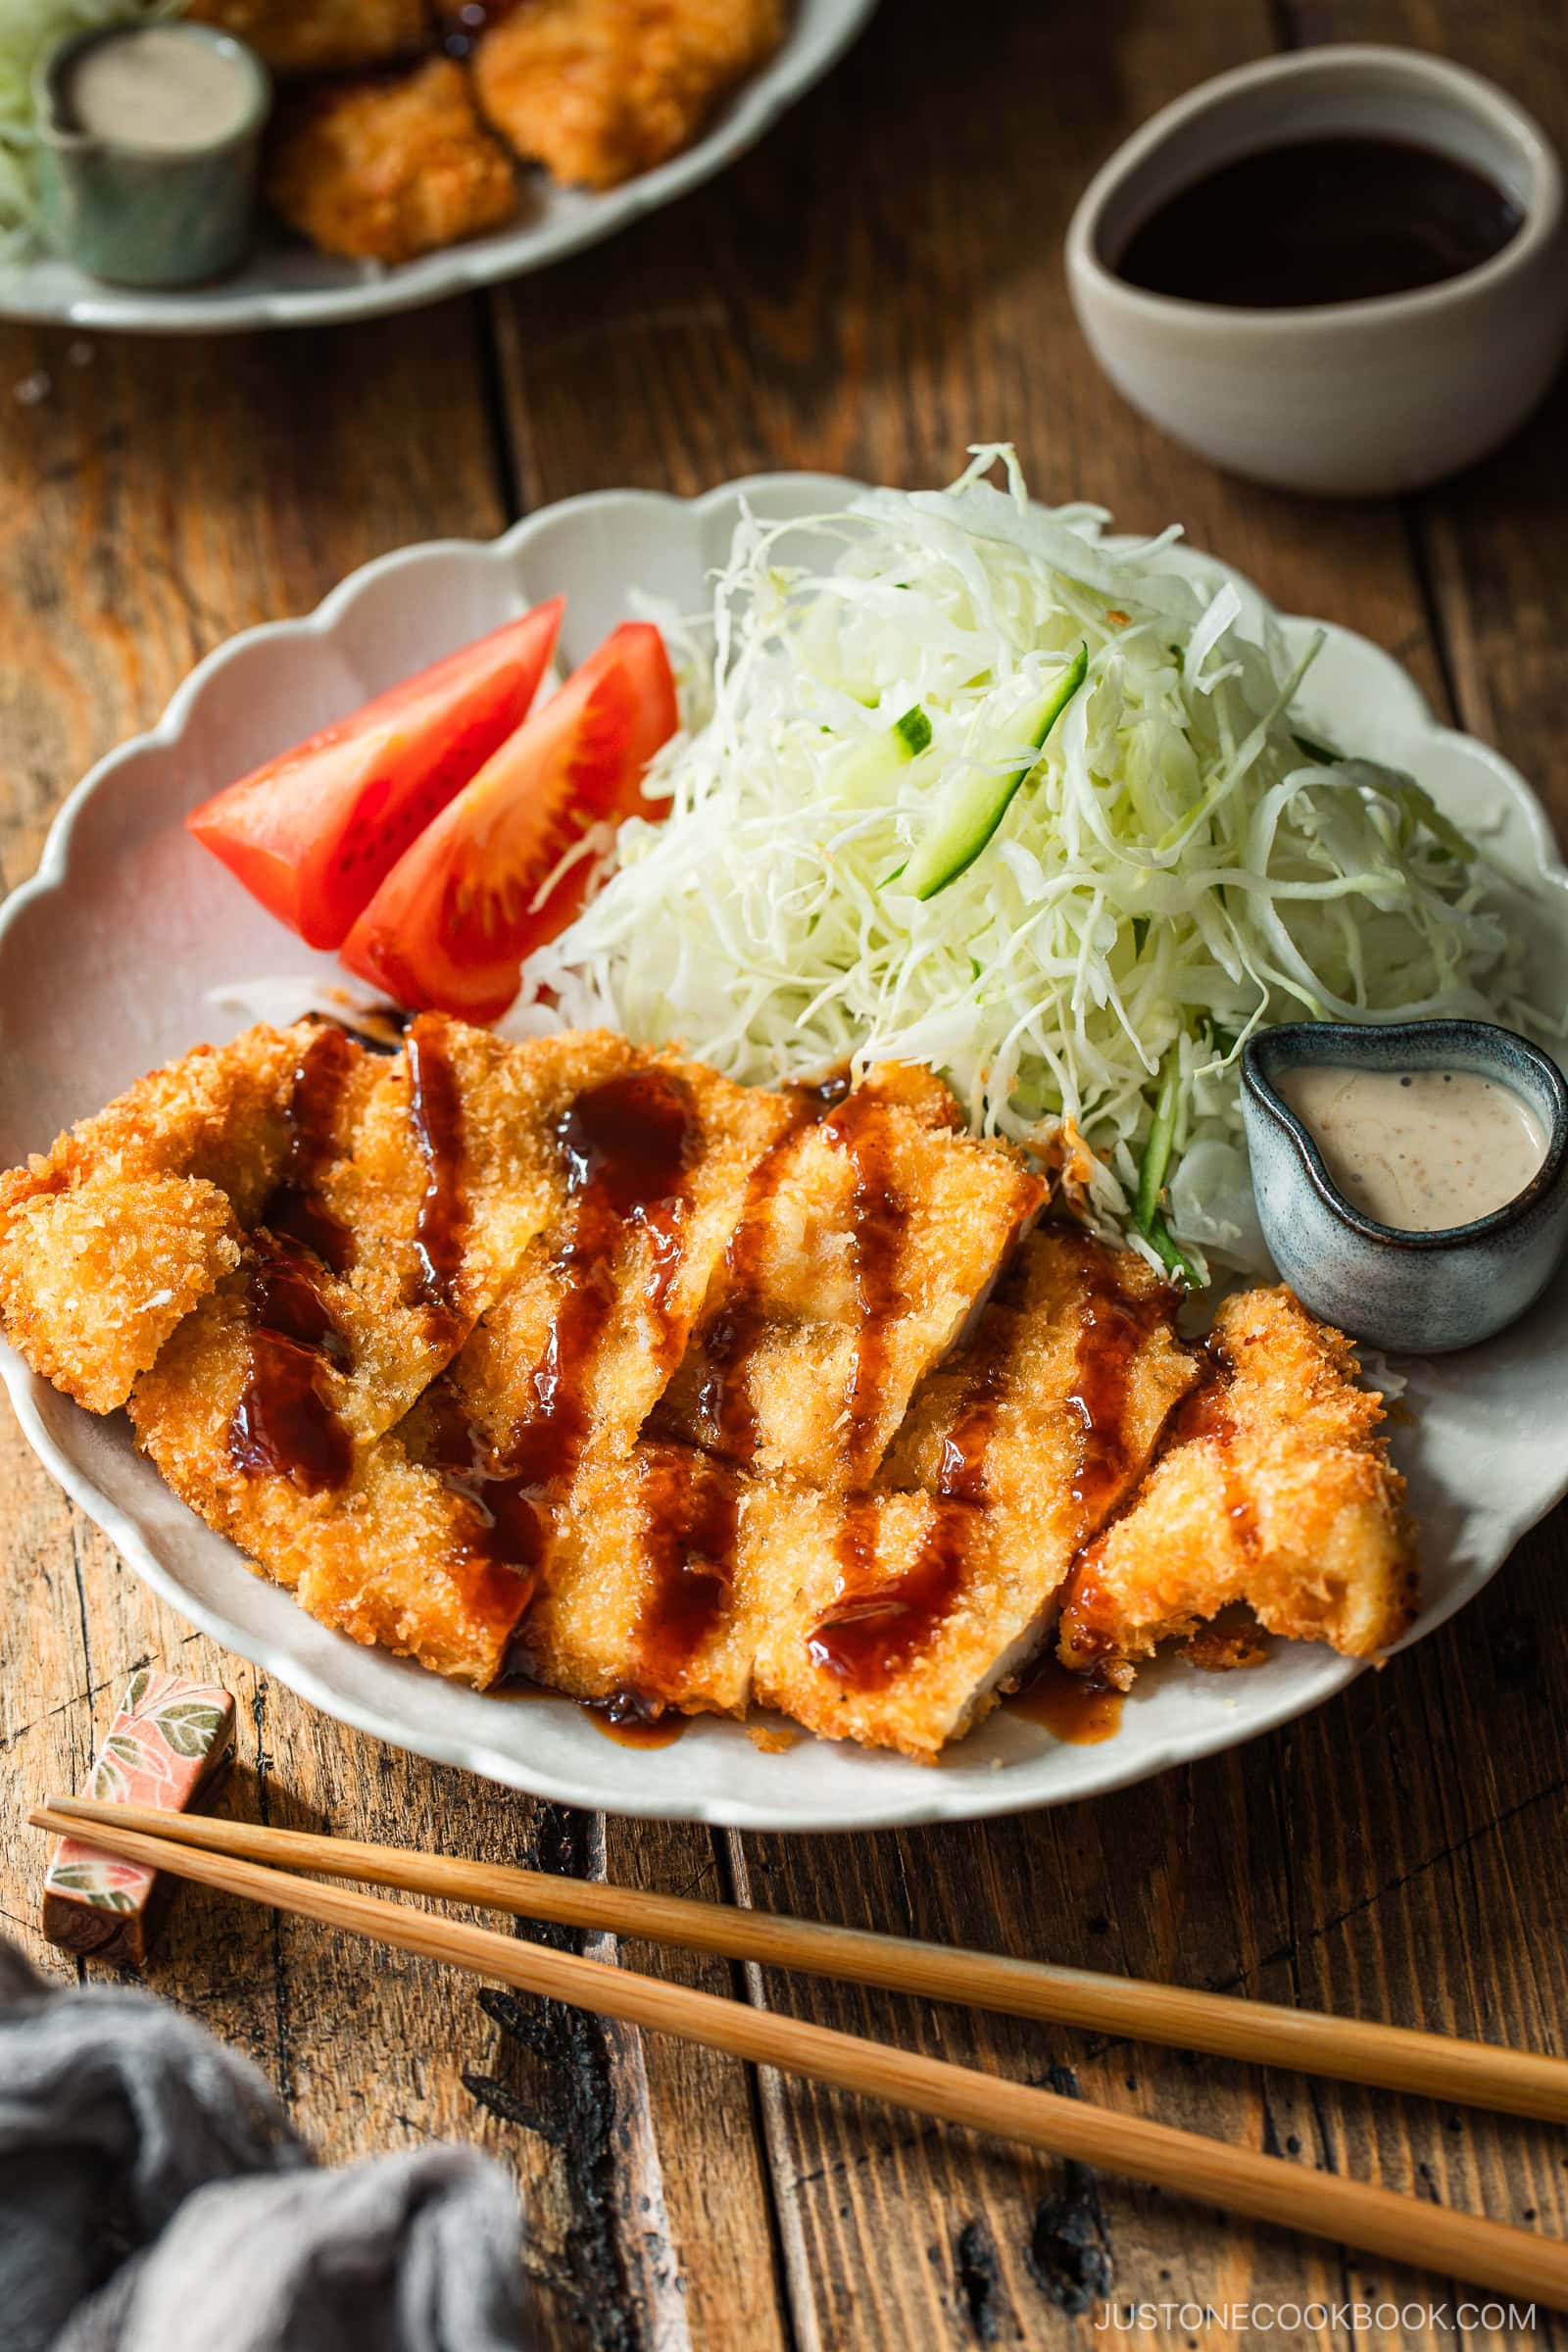
Chicken Katsu is a family‑friendly Japanese cutlet of tender chicken breast coated in airy panko breadcrumbs and fried until perfectly golden. Pair it with tangy tonkatsu sauce, steamed rice, and a fresh salad for a meal everyone loves.
If you’re craving more katsu-style recipes, try my Tonkatsu, Japanese Croquettes (Korokke), or Baked Chicken Katsu next!
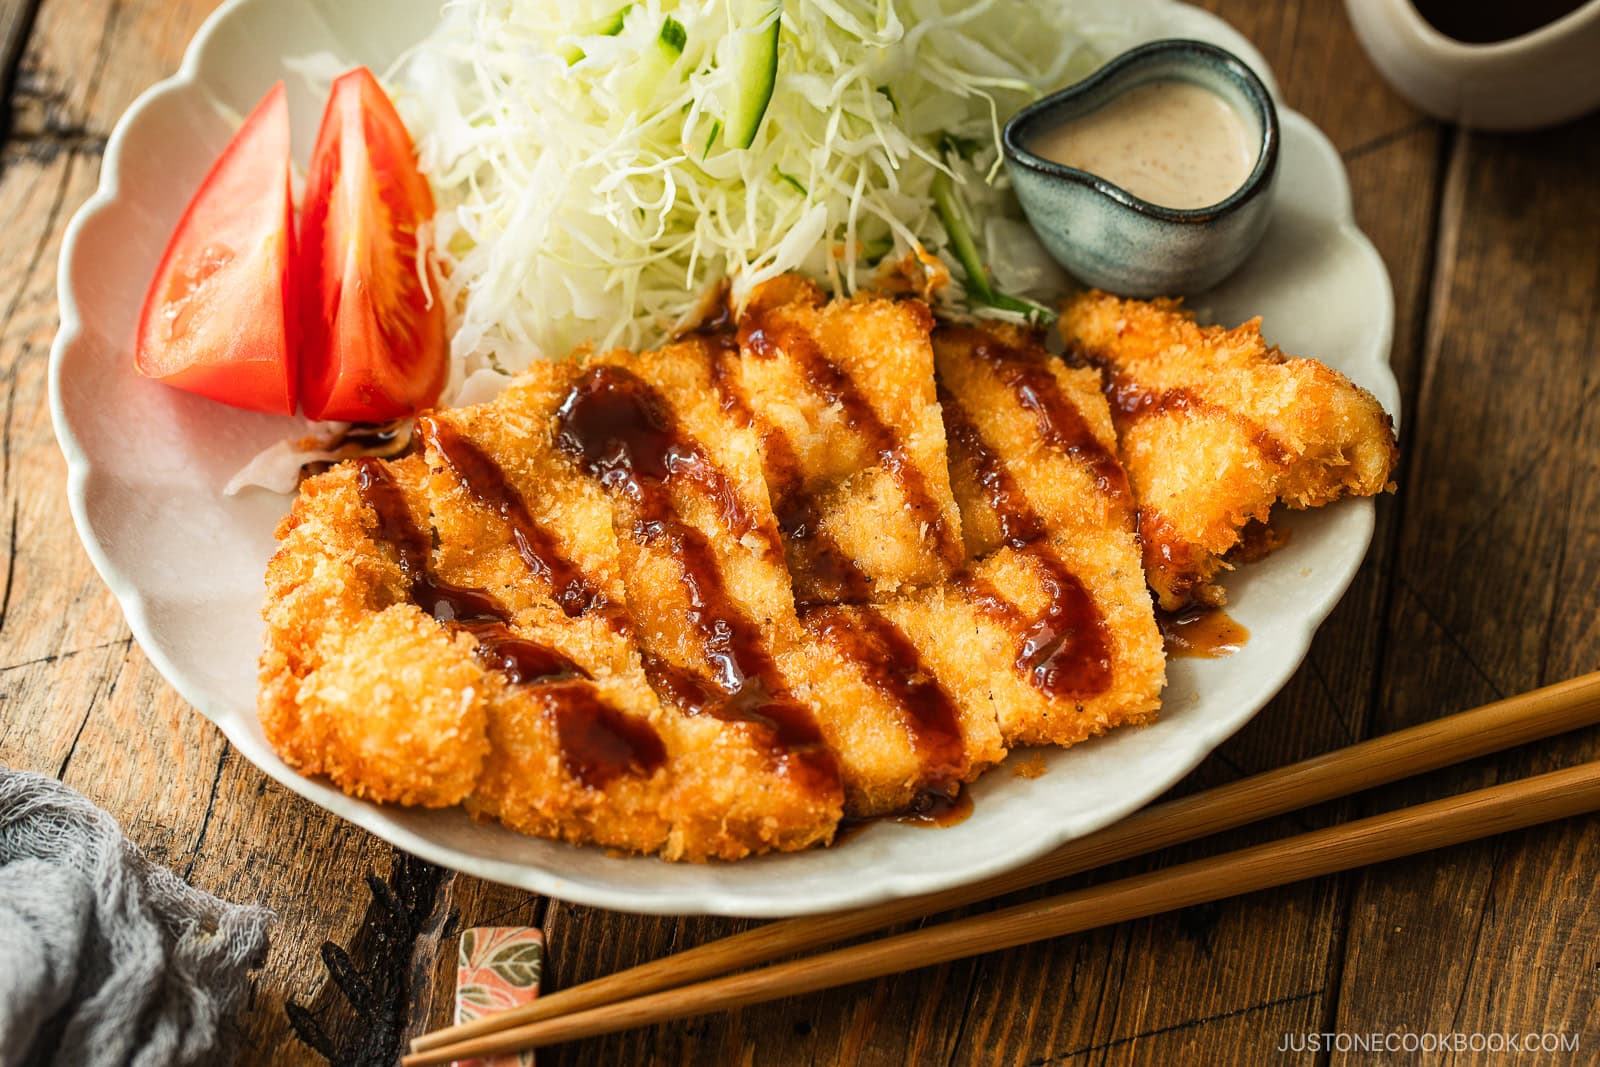
What is Chicken Katsu?
Chicken katsu (チキンカツ) is Japan’s take on chicken schnitzel. Thin butterflied chicken breasts are seasoned, breaded with extra‑light panko breadcrumbs, and shallow‑ or deep‑fried for a shatteringly crisp crust. The dish evolved from pork cutlets (tonkatsu) introduced in the late 1800s, and it remains a lunch‑box and diner favorite across Japan.
Why I Love This Recipe
- Takes just 30 minutes – The cooking process is very simple!
- Short ingredient list – Most ingredients are in the fridge and pantry.
- Crunchy, juicy, and flavorful – Pair it with salad, rice, or Japanese curry!
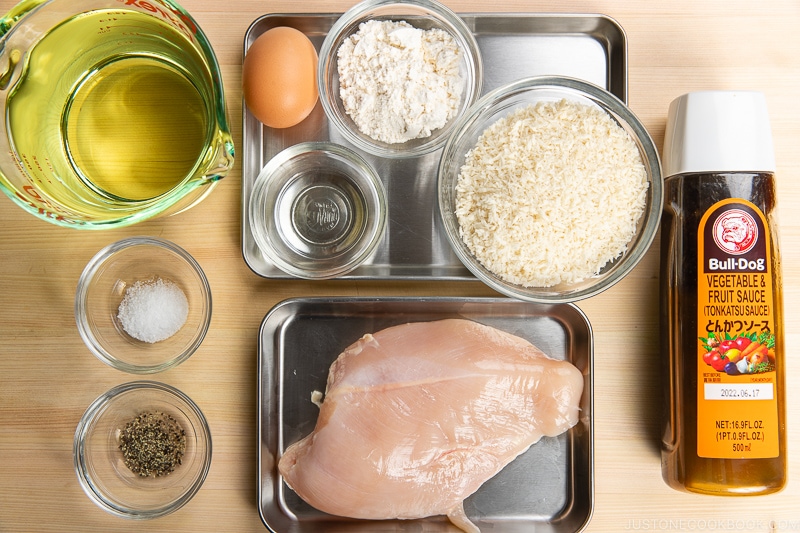
Ingredients for Chicken Katsu
- Chicken breasts – boneless and skinless
- Kosher salt and black pepper
- All purpose flour
- Large eggs
- Panko (Japanese breadcrumbs)
- Neutral oil
- Tonkatsu sauce
Find the printable recipe with measurements below.
Substitutions
- Chicken breast: You could make it with chicken thighs or tenders. Dark meat takes longer to cook, so add 1–2 minutes of frying time for thighs.
- Panko: Japanese breadcrumbs have larger, lighter flakes and make a more delicate breading. I highly recommend using panko over traditional ground breadcrumbs.
- Oil: Any neutral-flavored oil will do, such as canola oil or vegetable oil.
- Tonkatsu sauce: Store-bought does a fine job, though I prefer making easy Homemade Tonkatsu Sauce with Worcestershire sauce, ketchup, soy sauce, and sugar.
How to Make Chicken Katsu
Preparation
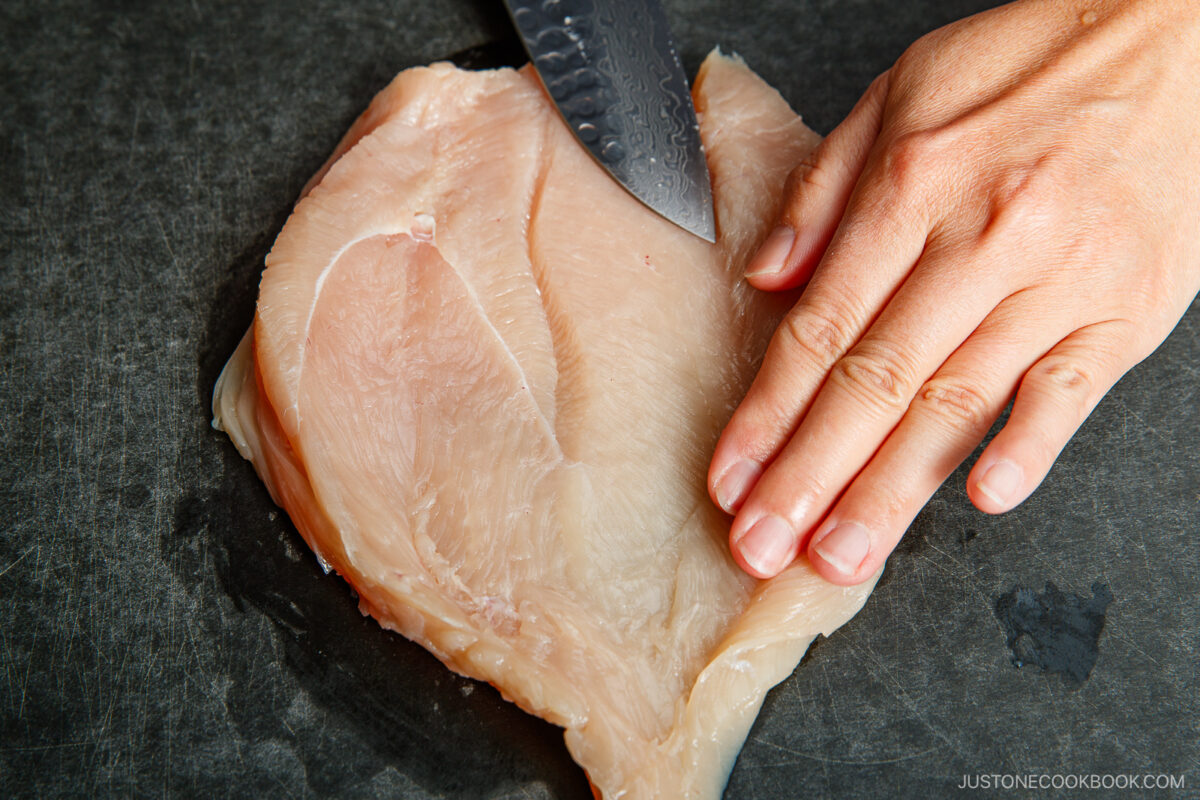
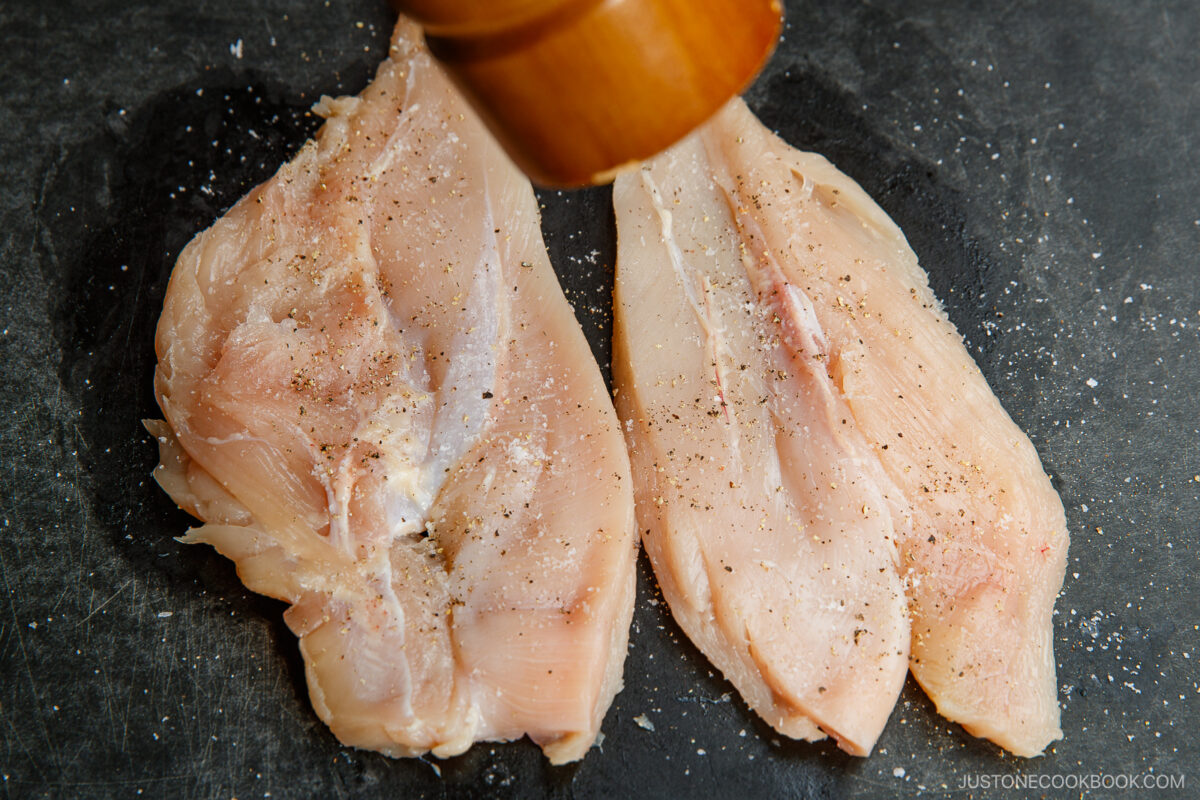
- Butterfly and pound the chicken until ¼–½ inch thick; season both sides with salt and pepper.
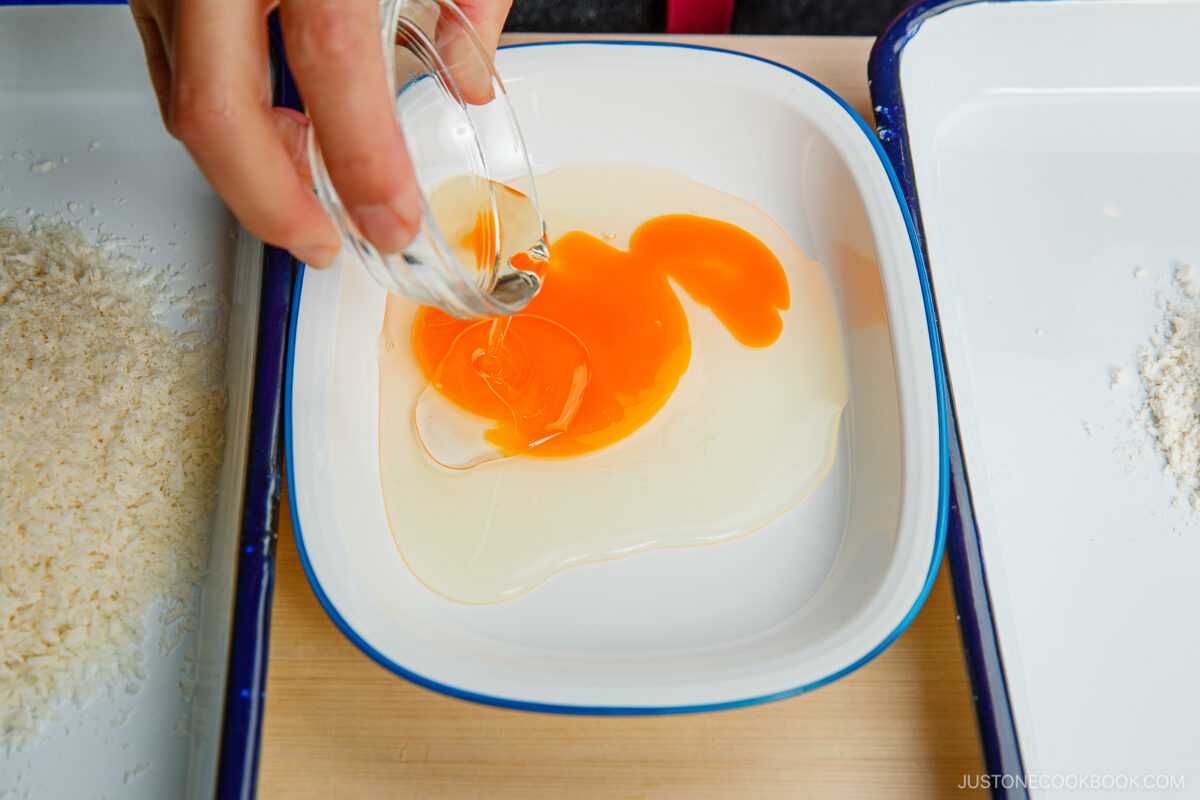
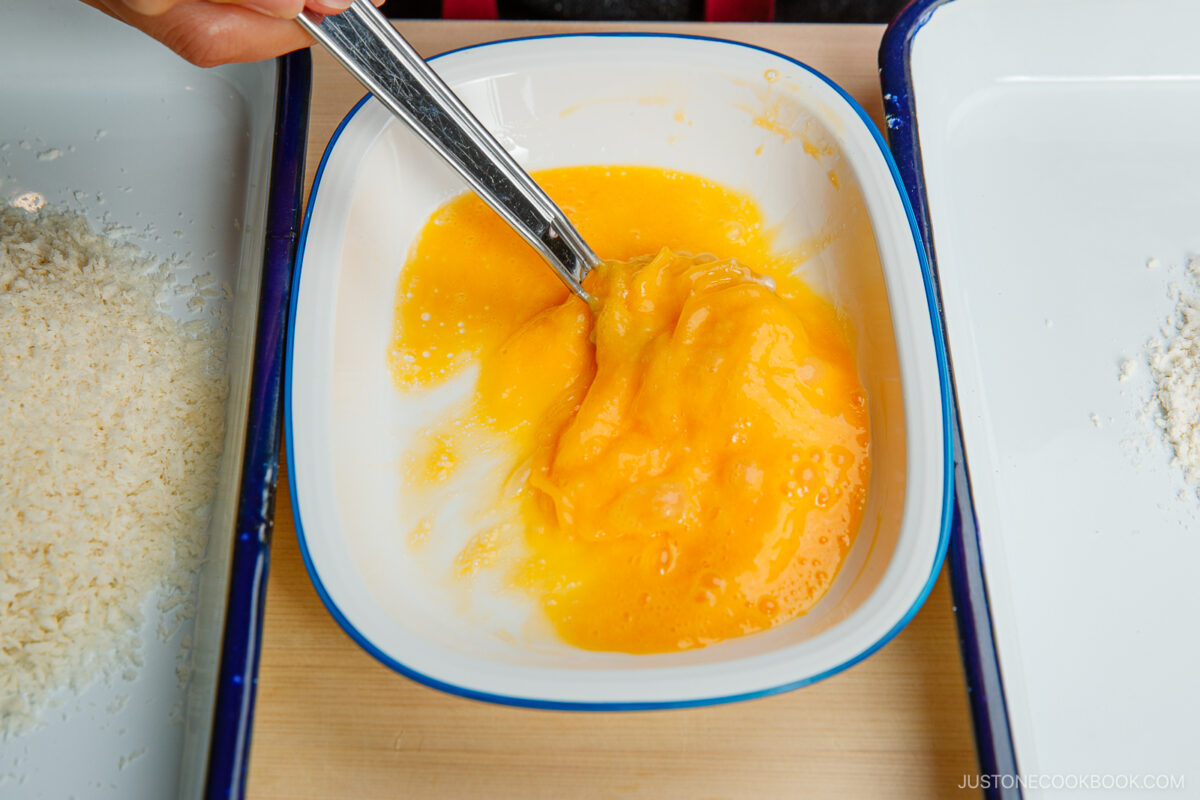
- Set up a breading station with three shallow bowls or trays of flour, beaten eggs (whisked with a splash of oil), and panko.
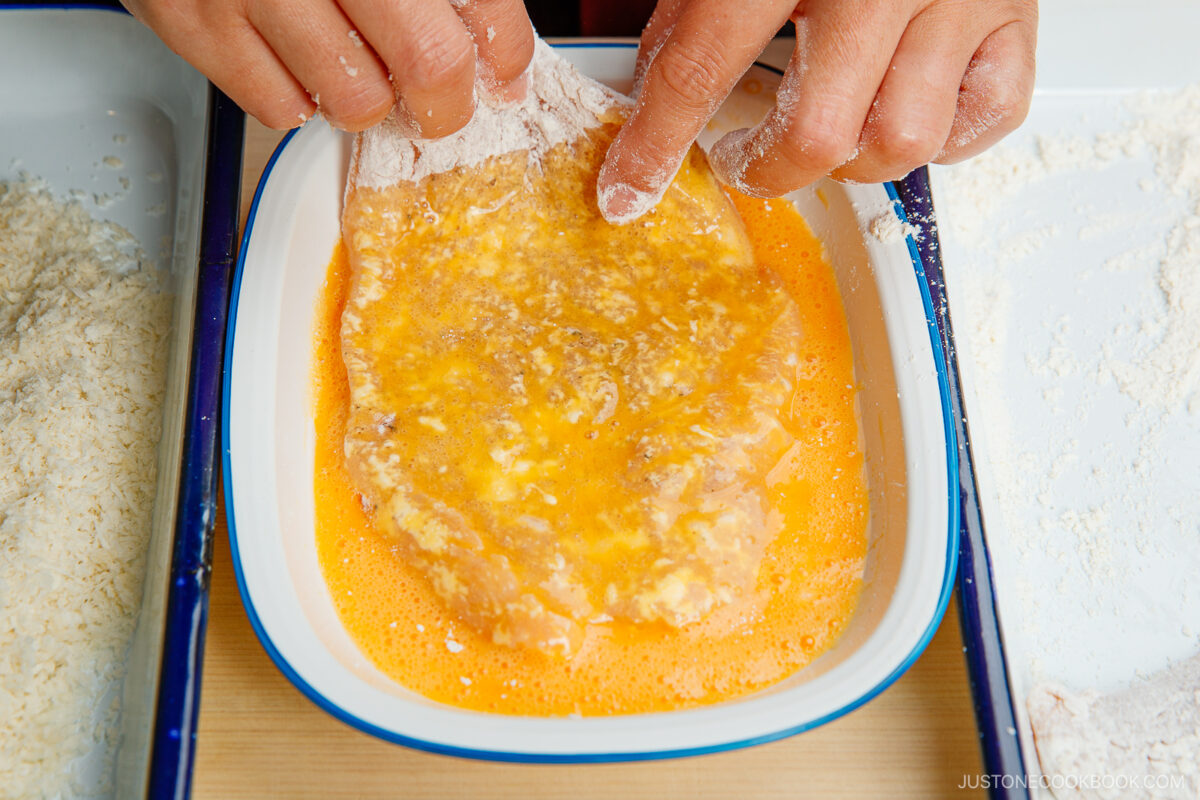
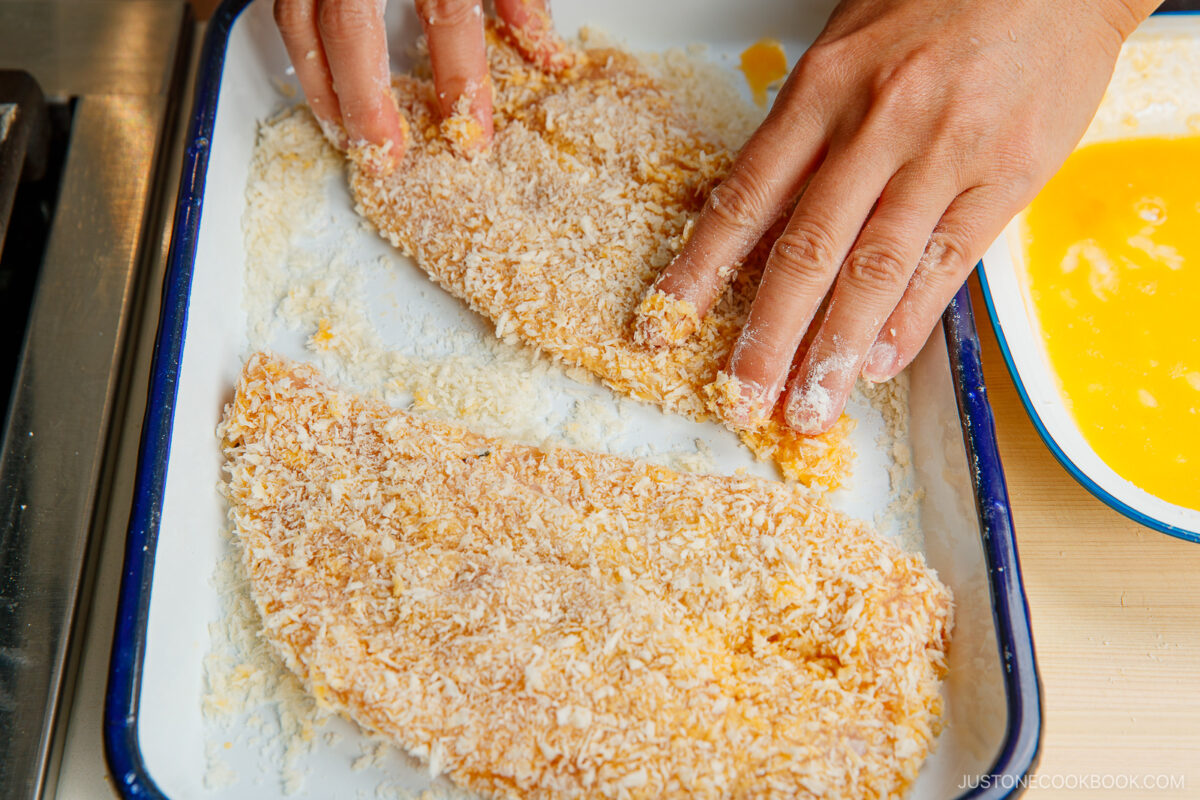
- Dredge each chicken cutlet in flour, dip in egg, and coat evenly with panko.
Cooking
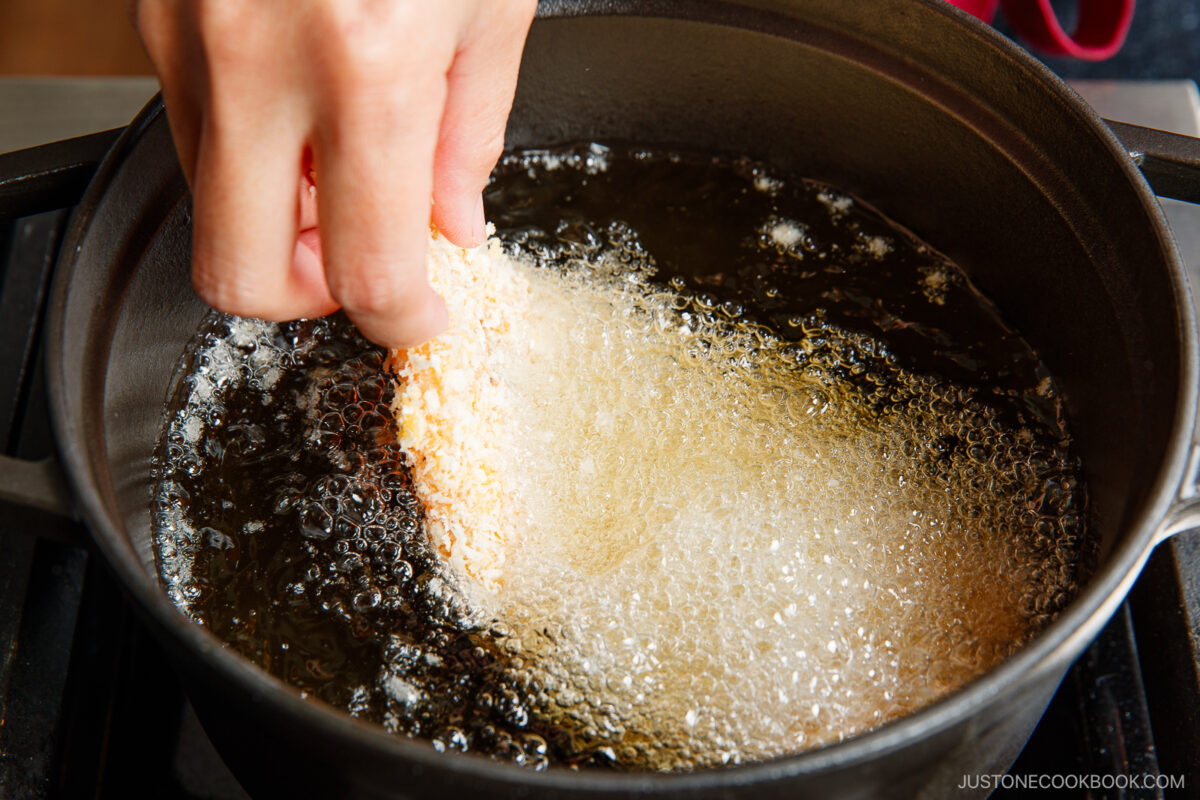
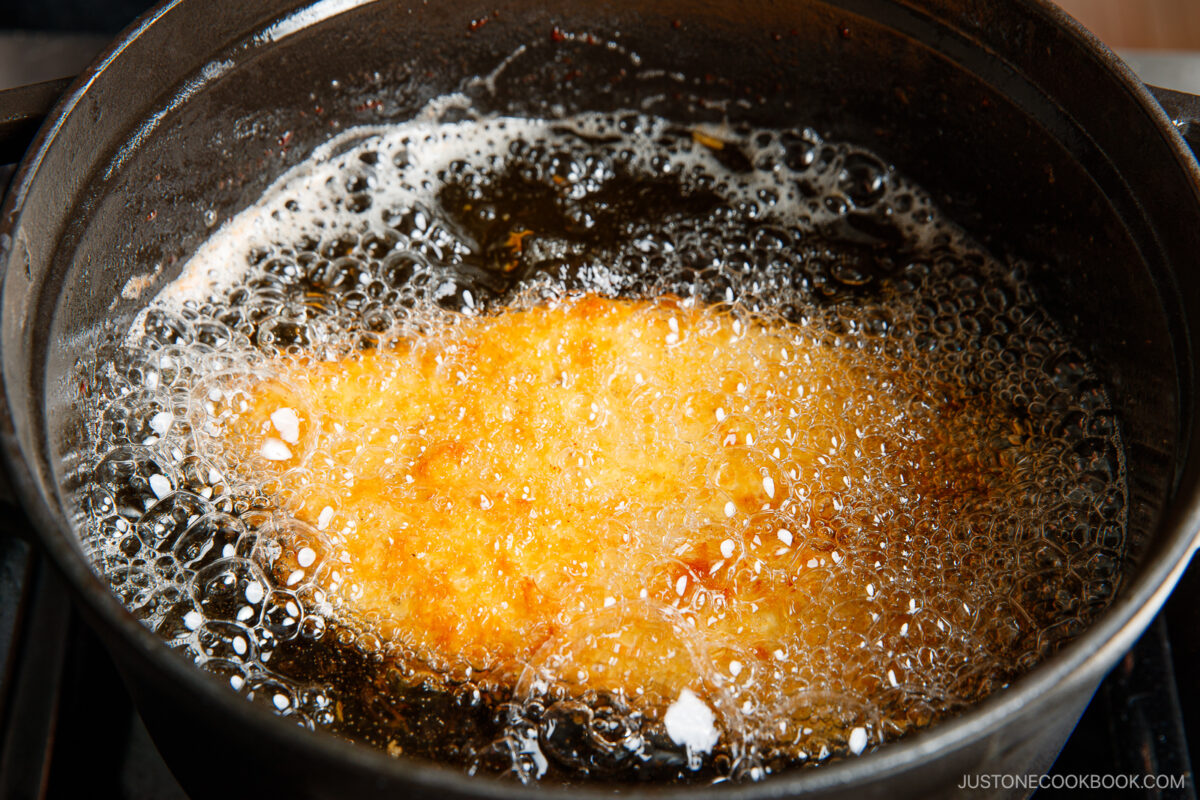
- Deep fry one cutlet at a time in 340 °F (170 °C) oil for about 3 minutes, turning once, until golden brown. Set on a wire rack or plate lined with paper towels.
Assemble
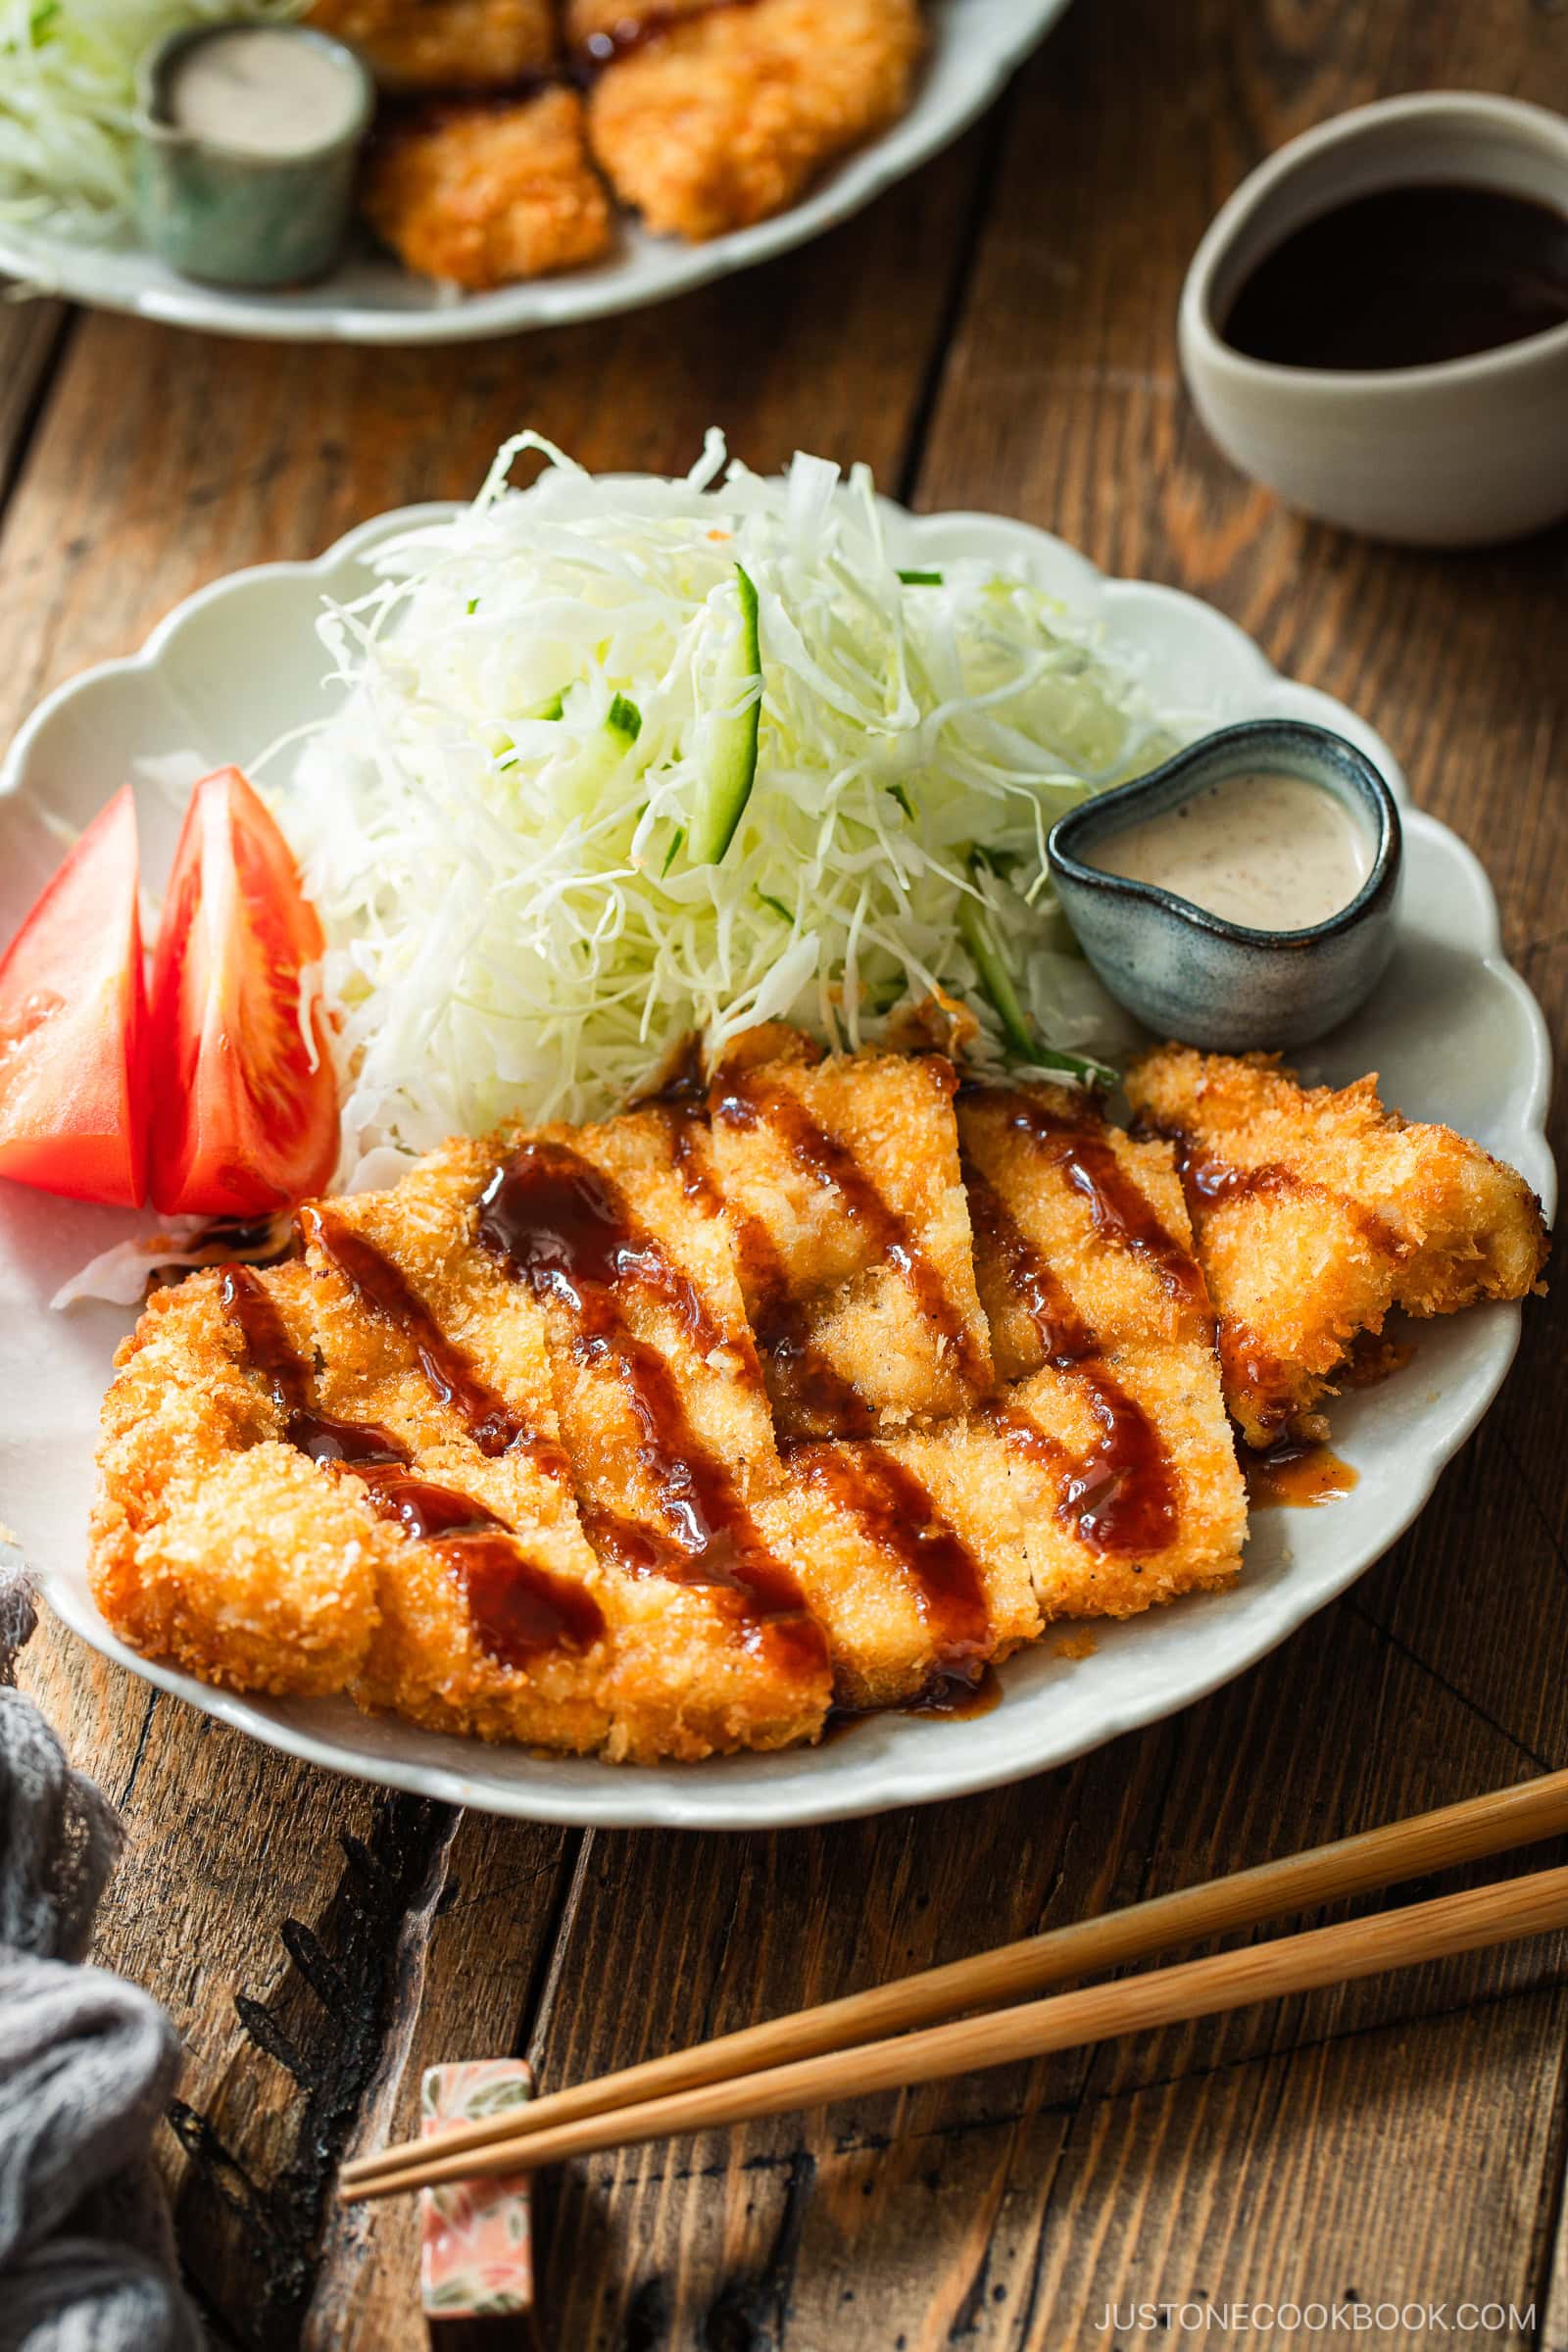
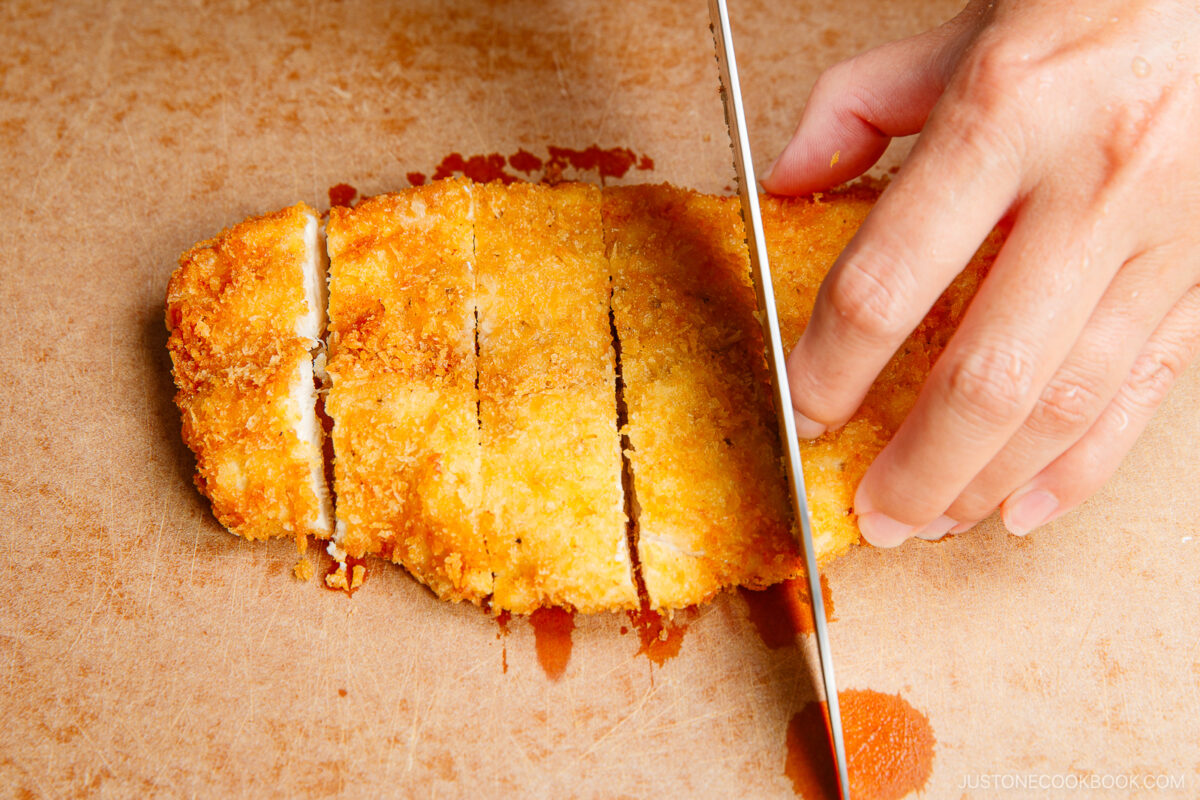
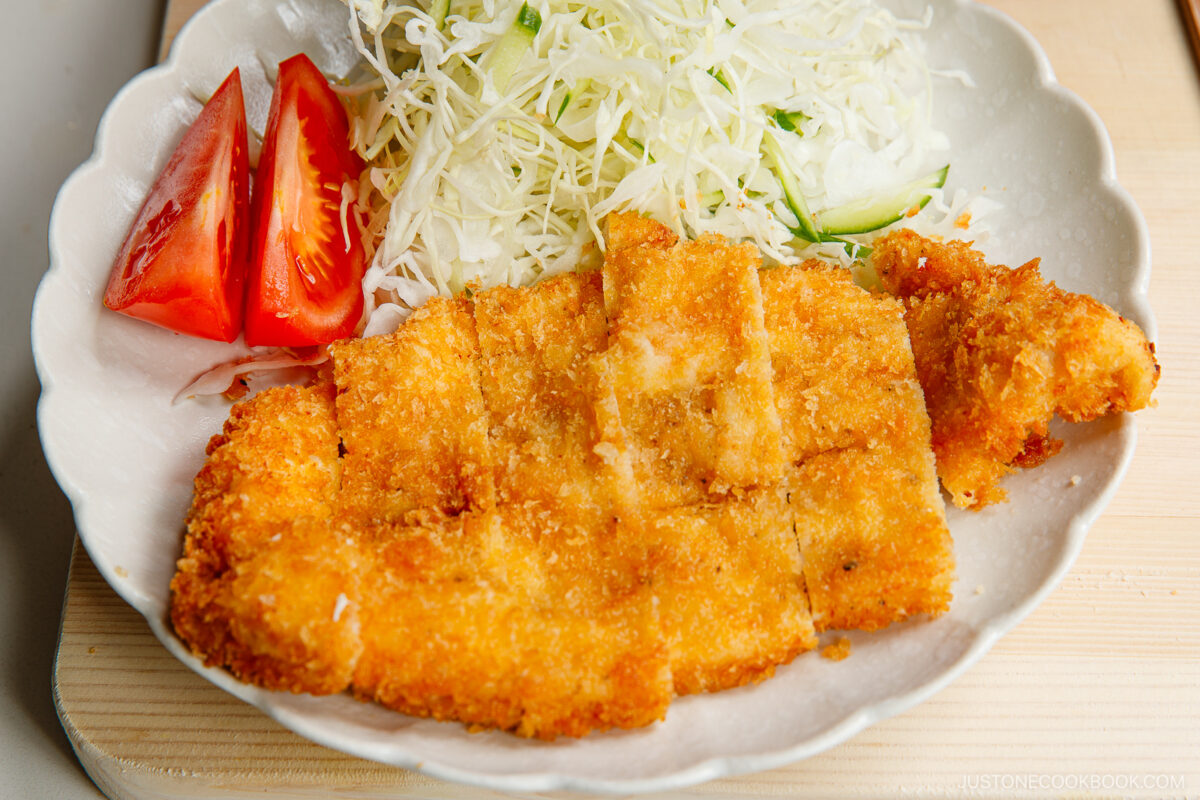
- Slice each cutlet into 1‑inch strips and serve hot with katsu sauce.
Nami’s Recipe Tips
- Fry singly in a skillet or pot to keep the oil hot and the crust light.
- Watch the temperature—an instant-read thermometer takes out the guesswork.
- Shake off excess flour so loose crumbs don’t burn and darken the oil.
Variations and Customizations
- Go gluten‑free with cornstarch and gluten‑free panko.
- Switch proteins. Try pork loin for classic tonkatsu.
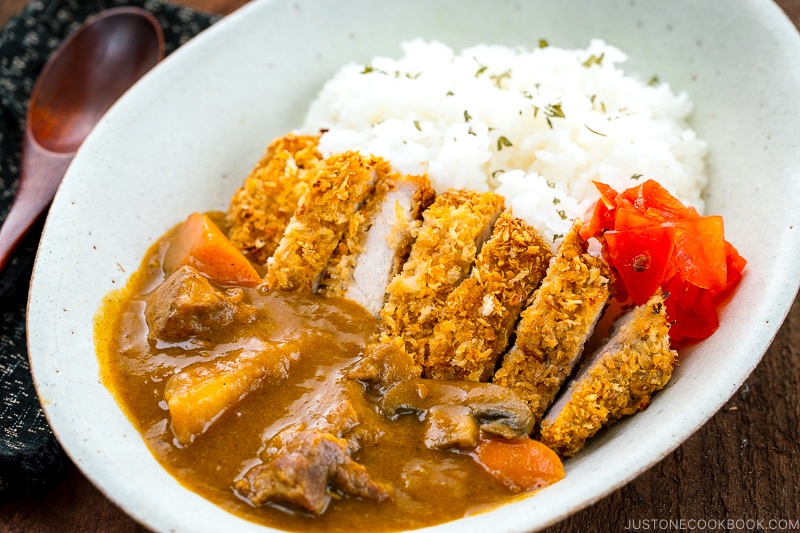
- Repurpose leftovers to make Katsu Curry.
- Use fresh panko. To make nama panko, mist dried panko with water and rest 15 minutes.
What to Serve with Chicken Katsu
While katsu is typically served with white rice, shredded cabbage, and tonkatsu sauce, you can get creative with my suggestions below.
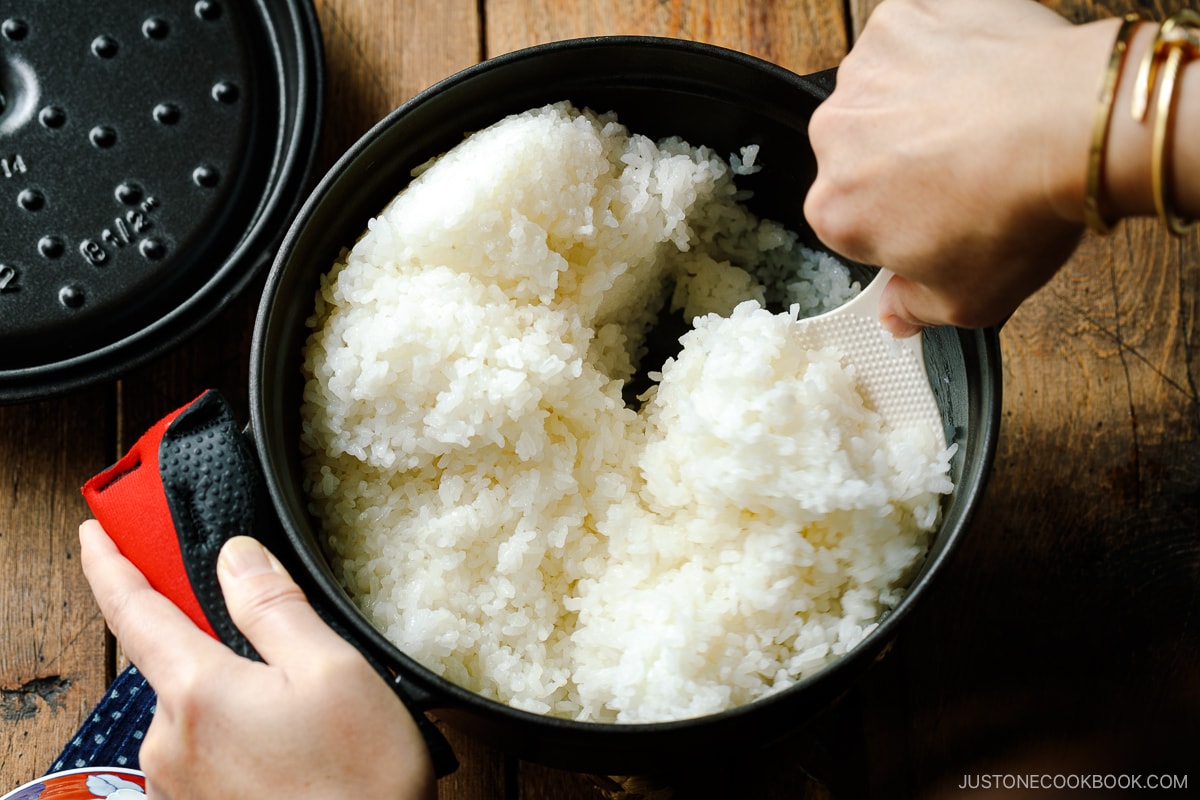
- White rice: Learn How to Cook Japanese Rice in a pot on the stove!
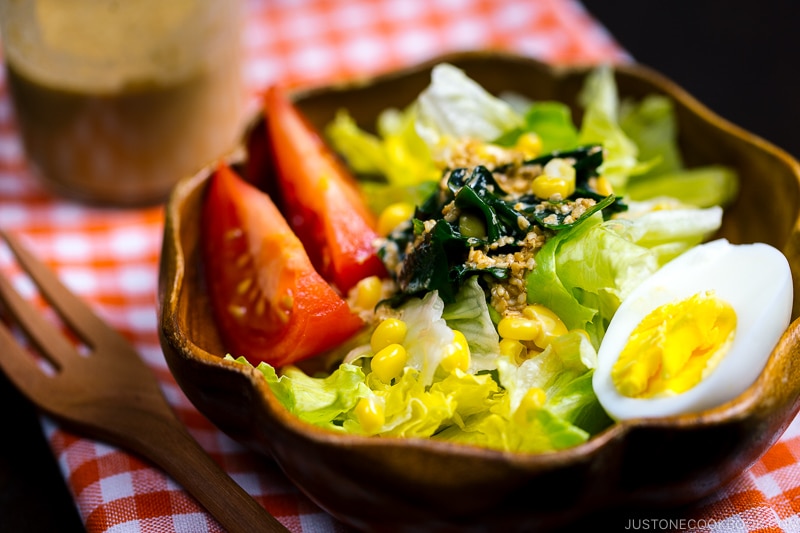
- Cabbage salad: Drizzle with Japanese Sesame Dressing.
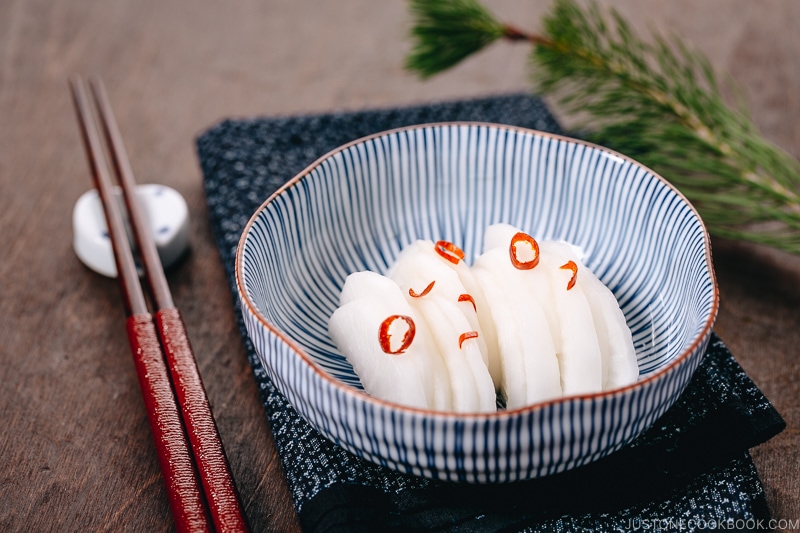
- Pickles: Crunchy‑sweet Pickled Daikon brightens each bite.
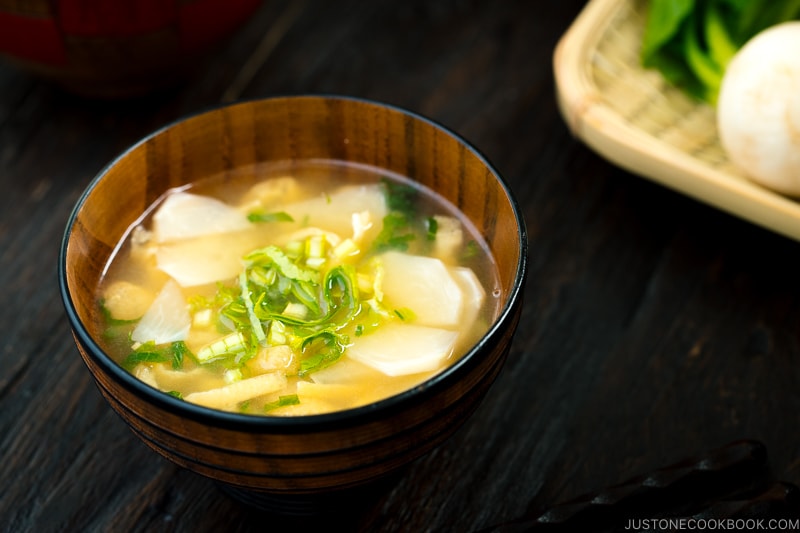
- Soup: A bowl of Vegetable Miso Soup rounds out the meal.
Storage and Reheating Tips
To store: Cool, then refrigerate in an airtight container for 4–5 days or freeze up to 1 month.
To reheat: Bake at 350 °F (180 °C) for 15–20 minutes (30–40 minutes from frozen) until crisp.
Frequently Asked Questions
Can I prep ahead?
Yes, you can butterfly, bread, and refrigerate cutlets up to 3 hours before frying.
Can I freeze chicken katsu?
Yes! Cool the fried chicken cutlets, separate with parchment, and freeze for quick lunches.
What can I use instead of panko breadcrumbs?
You can use regular breadcrumbs in a pinch, but the texture will be denser than light and fluffy panko with its signature crunch.
Prep Time: 20 minutes
Cook Time: 10 minutes
Total Time: 30 minutes
- ▢ 1 piece boneless, skinless chicken breast (9.5 oz, 270 g; or use the same weight of chicken thighs or tenders)
- ▢ ½ tsp Diamond Crystal kosher salt
- ▢ ⅛ tsp freshly ground black pepper
- ▢ 3 cups neutral oil (for deep-frying; enough for 1½ inches (3.8 cm) of oil in the pot)
Japanese Ingredient Substitution: If you want substitutes for Japanese condiments and ingredients, click here.
Before You Start
If you prefer not to deep-fry, see my recipe for Baked Chicken Katsu.
Gather all the ingredients.
To Butterfly the Chicken
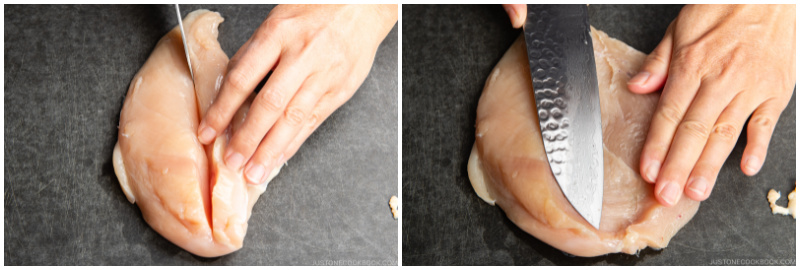
Butterfly the chicken breast so the meat is thinner and cooks faster; read more about it in my blog post and watch how in my video. You can use one of two methods. You can split the breast horizontally from the side with a knife, stopping before you cut all the way through. Then, open it like a book. The two sides will mirror each other, resembling a butterfly.
Alternatively, you could use the Japanese cutting technique Kannon biraki (観音開き) that I demonstrate here. With a sharp knife, score the top of 1 piece boneless, skinless chicken breast down the middle about halfway through the thickness of the breast; do not cut completely through.
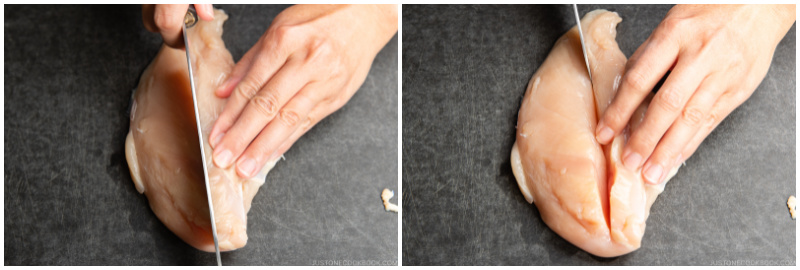
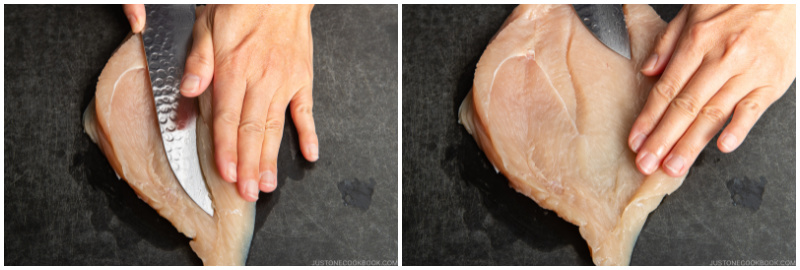
Then, turn the knife parallel to the cutting board and slice from the center toward the left side (or the right side, if you‘re left-handed) to make it evenly thin. Stop before you cut all the way through, and open it like a book. Imagine we‘re creating a French door.
Turn the chicken 180 degrees and butterfly the second side, creating another “door.“
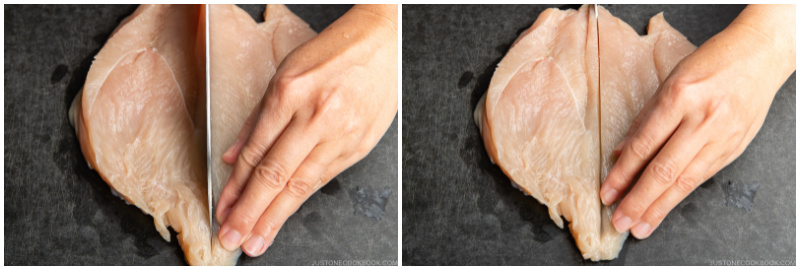
Cut the chicken in half down the center. Now, you have two pieces.
To Pound and Season
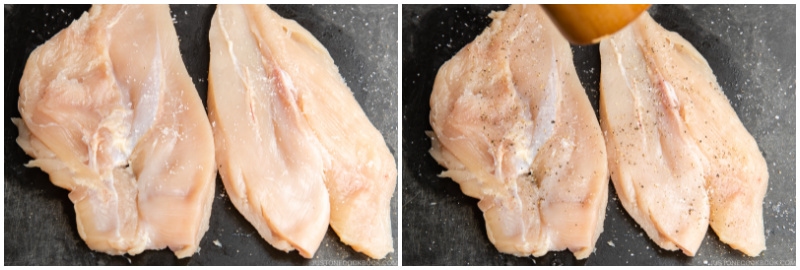
With a meat mallet or the back of the knife, pound the chicken pieces to an even thickness of about ¼–½ inch (6 mm–1.3 cm).
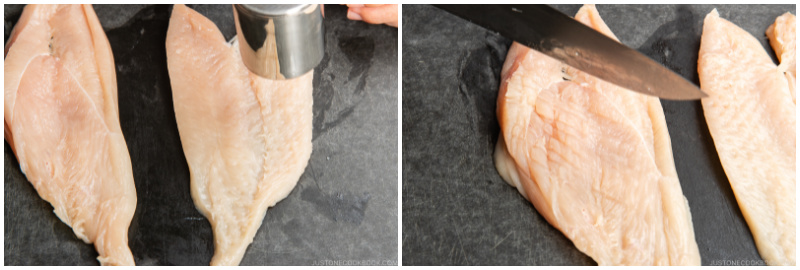
Season both sides with ½ tsp Diamond Crystal kosher salt and ⅛ tsp freshly ground black pepper.
To Preheat the Oil and Bread the Chicken
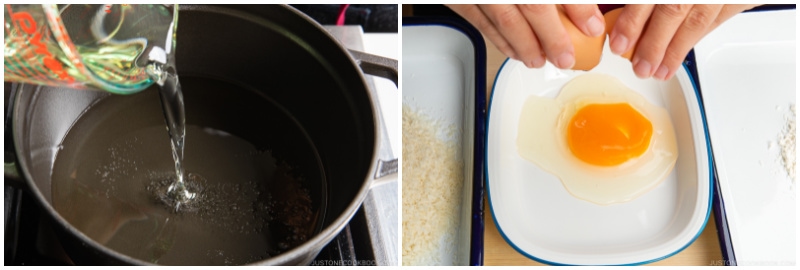
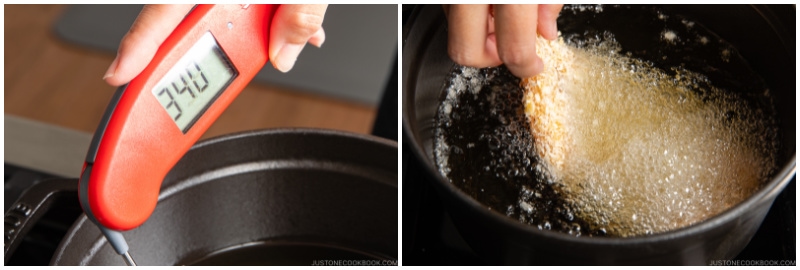
Add 3 cups neutral oil to a medium-size, heavy-bottomed pot (I use a Staub 2.75 QT Dutch oven, 11 inches in diameter). Add enough so the oil is 1½ inches (3.8 cm) deep; dip a chopstick in it to measure. Start preheating it to 340ºF (170ºC) over medium-low heat (or low heat, if you need more time to bread the chicken).
For the breading, prepare three bowls or trays: One with 3 Tbsp all-purpose flour (plain flour), one with 1 cup panko (Japanese breadcrumbs), and one with 1 large egg (50 g each w/o shell).
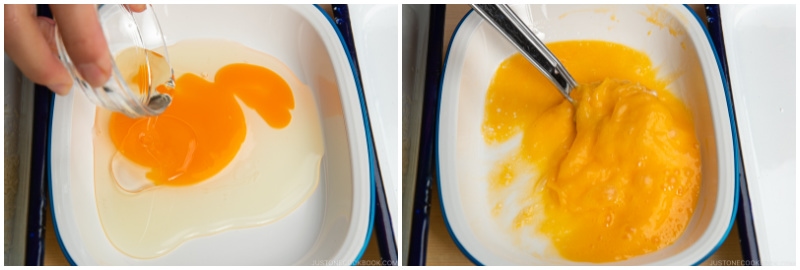
Add ½ Tbsp neutral oil to the egg and whisk it together. Tip: By adding oil, the breading won’t detach from the chicken while deep-frying and this will help seal in the chicken's juices and flavor.
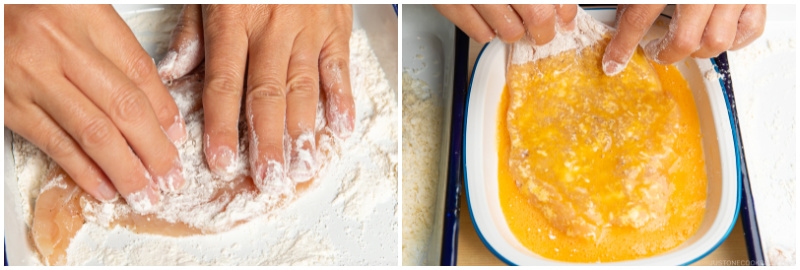
Dredge the chicken in flour and shake off the excess. Then, coat it with the egg mixture.
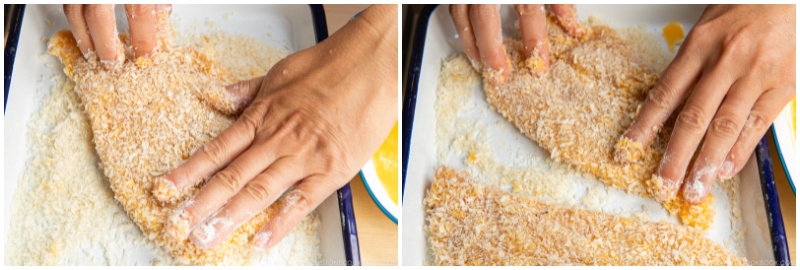
Finally, coat the chicken with panko and gently press it to adhere to the cutlet. Gently shake off any excess, then place the breaded cutlet onto a tray or plate. Repeat with the other piece.
To Deep-Fry
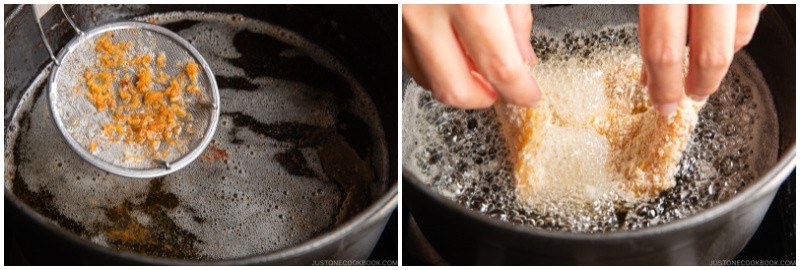
Fry one piece at a time. When the oil reaches 340ºF (170ºC), increase to medium heat. Then, add the first breaded cutlet to the hot oil. Tip: I recommend using an instant-read thermometer to monitor the oil temperature. I use medium heat throughout cooking, but please increase or decrease the heat to maintain the target temperature. If you are new to deep-frying, learn more tips on my How to Deep Fry Food page.
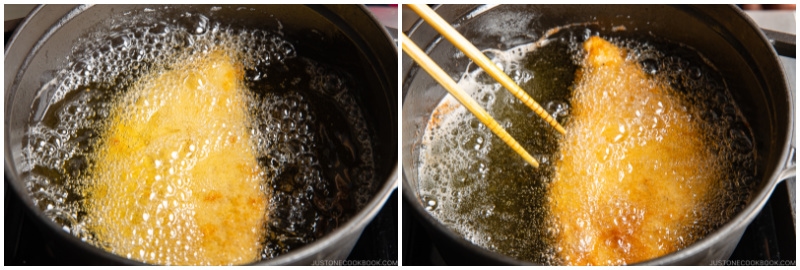
Deep-fry for a total of 3 minutes, flipping it over at the halfway point. Tip: Do not overcrowd the pot. Your ingredients should take up no more than about half of the oil surface area. If you add too much food, the temperature will drop quickly and the chicken will absorb too much oil.
Cook until both sides are golden brown. Remove the chicken and let the oil drip off by holding the cutlet vertically over the pot for a few seconds. Then, transfer it to a wire rack or tray lined with paper towels. If possible, keep it on its side to drain excess oil.
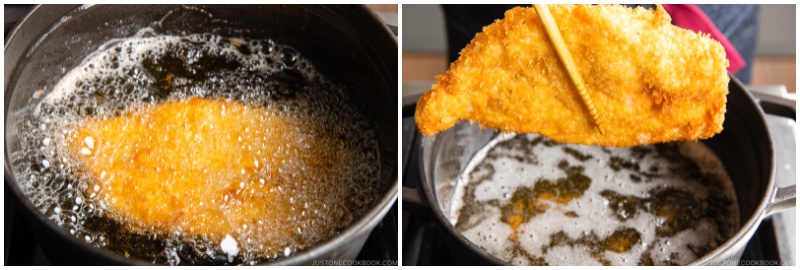
Scoop up and discard any fried crumbs in the oil with a fine-mesh strainer. Then, cook the other cutlet. Tip: Throughout cooking, keep the oil clean of crumbs, which can burn and make the oil dark and dirty.
To Serve
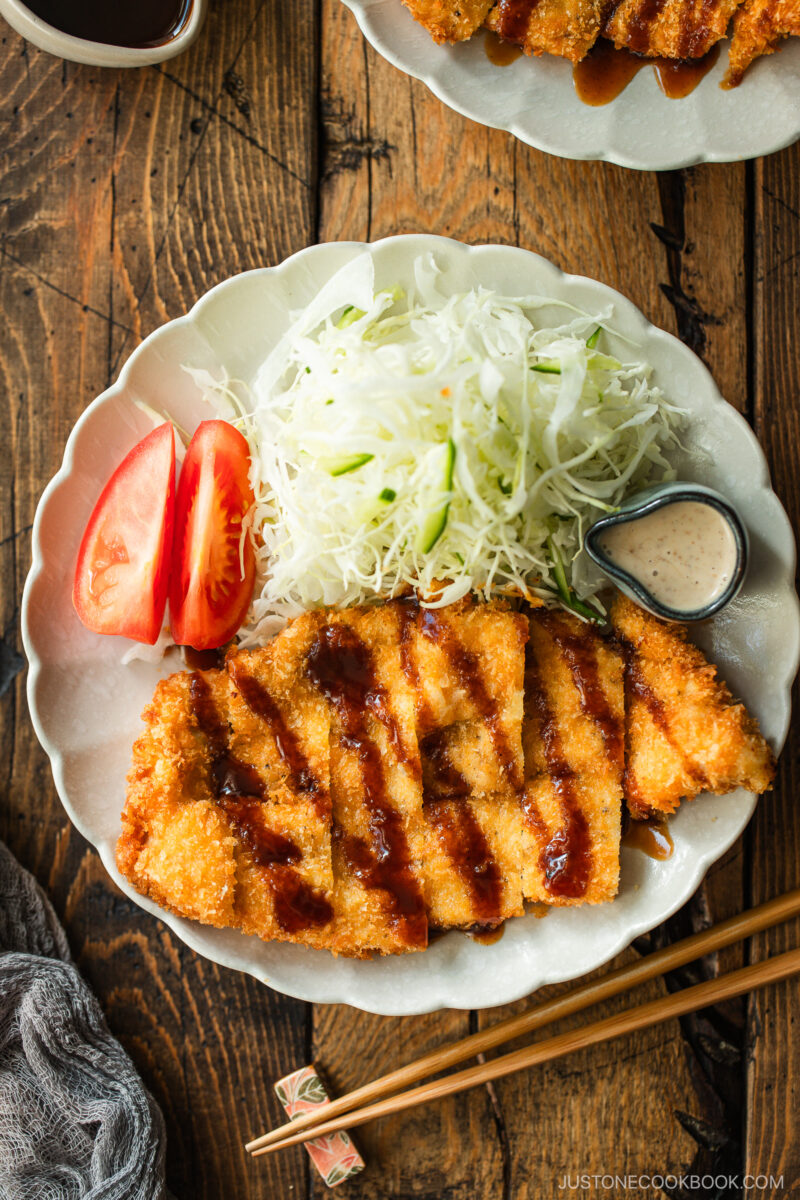
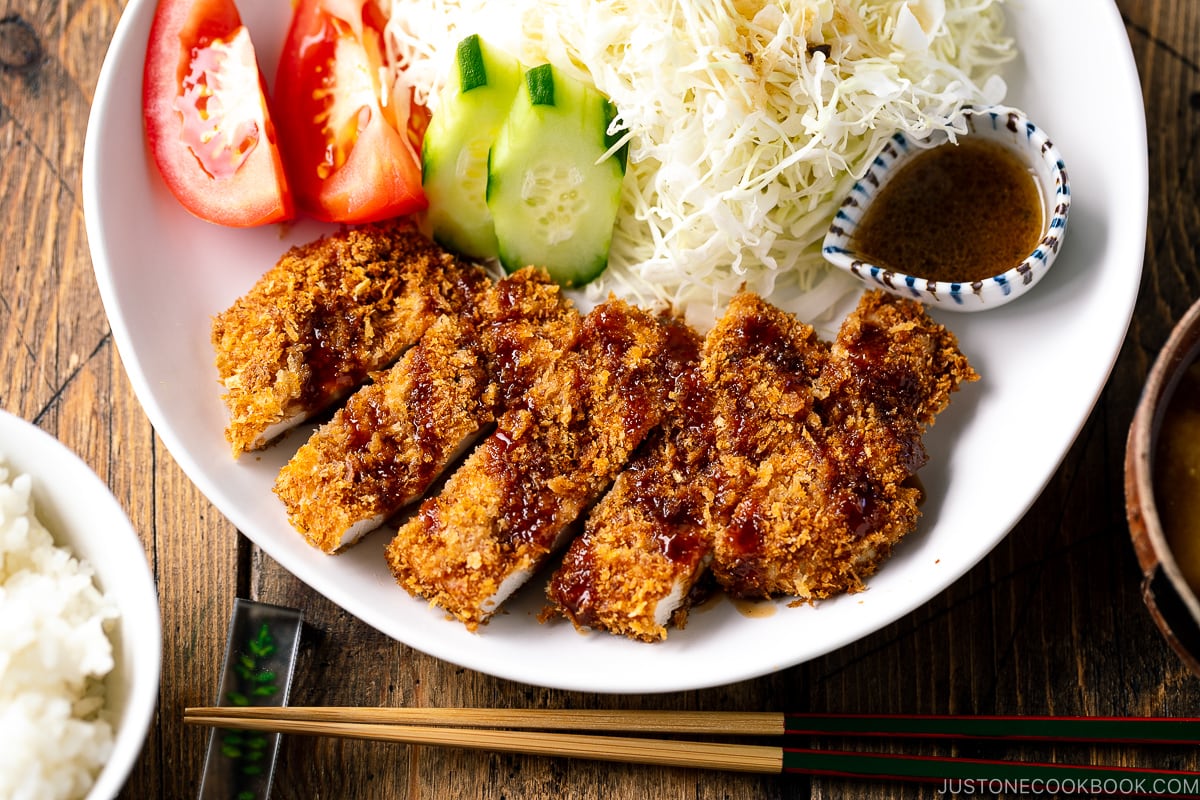
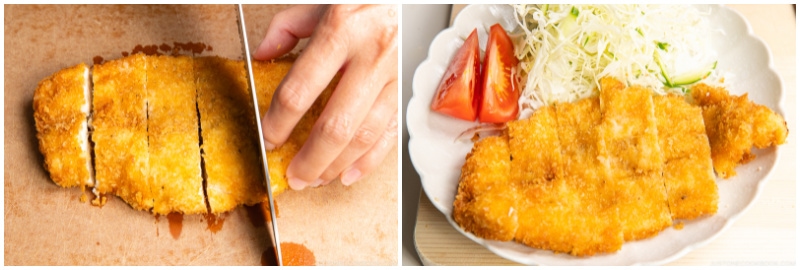
Cut the chicken katsu into 1-inch (2.5 cm) pieces and serve it with tonkatsu sauce. Typically, I serve it with a side of shredded green cabbage and my Japanese Sesame Dressing. I also add a few wedges of tomato for color.
To Store
Transfer the leftovers to an airtight container and store them in the refrigerator for up to 2 days or in the freezer for up to a month. To reheat, bake at 350ºF (180ºC) for 15–20 minutes if defrosted (in the refrigerator overnight) or for 30 minutes from frozen. Check that the inside is warm before serving.
Calories: 474 kcal · Carbohydrates: 21 g · Protein: 19 g · Fat: 35 g · Saturated Fat: 6 g · Polyunsaturated Fat: 18 g · Monounsaturated Fat: 8 g · Trans Fat: 1 g · Cholesterol: 129 mg · Sodium: 535 mg · Potassium: 295 mg · Fiber: 1 g · Sugar: 1 g · Vitamin A: 153 IU · Vitamin C: 1 mg · Calcium: 57 mg · Iron: 2 mg
Author: Namiko Hirasawa Chen
Course: Main Course
Cuisine: Japanese
Keyword: chicken, panko
©JustOneCookbook.com Content and photographs are copyright protected. Sharing of this recipe is both encouraged and appreciated. Copying and/or pasting full recipes to any website or social media is strictly prohibited. Please view my photo use policy here.
If you made this recipe, snap a pic and hashtag it #justonecookbook! We love to see your creations on Instagram @justonecookbook!
Editor’s Note: This post was originally published on November 6, 2012. It was updated with new images, a video, and a revised recipe on November 3, 2021, and republished with additional tips and helpful information on July 3, 2025.




 English (US) ·