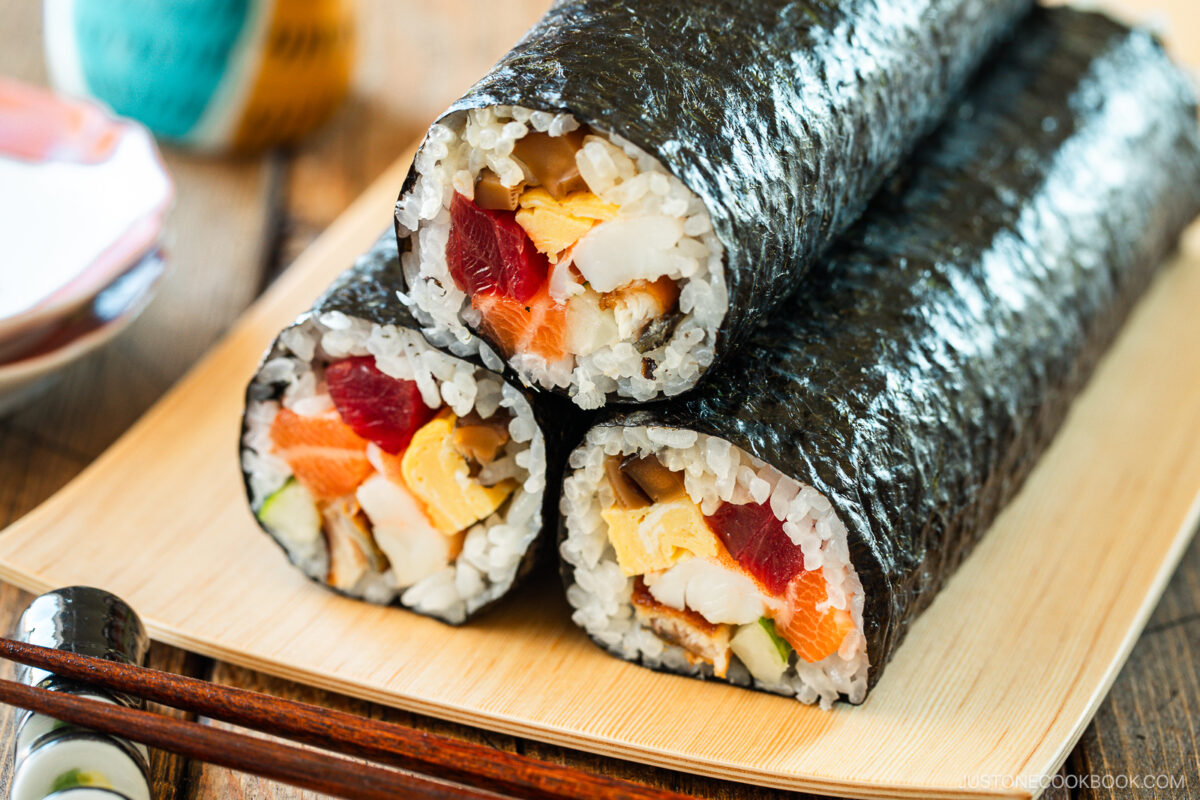
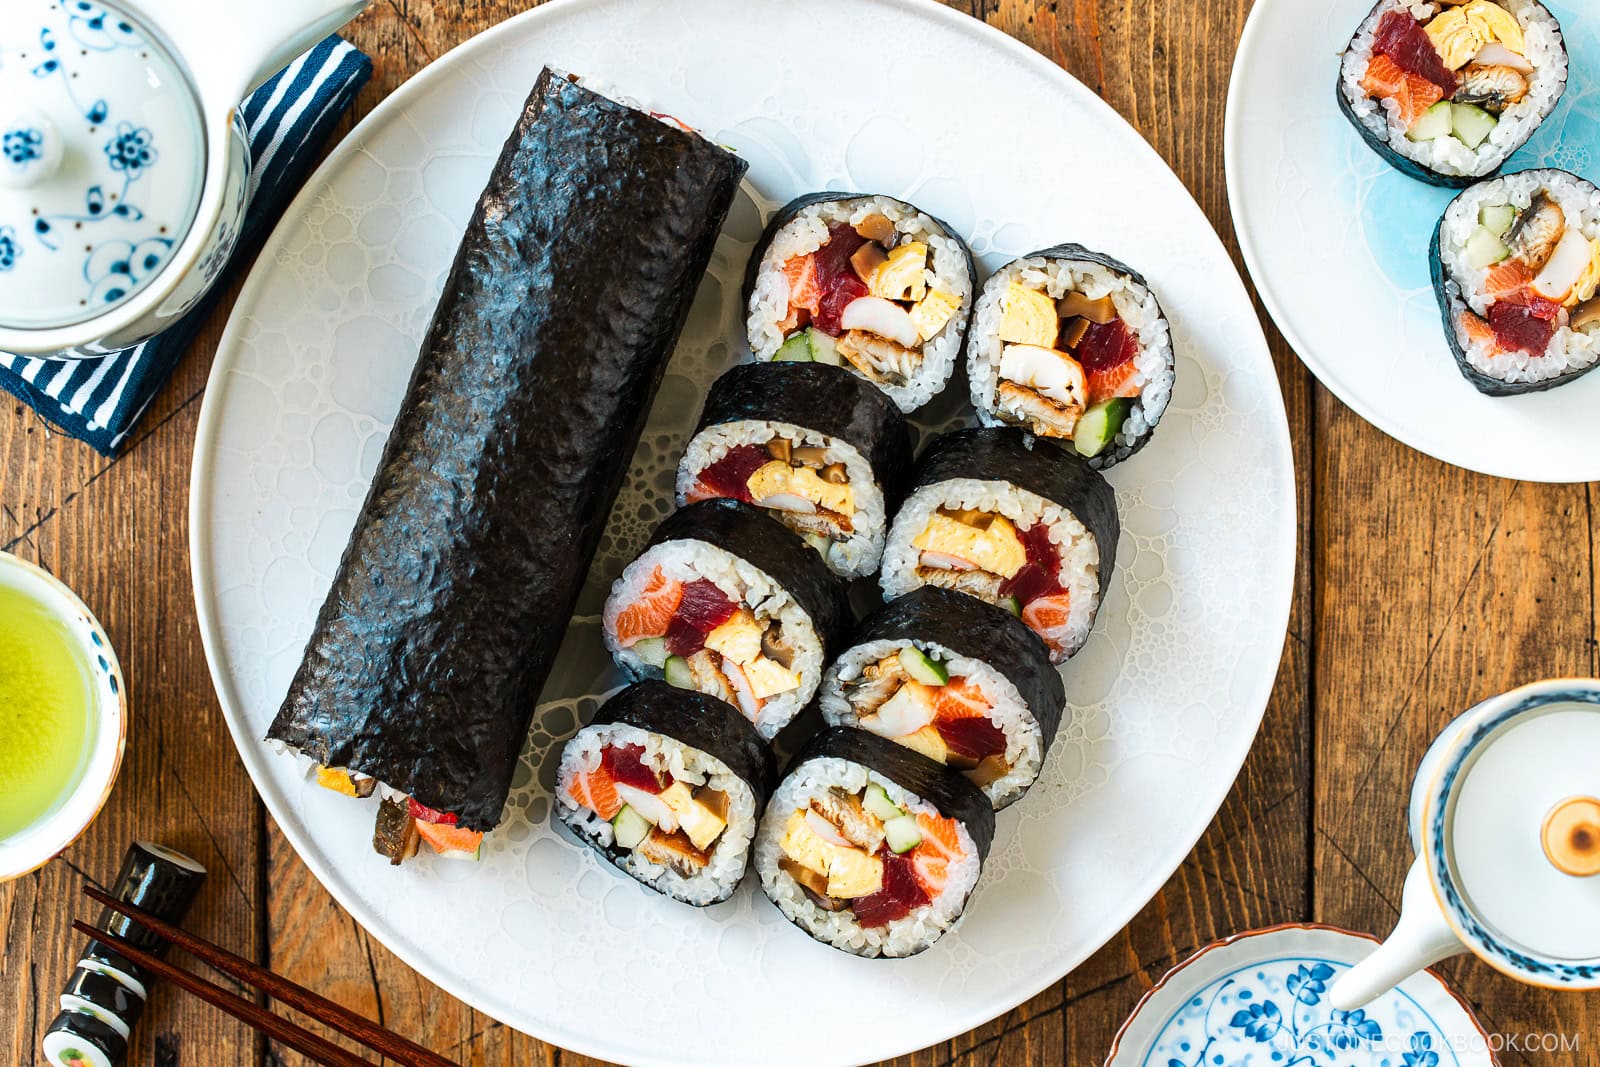
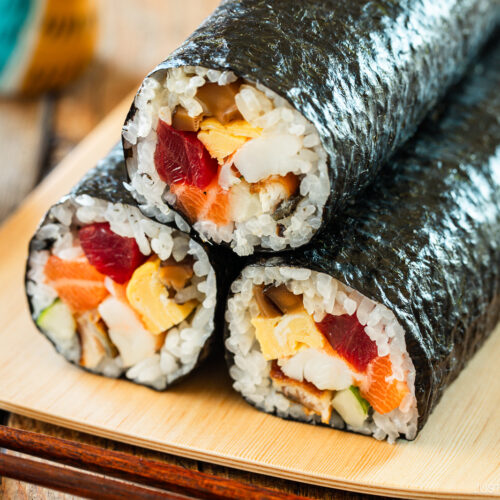
Ehomaki is a long and thick sushi roll that we enjoy during Setsubun, a Japanese festival marking the transition from winter to spring. Bring good fortune with my modern version of homemade ehomaki that uses seven simple fillings!
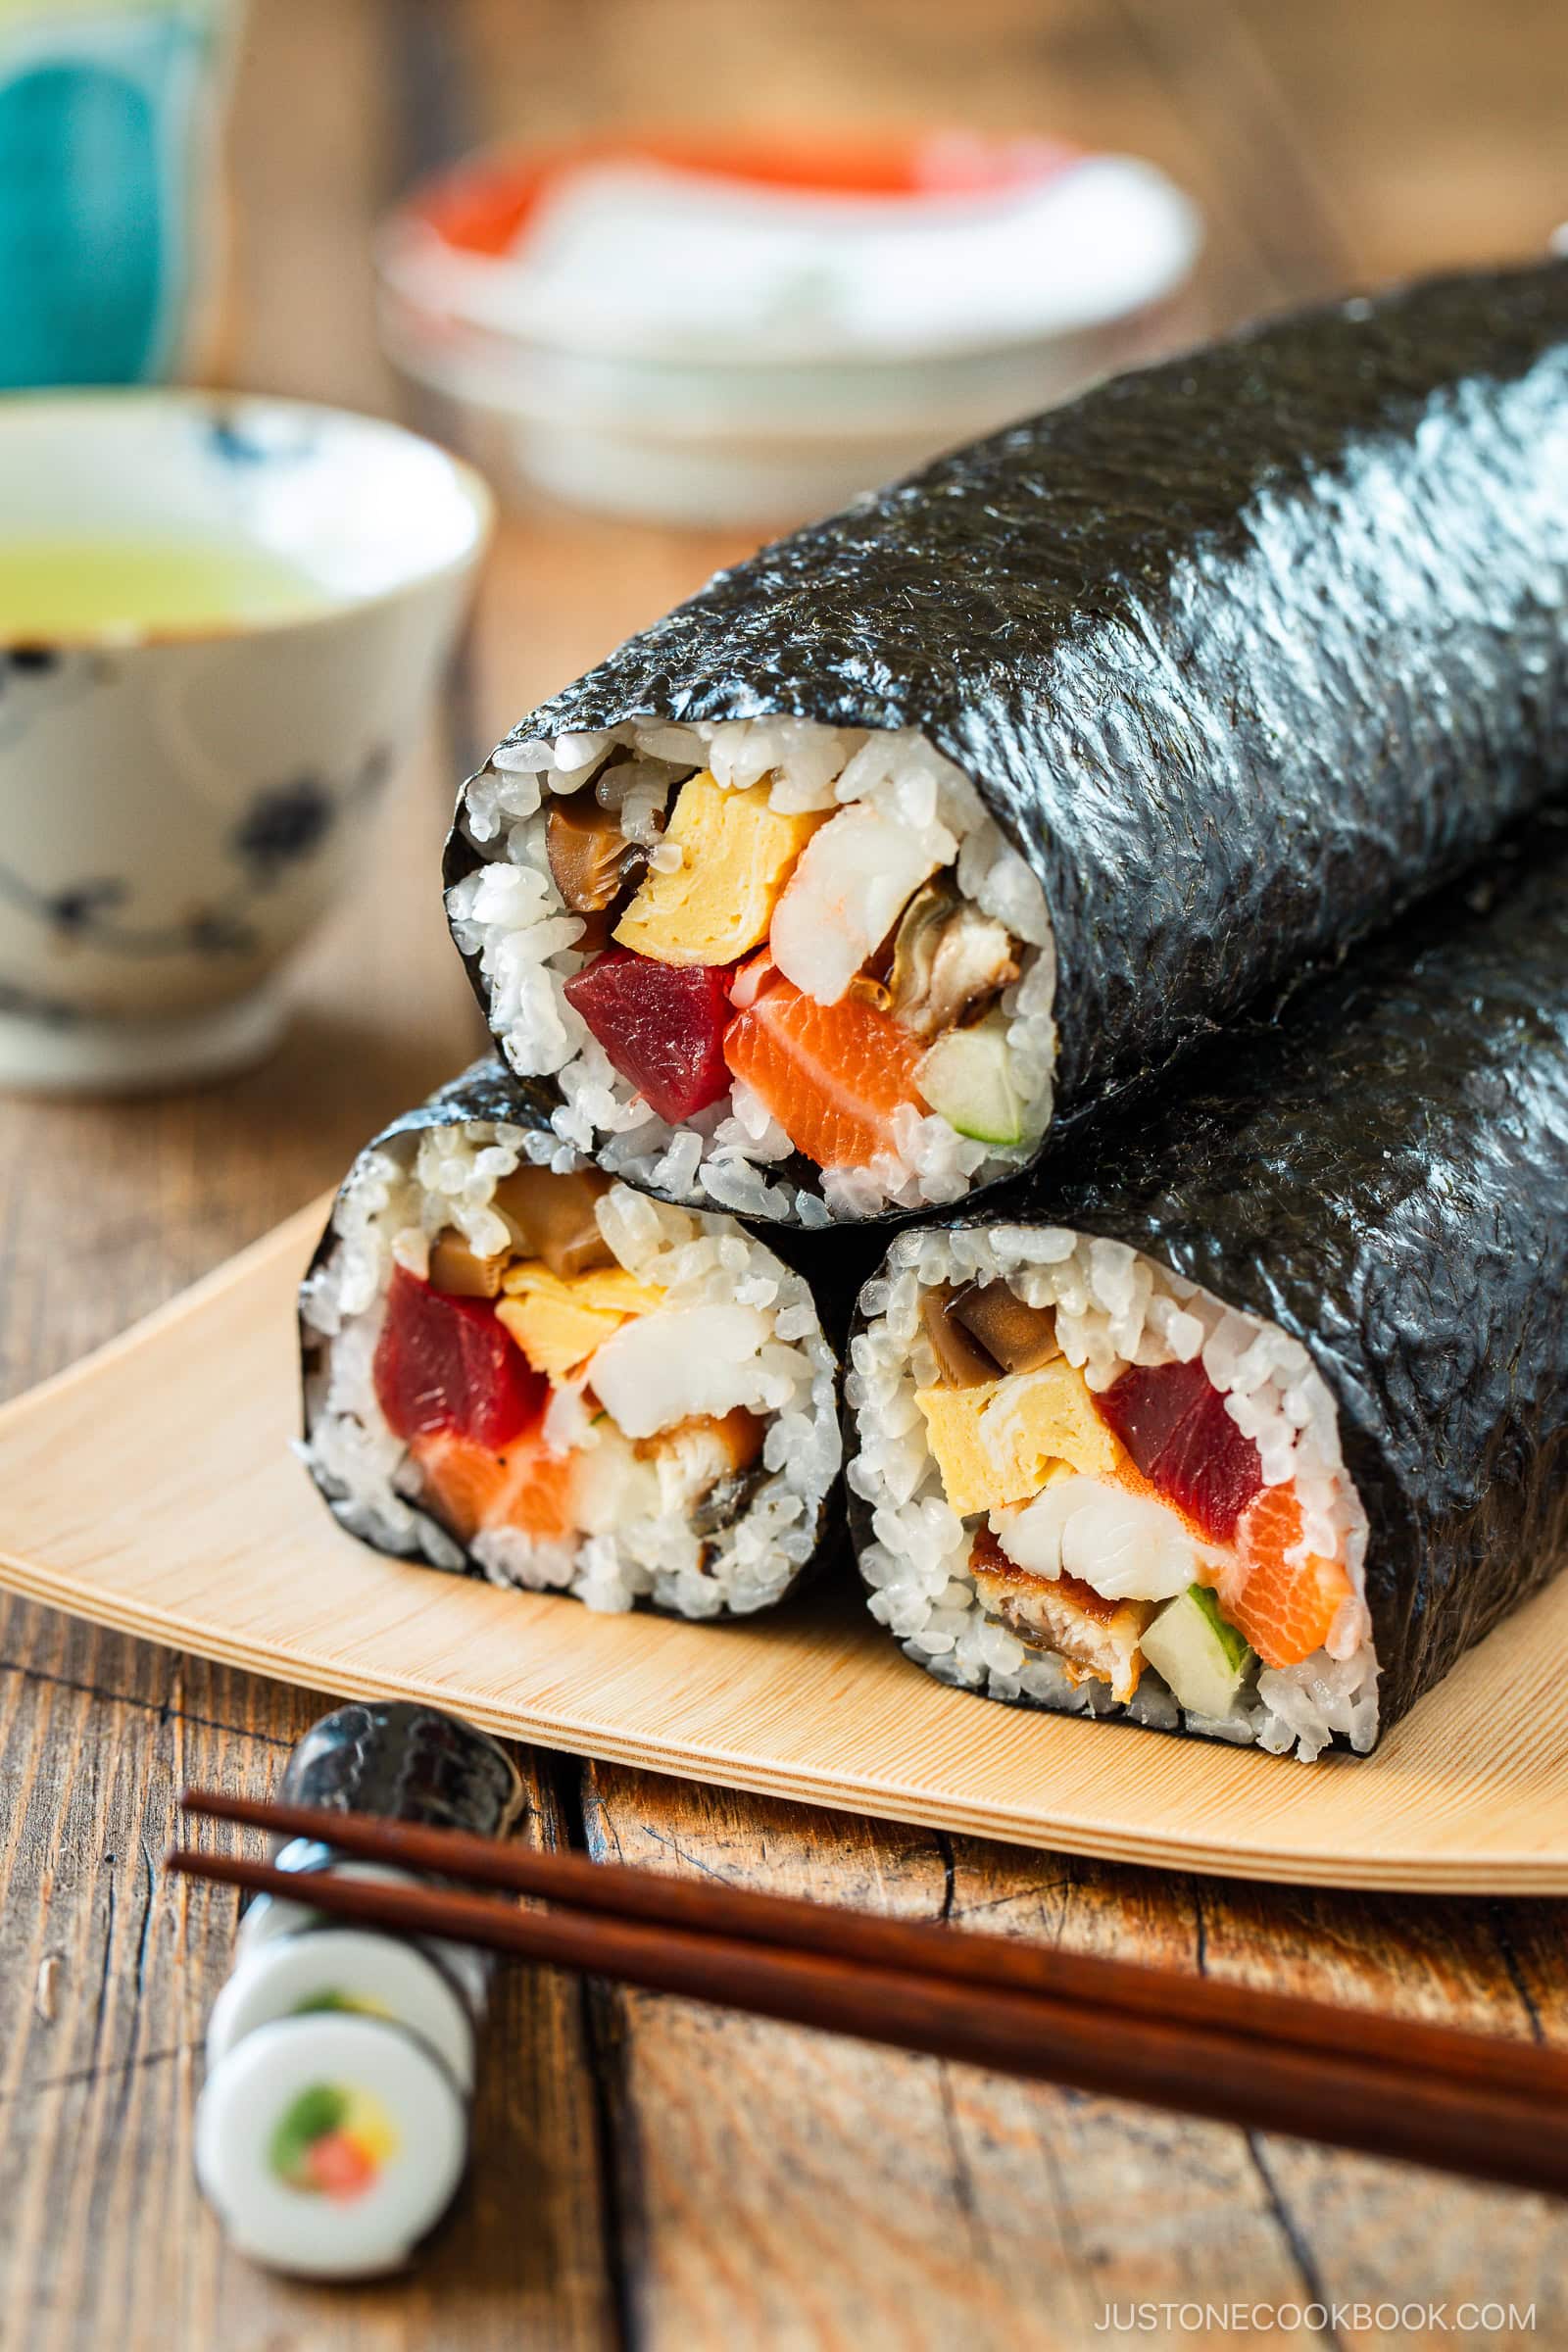
Every year on February 3rd in Japan, we celebrate Setsubun (節分, Japanese Bean-Throwing Festival) by eating ehōmaki (恵方巻), an uncut, thick roll with seven fillings for good fortune. Today, I’ll show you how to make a modern version of Ehomaki or Setsubun Sushi Rolls so you can carry on this fun and delicious tradition at home.
If you love sushi rolls, try my Vegetarian Sushi Rolls, Spicy Tuna Rolls, and Futomaki (Maki Sushi) recipes next!
What is Ehomaki?
Eating uncut sushi rolls for luck may have started in Osaka in the late Edo period (1603–1868) and early Meiji period (1868–1912), but the custom gain national popularity only in the 1990s. On Setsubun, we face the auspicious direction or eho (恵方) of the new year’s zodiac symbol (west-southwest for 2025). Then, we eat the ehomaki without stopping, looking away, or speaking while we pray for good health, prosperity, and family harmony. The biggest no-no is to slice the roll, for that would cut off our luck!
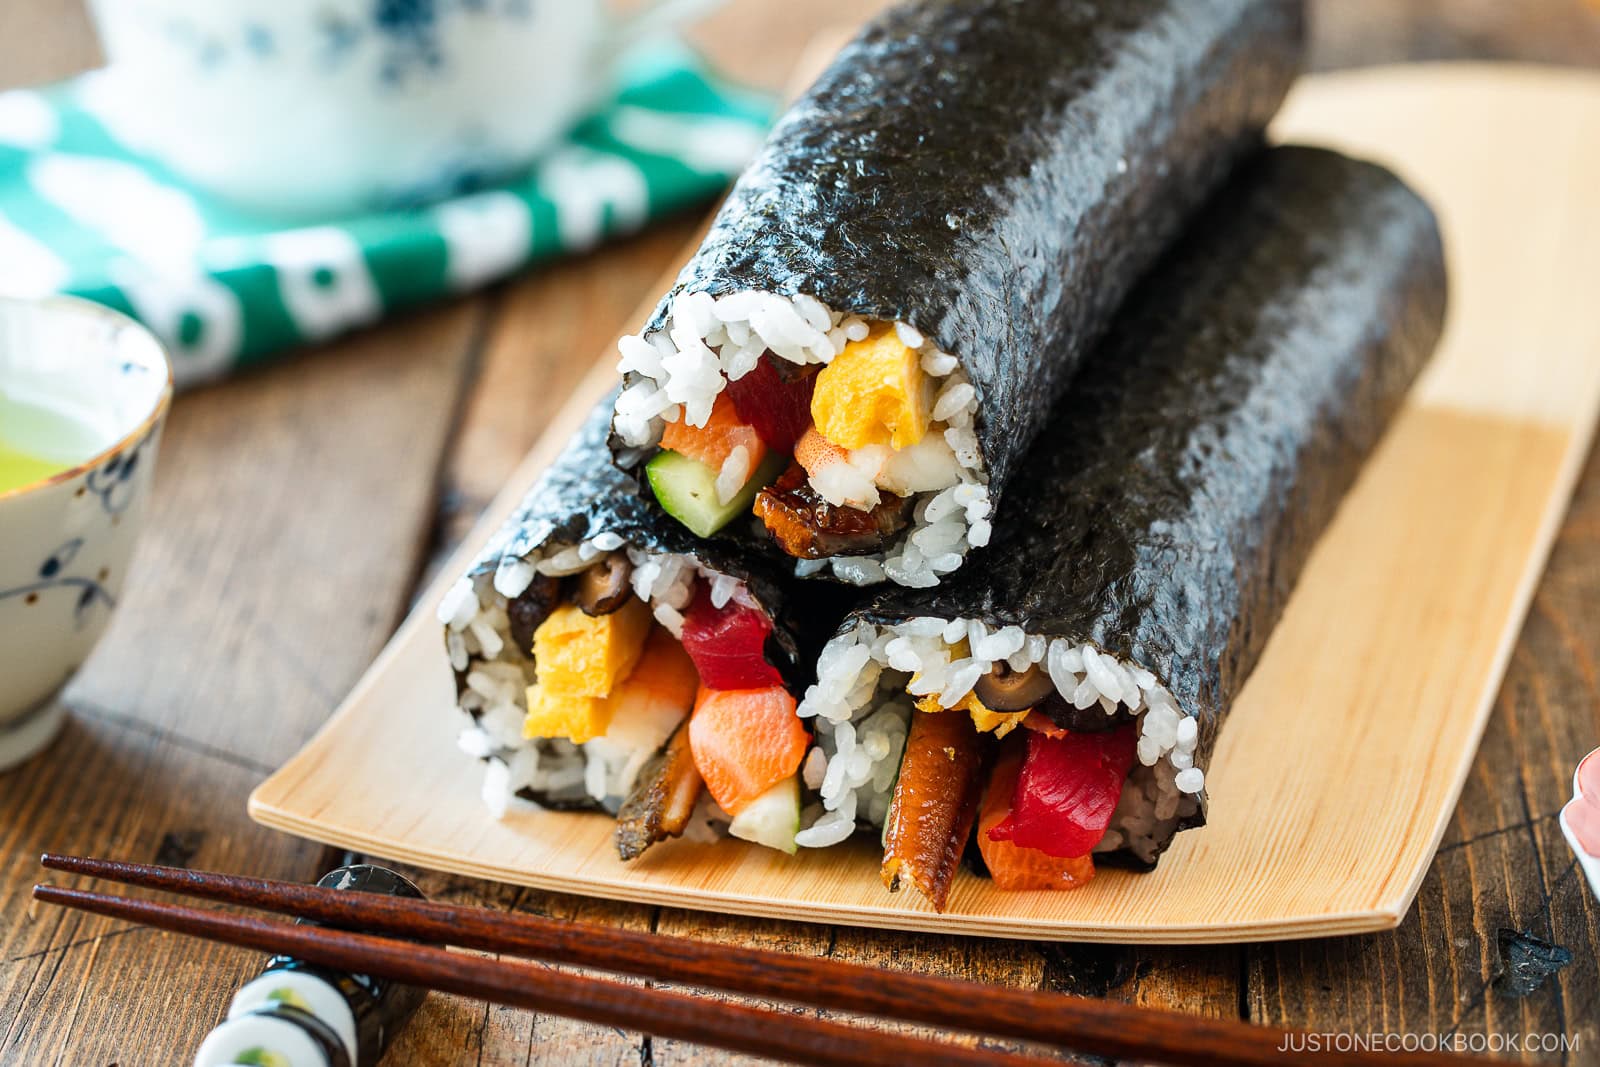
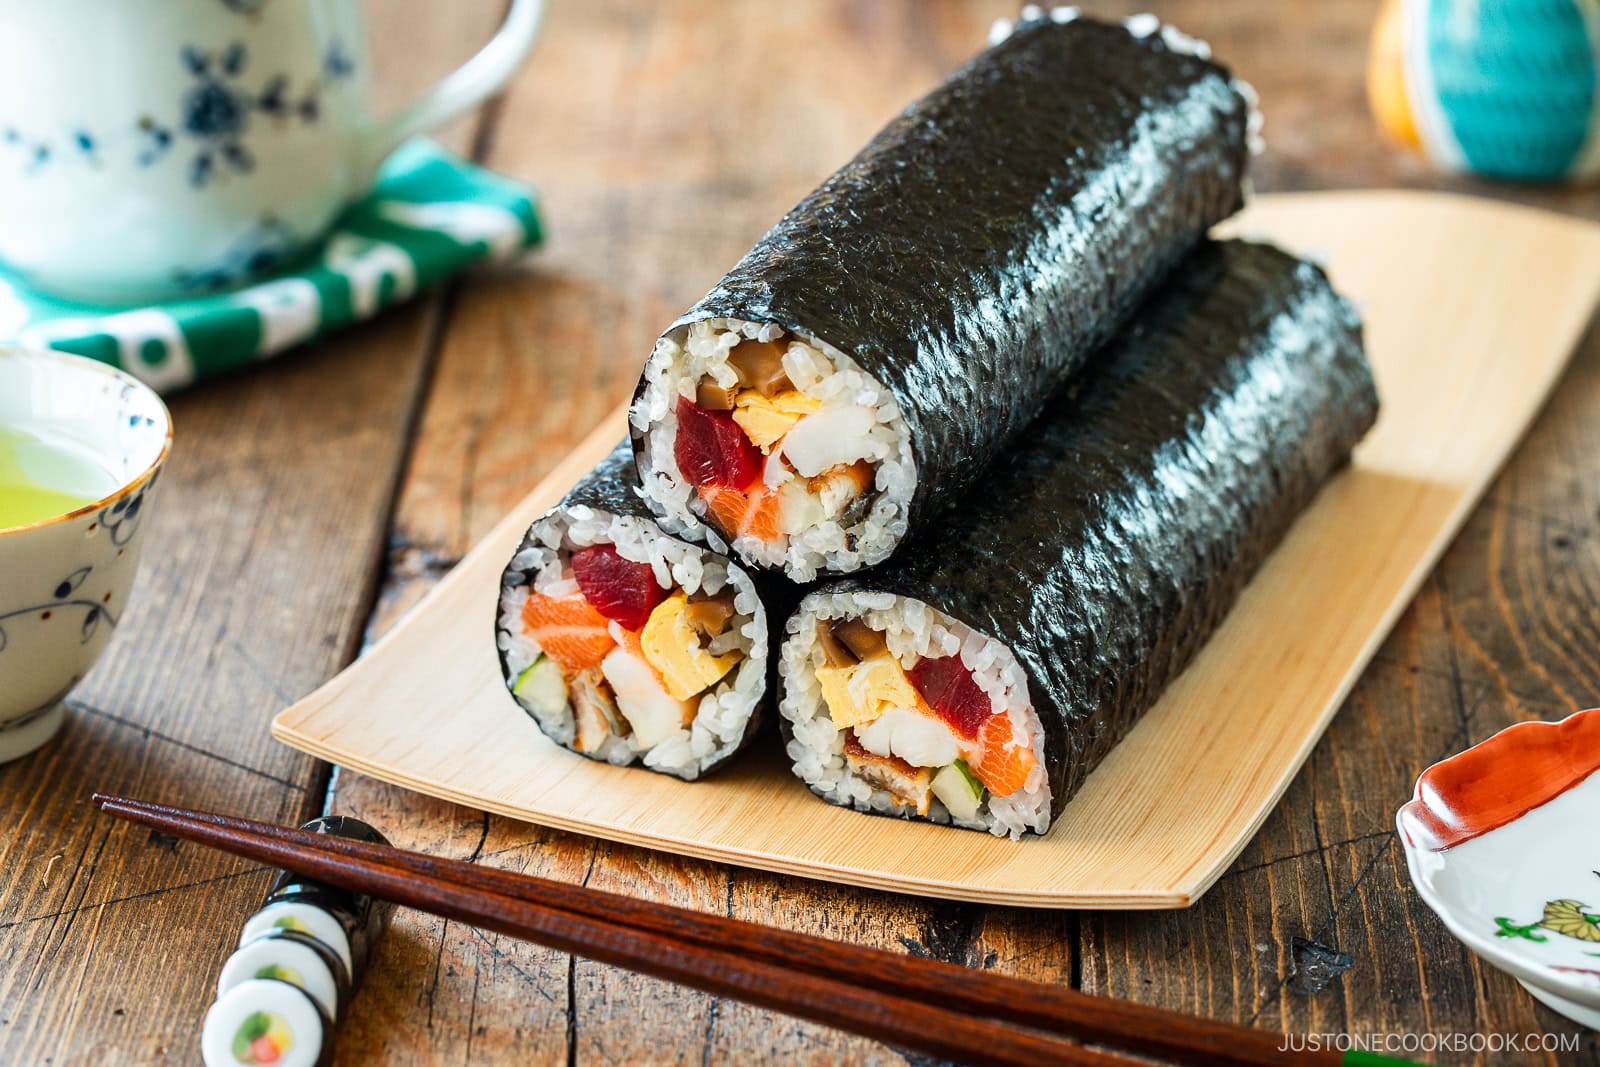
Why I Love This Recipe
- It uses seven simple fillings – Ehomaki must have seven fillings for good luck, and I’ve chosen colorful and tasty ones that are easy to find in a Japanese market.
- It’s quick and easy to prepare – I selected easy-to-prep ingredients, so the rolls come together fast. You don’t have to use the traditional fillings in futomaki, the classic choice for ehomaki.
- Makes a handheld, portable meal – Eat these uncut sushi rolls just like a burrito—no chopsticks needed! They’re convenient to wrap and pack for a quick meal or picnic on Setsubun or any time of the year.
Ingredients for Ehomaki
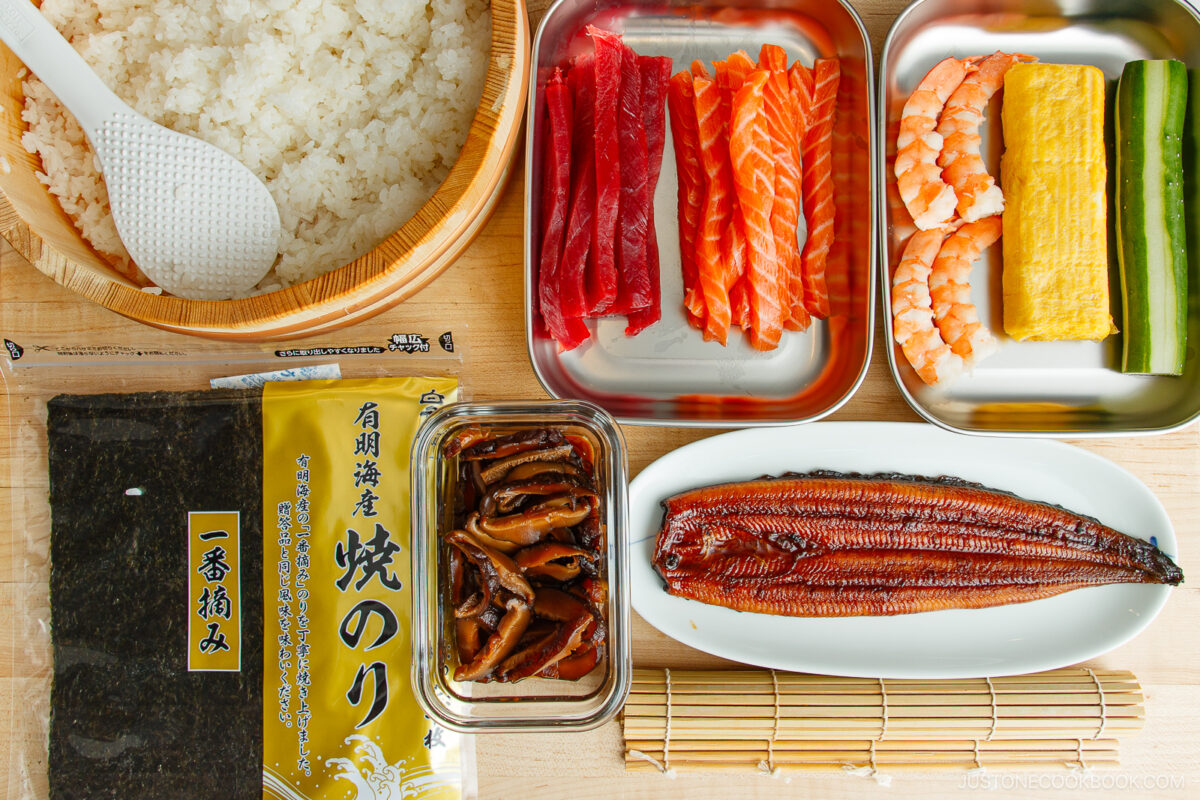
Nowadays, more people in Japan opt for their favorite fillings to honor the Seven Lucky Gods (七福神) instead of using the traditional auspicious ones—kanpyo (dried gourd), shiitake mushrooms, rolled omelette, eel, shrimp, cucumber, and sakura denbu (cherry blossom fish paste). In fact, it’s not the ingredients themselves but the number seven that represents the lucky gods. So, be sure to use seven fillings! Here are mine.
- Salmon sashimi
- Tuna sashimi
- Tamagoyaki (Japanese Rolled Omelette)
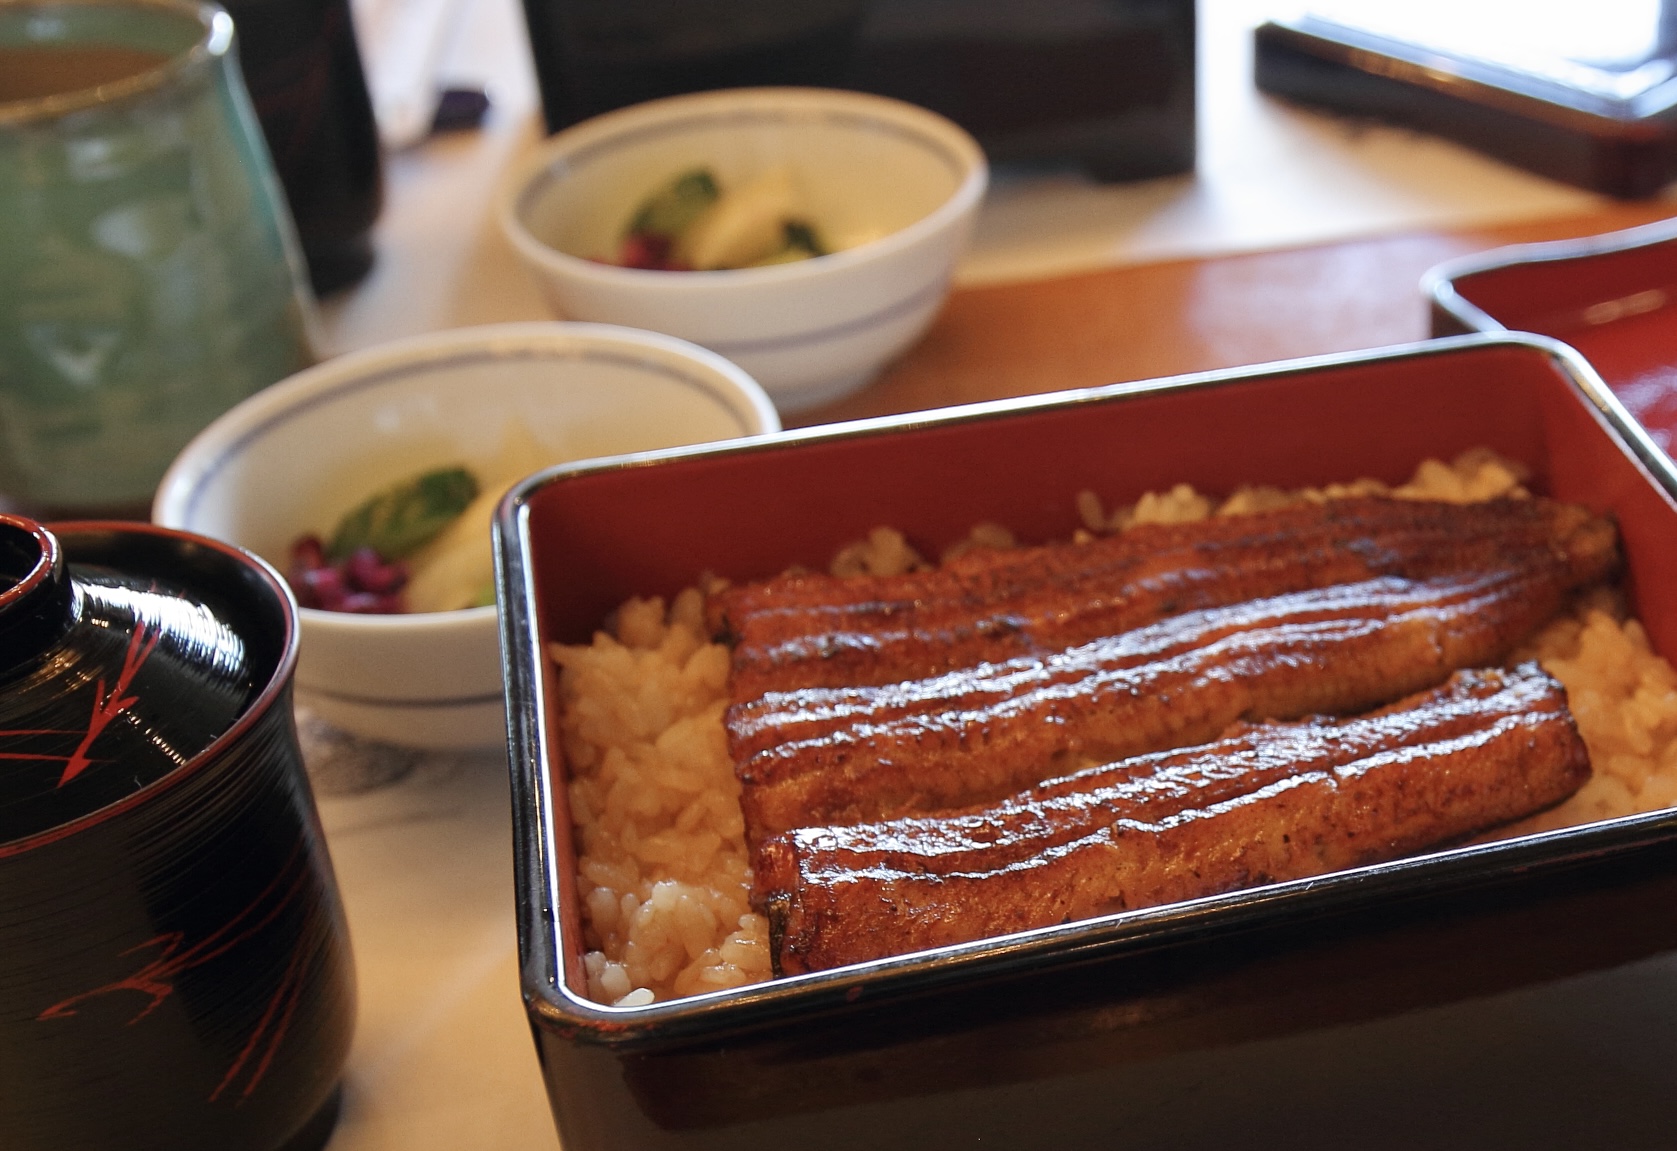
- Unagi – broiled
- Shrimp (ebi) – boiled
- Simmered Shiitake Mushrooms
- Japanese or Persian cucumbers
- Sushi rice – See how to make it in my recipe How to Make Sushi Rice
- Nori sheets
Find the printable recipe with measurements below.
Substitutions
- Salmon and Tuna Sashimi: I chose these two varieties of raw fish since they’re easy to find in Japanese grocery stores. They’re also so simple to prepare. The sashimi replaces the more traditional ingredients of sakura denbu and kanpyo (dried gourd strips) that may be hard to find. That said, I encourage you to try them if you can. If you’d like to see how I make simmered kanpyo filling, see my Futomaki recipe.
- Bamboo sushi rolling mat – I recommend the Sushi Making Kit from JapanBargain that comes with three bamboo mats, three rice paddles, and a Japanese wooden tub called hangiri for seasoning the sushi rice.
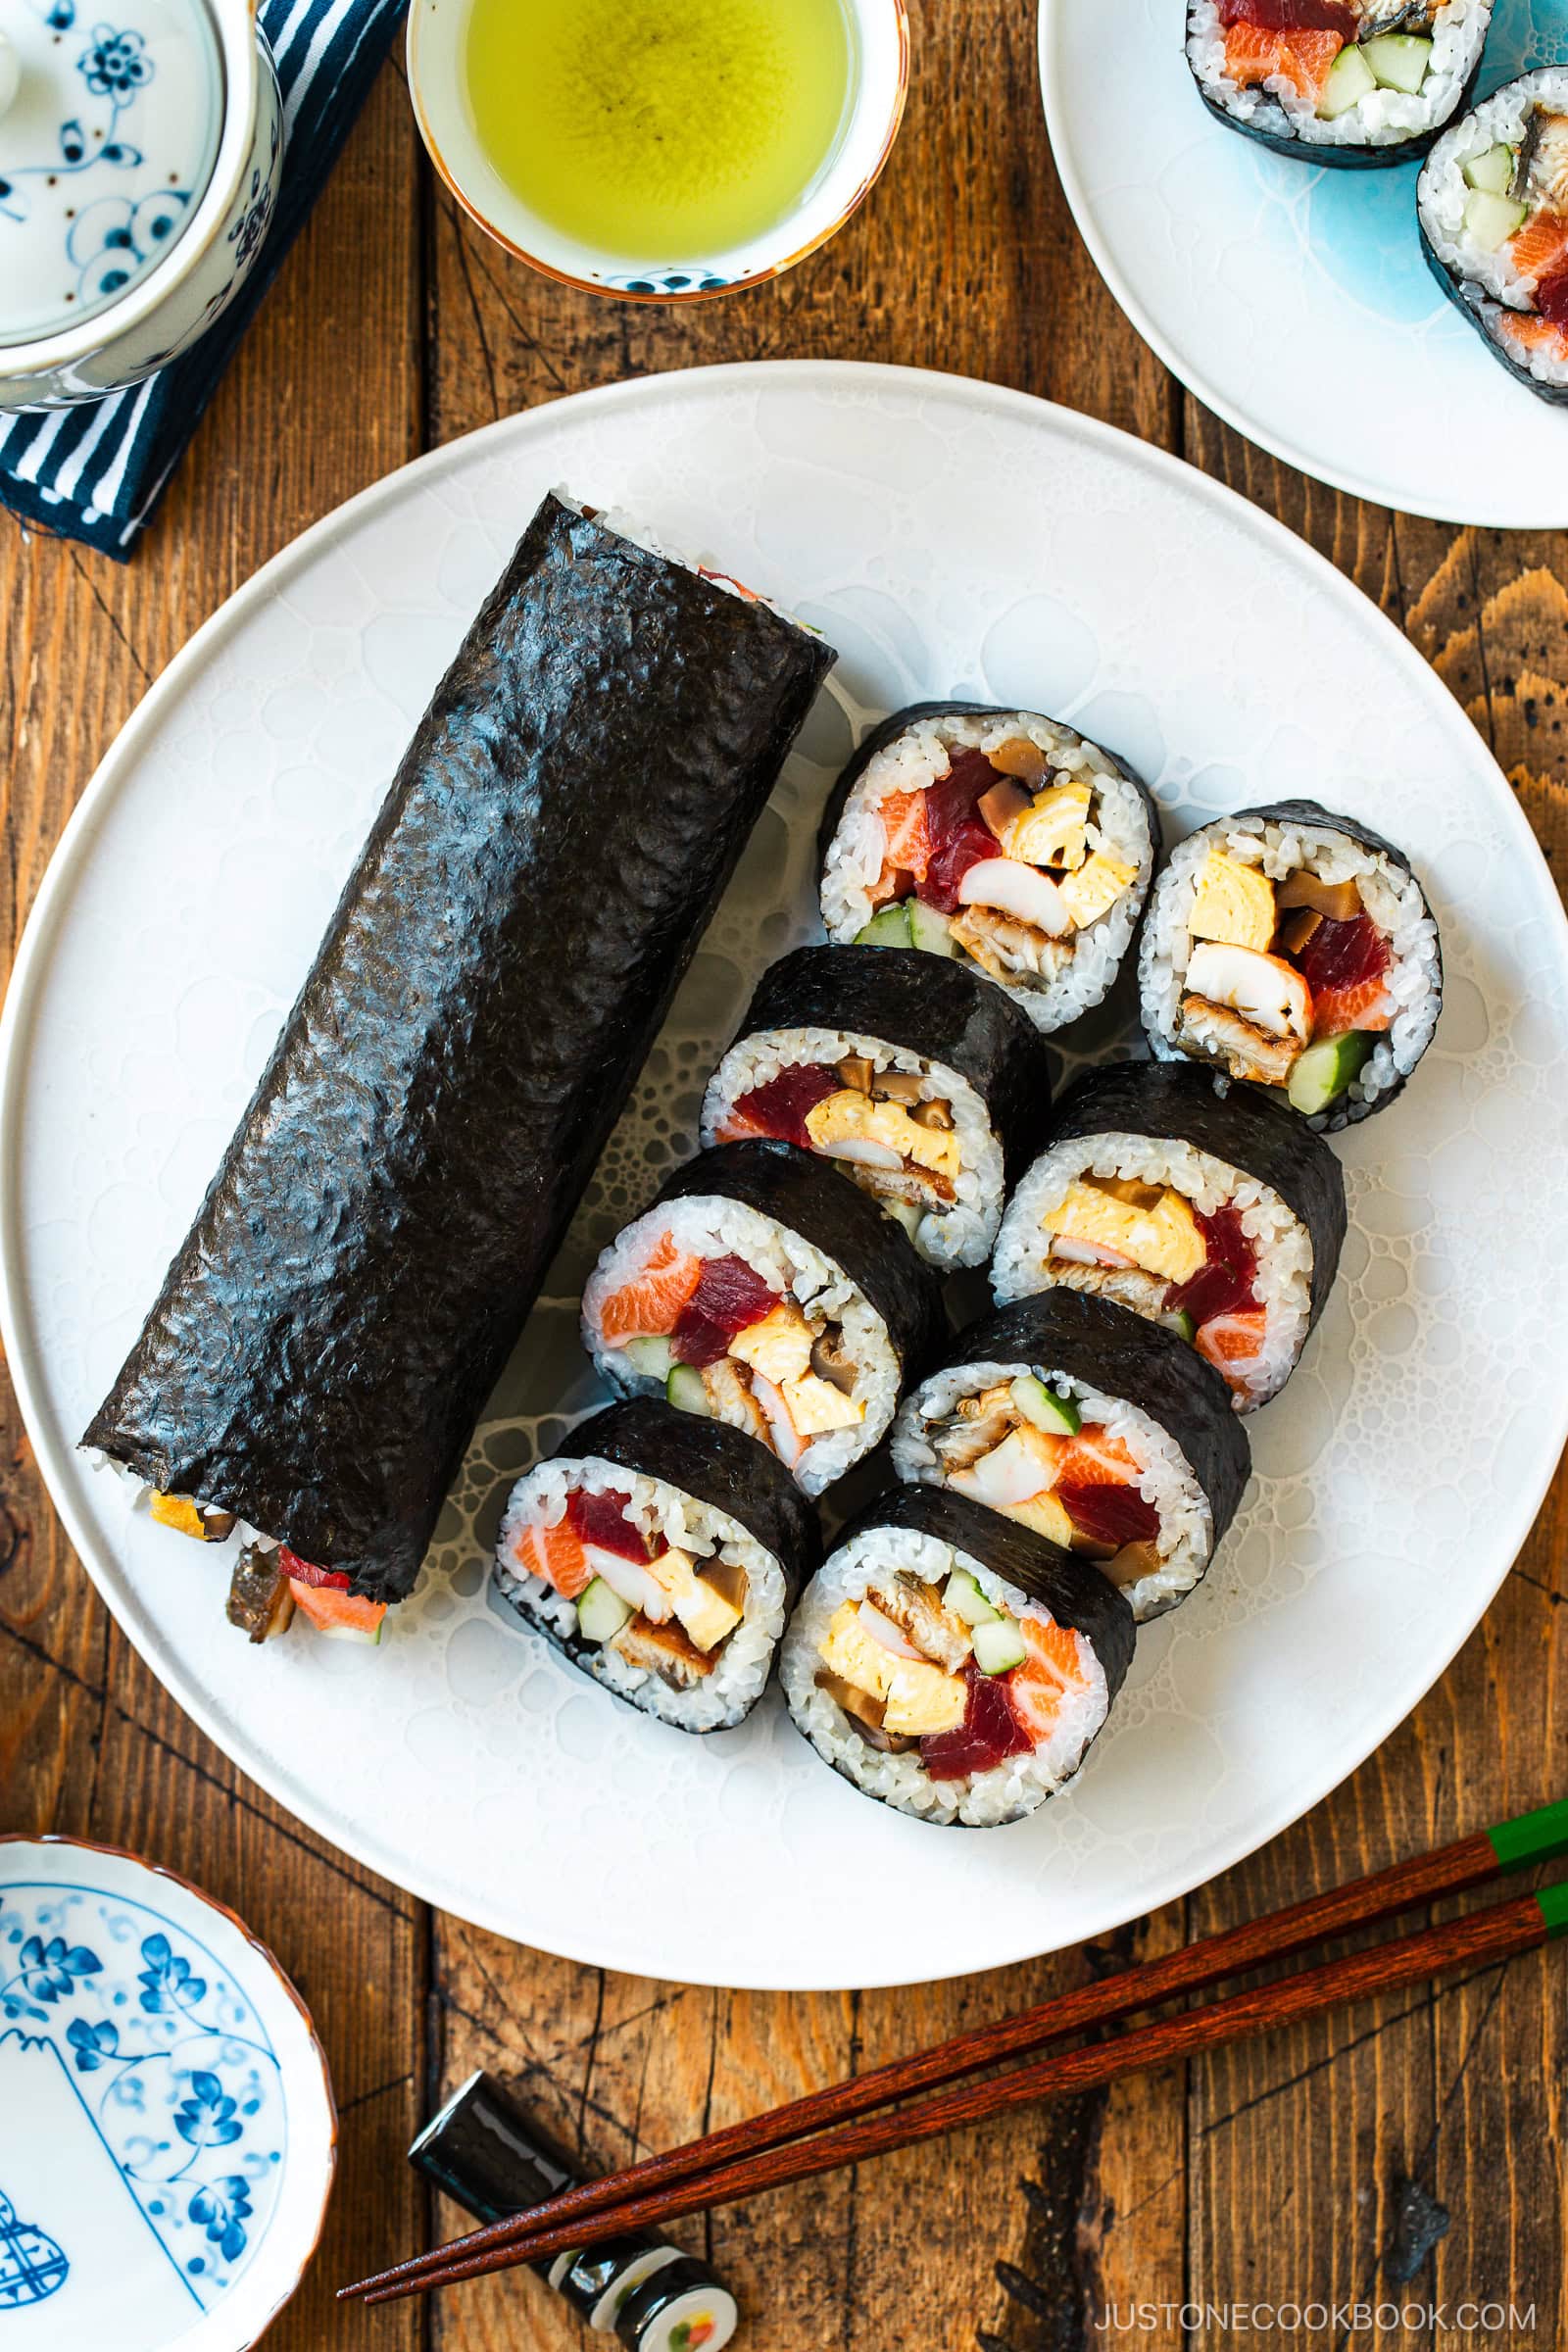
How to Make Ehomaki
In Japan, ehomaki for Setsubun are available for purchase at convenience stores, supermarkets, department stores, and sushi shops. While buying them is convenient, it’s not hard to make your own, especially if you keep the fillings simple. Here’s how I do it.
Preparation
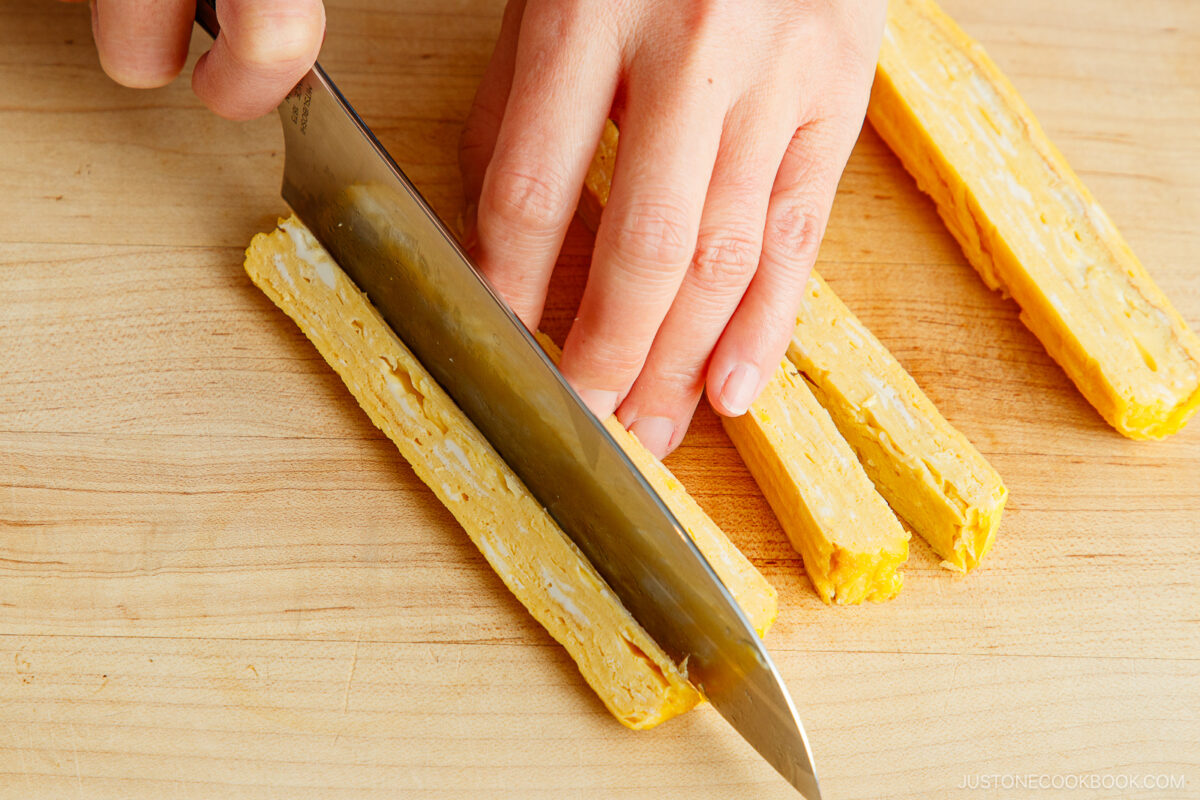
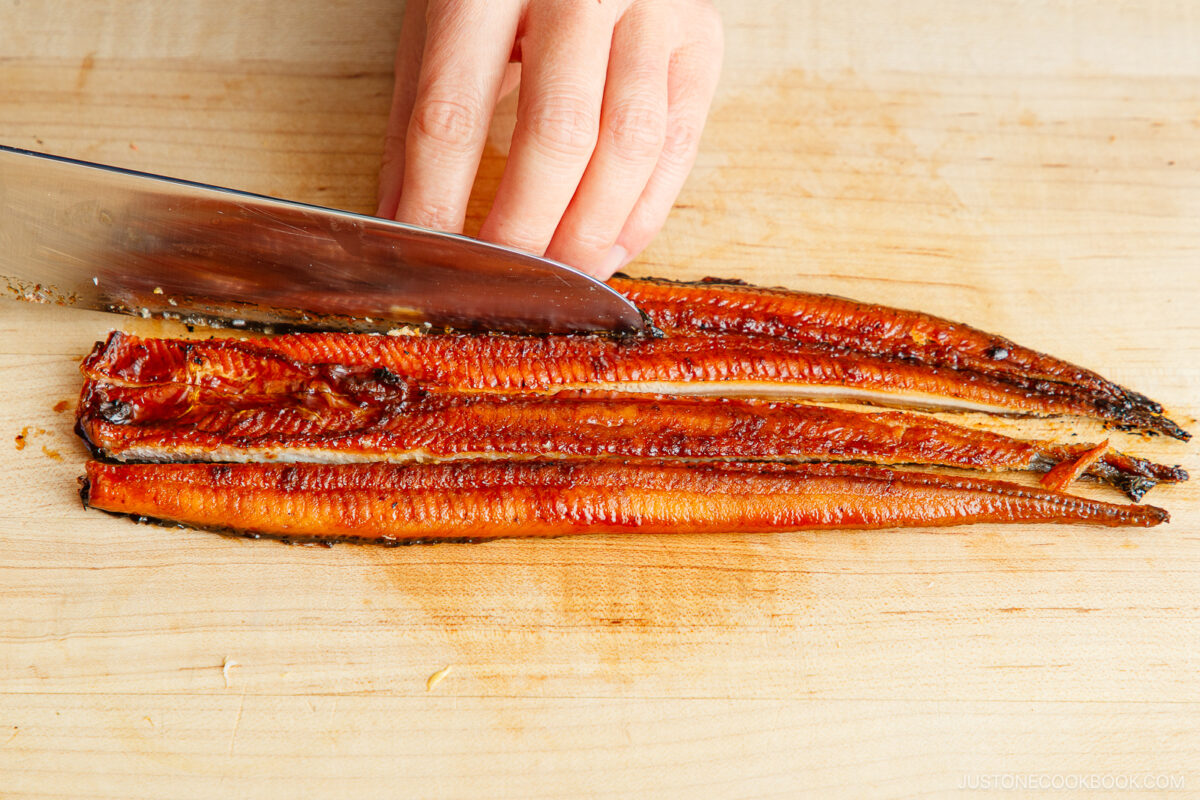
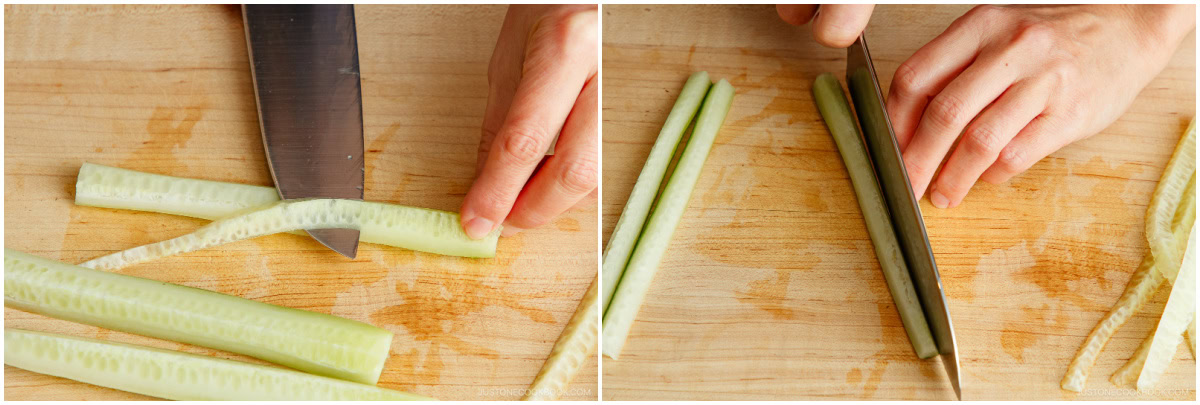
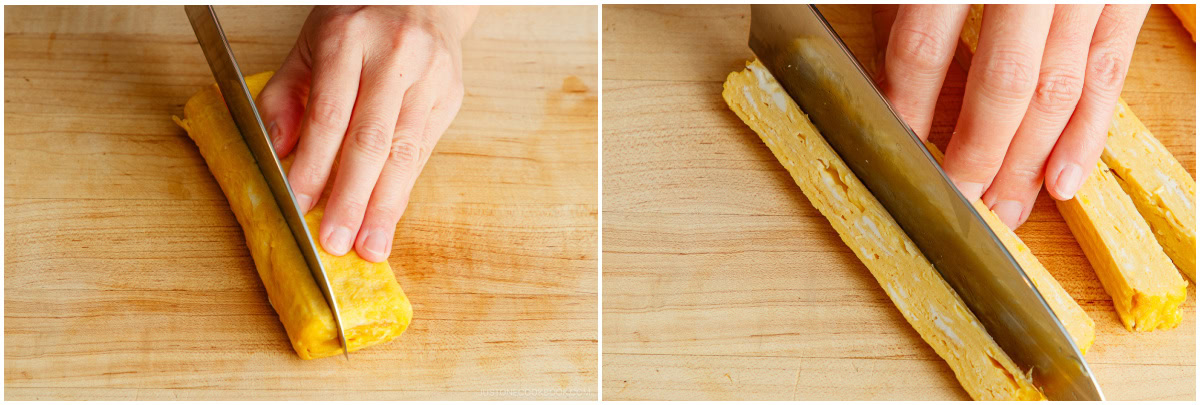
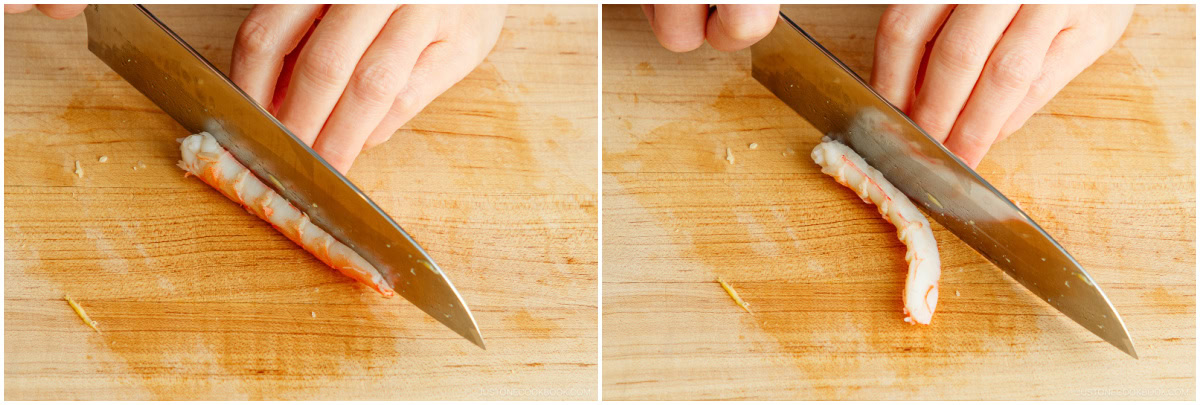
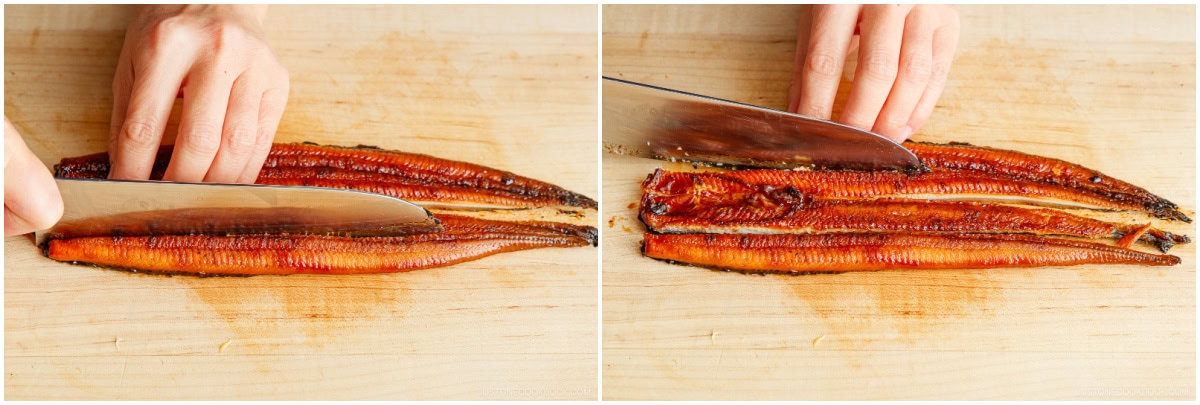
Step 1 – Cut the filling ingredients into long strips. Slice the seeded cucumber and tamagoyaki lengthwise into eight sticks. Cut the shrimp in half lengthwise and the broiled unagi into four lengthwise strips.
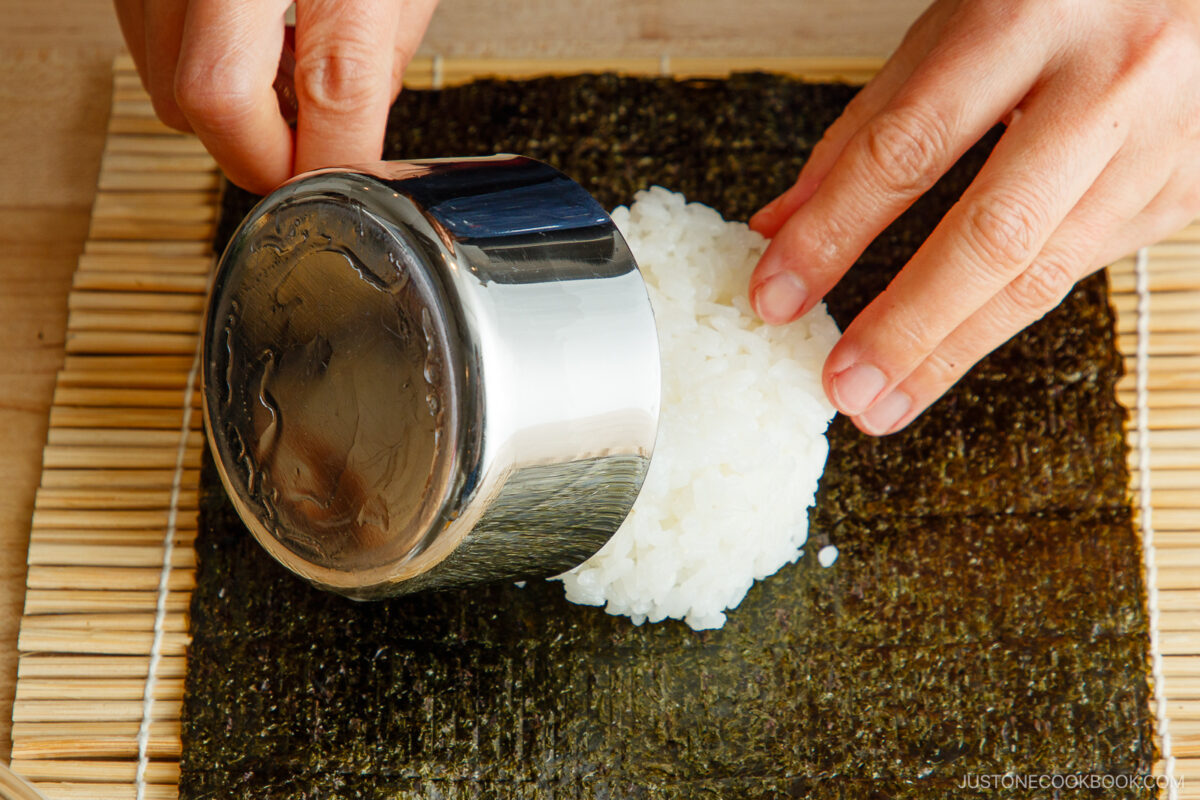
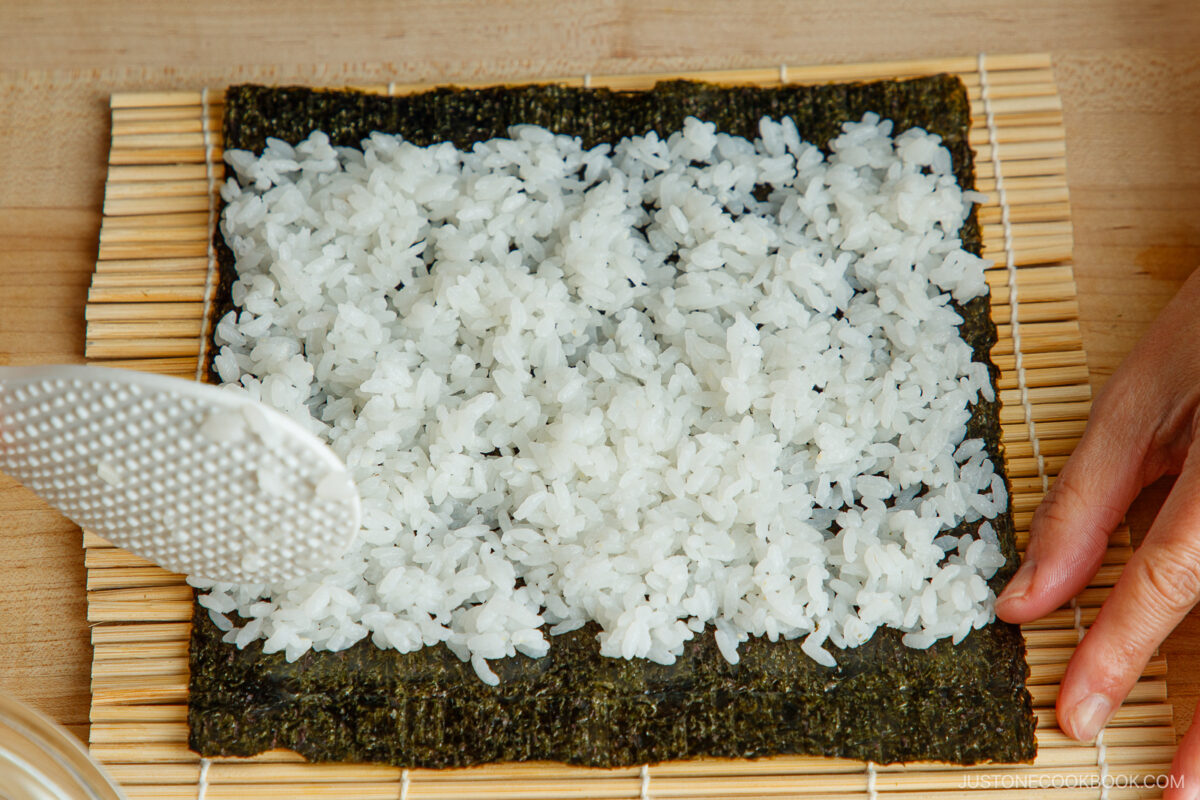
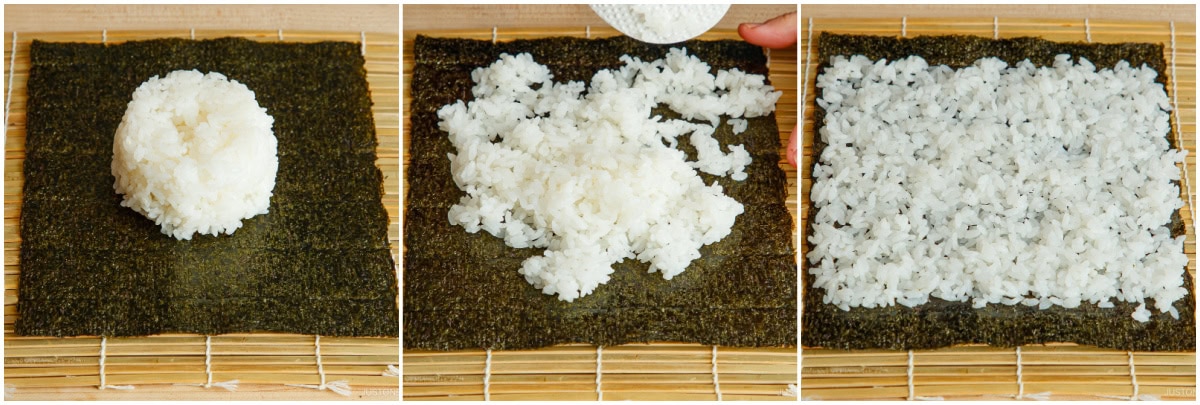
Step 2 – Spread the sushi rice on the nori sheet. Center the seaweed sheet on the bamboo mat. Spread one cup of sushi rice evenly on the nori, leaving an empty strip along the top and bottom.
Filling
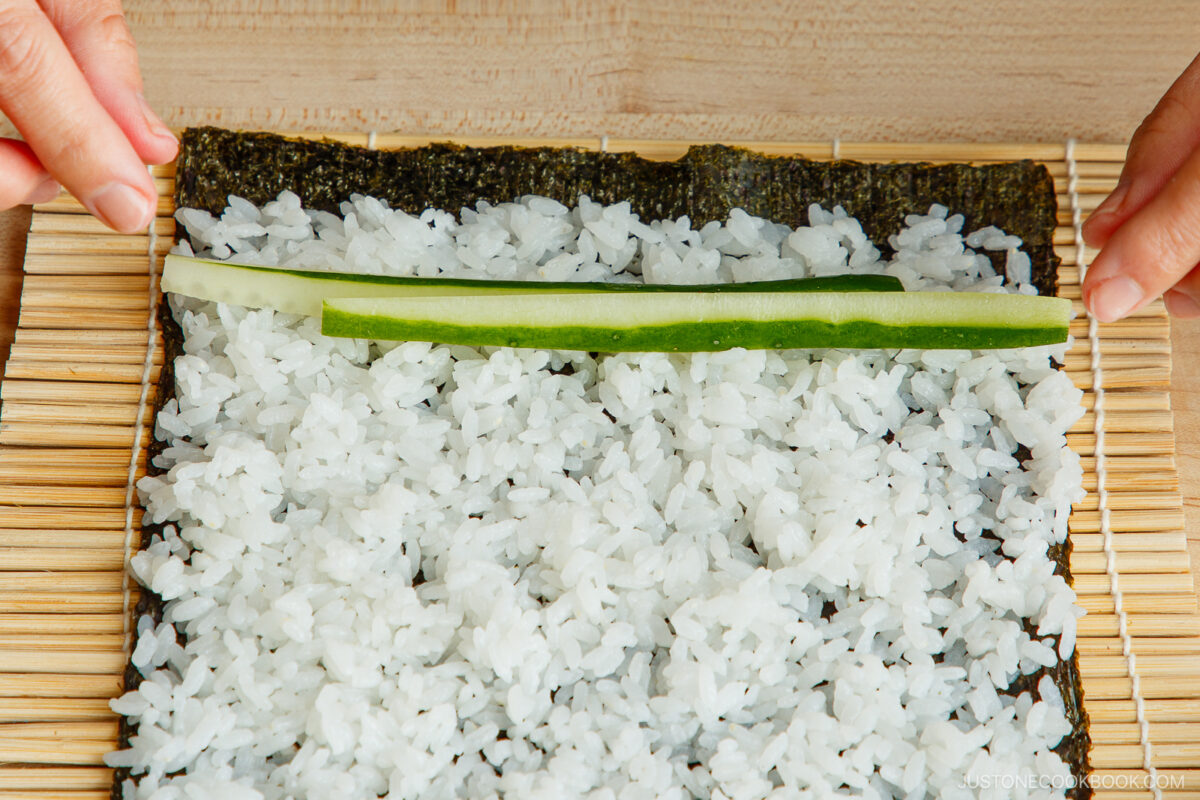
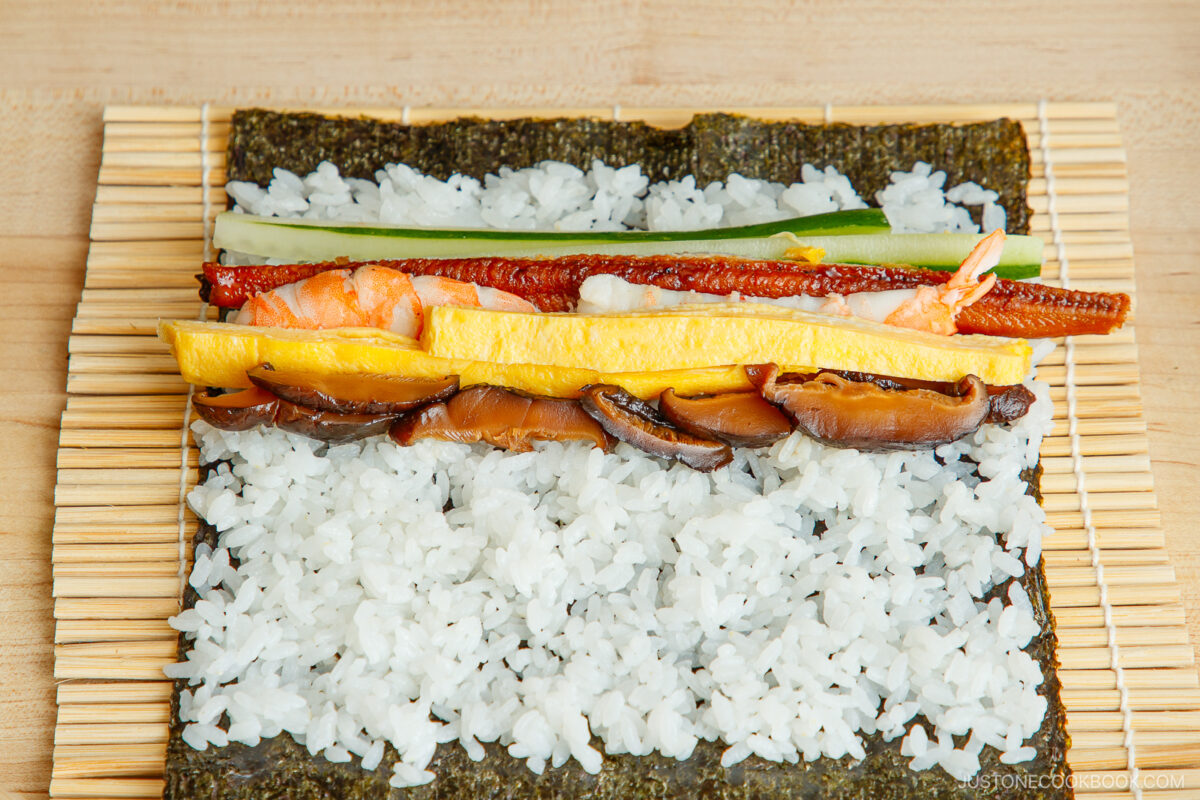
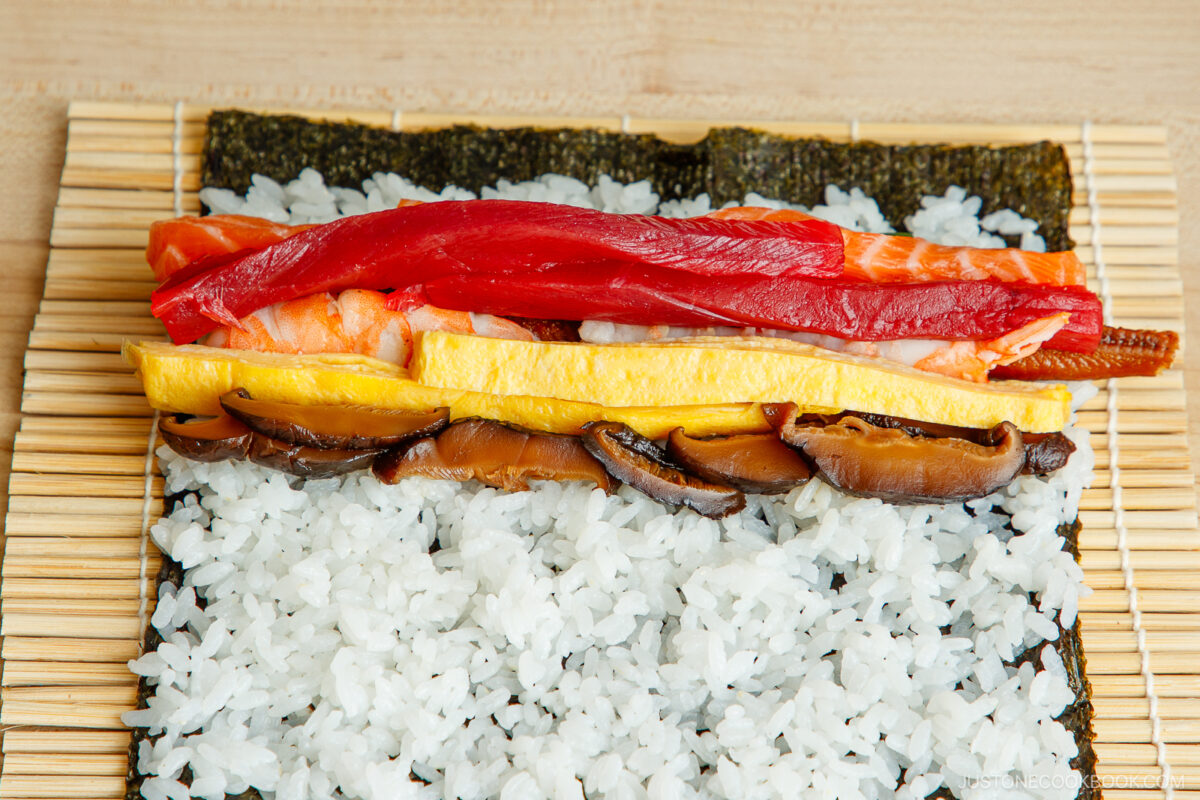
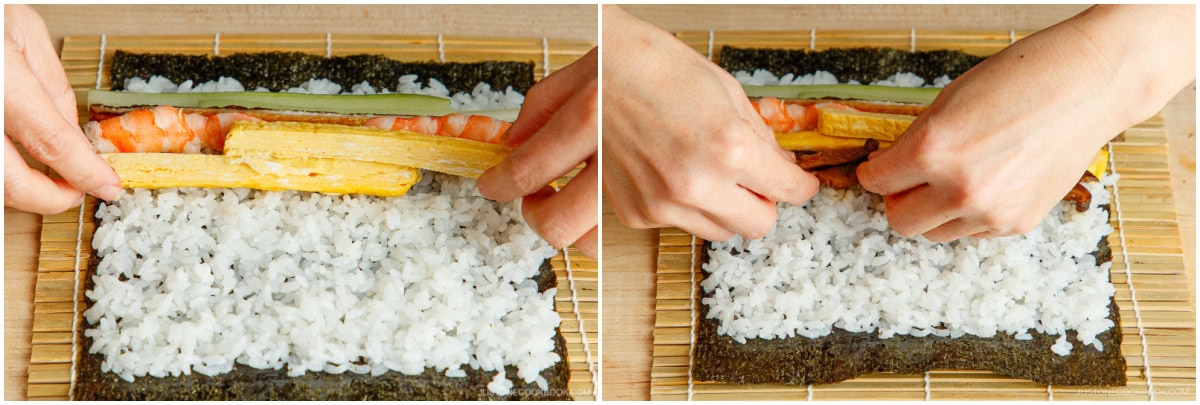
Step 3 – Add the first layer of fillings. Starting 1/4 inch up from the rice’s bottom edge, line up the cucumber sticks across the width of the nori sheet. Then, place the unagi, shrimp, and tamagoyaki, turning the shrimp and unagi on their vertical edge to keep the fillings compact. Add the shiitake mushroom pieces last.
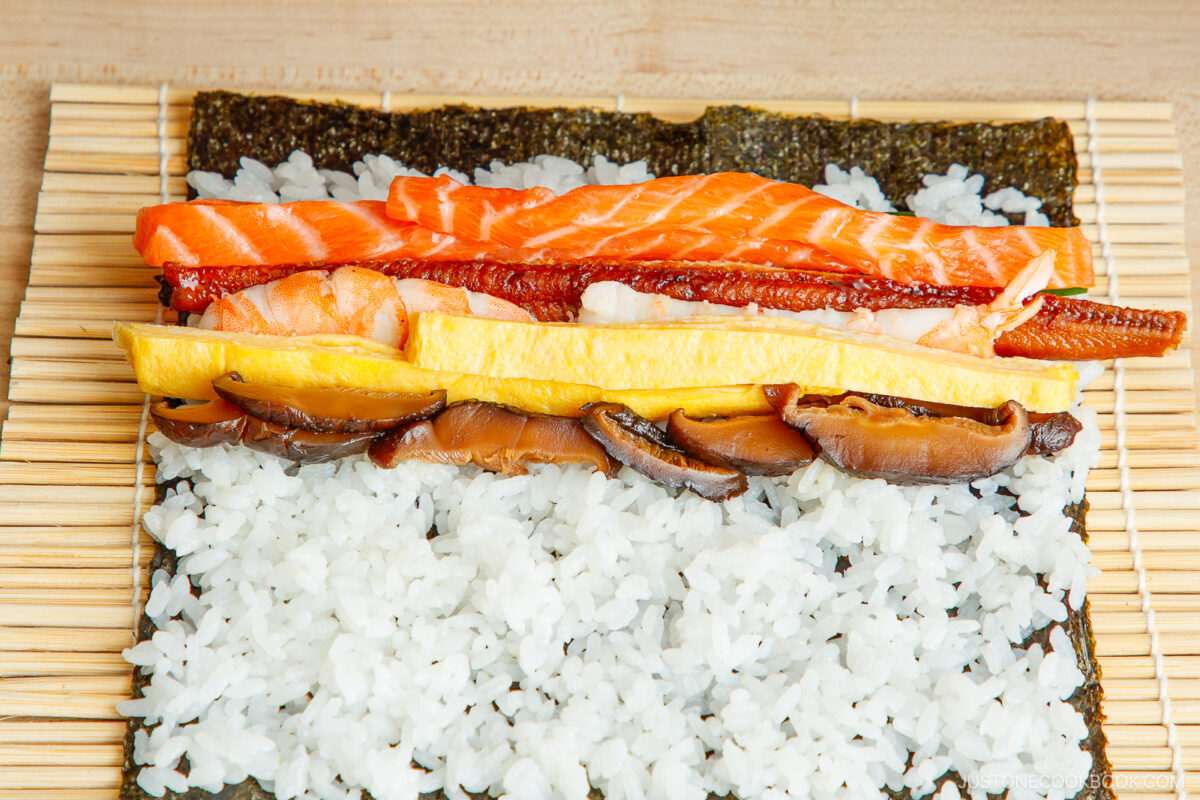
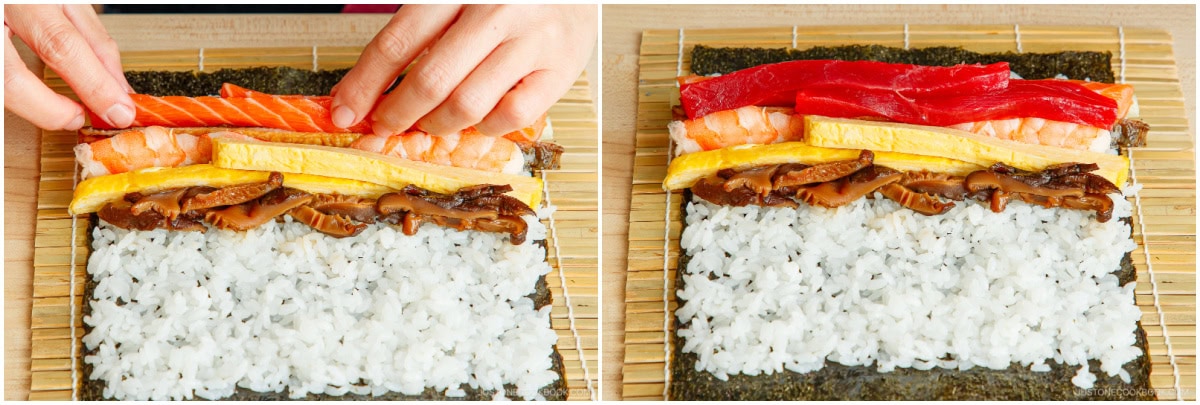
Step 4 – Add the sashimi on the second layer. Place the salmon and tuna across the top of the cucumber and unagi.
Rolling
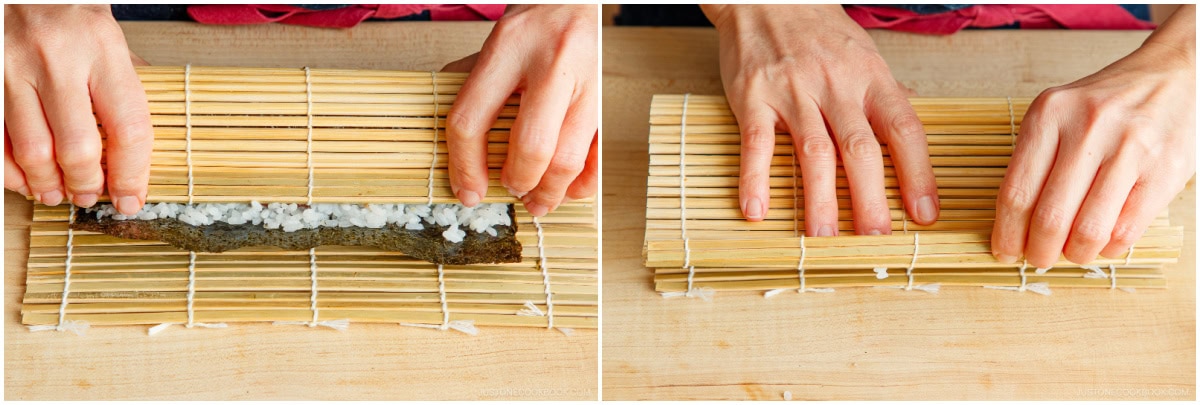
Step 5 – Roll the nori and rice over the fillings. Grab the bottom edge of the mat and nori sheet with your thumbs and index fingers. Tightly roll the bottom edge over the filling while holding the ingredients in place with your other fingers. Lift away the mat slightly as you roll firmly until the rice at the bottom and top meet.
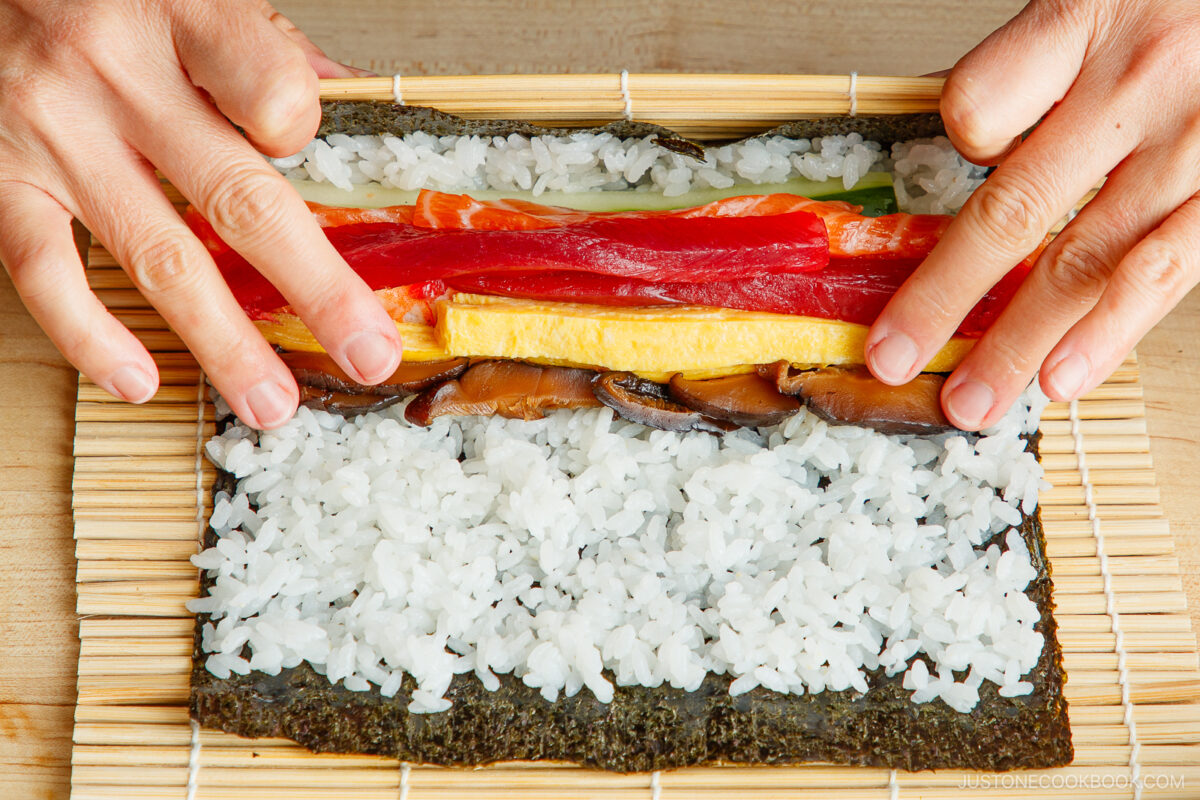
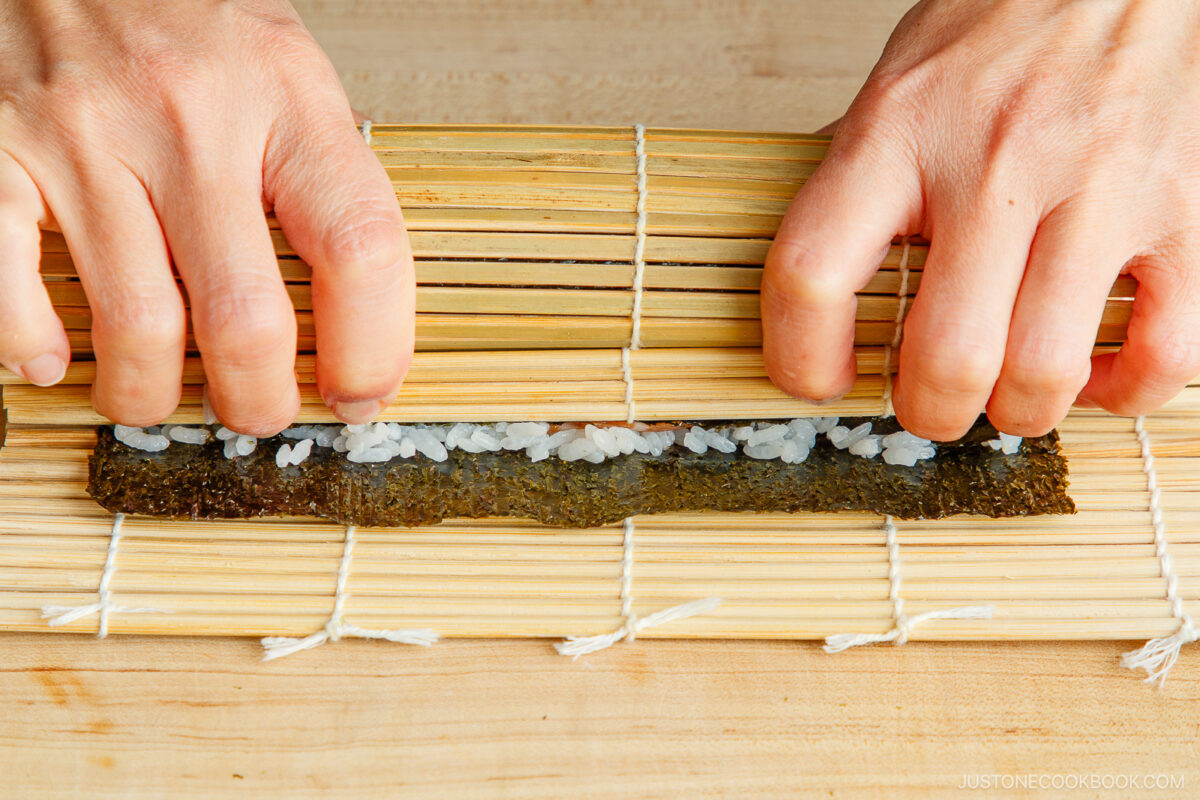
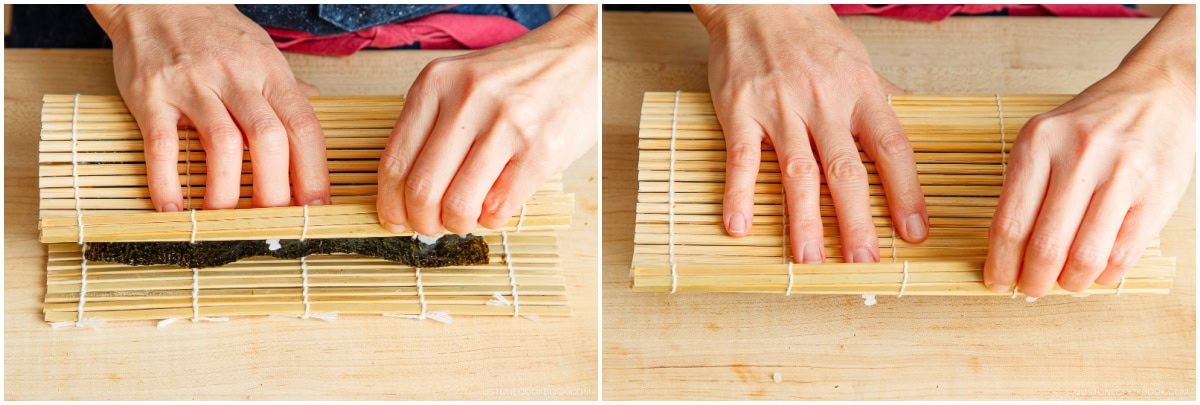
Step 6 – Press and tighten, then finish rolling. Squeeze the roll through the mat to tighten the rice and filling. Pull the mat forward with one hand as you finish rolling with the other. After rolling, release the mat and press the roll to correct its shape.
Nami’s Recipe Tips
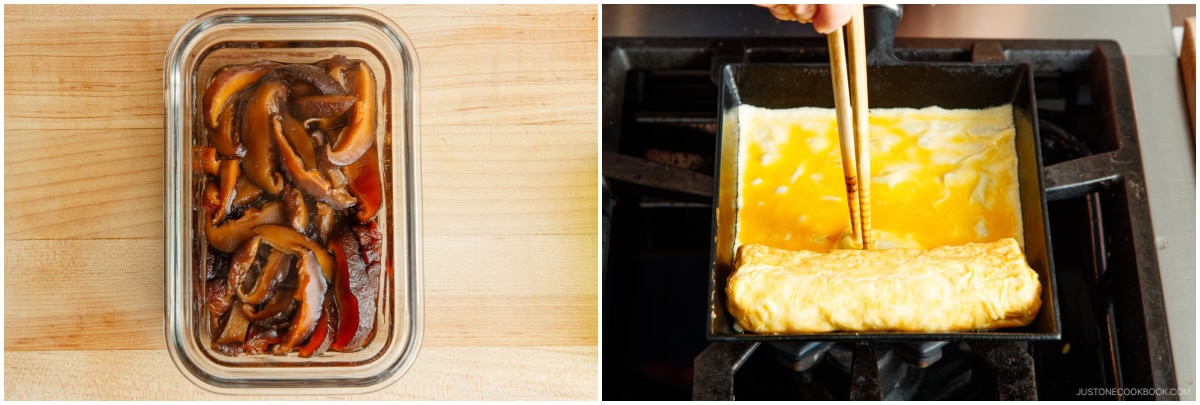
- Prep the simmered shiitake and tamagoyaki ahead of time – I usually prepare them a day or two in advance and store in the fridge. Have the fillings ready to go makes rolling day go faster.
- Spread the sushi rice evenly – Spreading the rice evenly helps to keep your fillings centered in the roll. I strongly recommend wetting your fingers in tezu (vinegared dipping water) so the sushi rice won’t stick to them.
- Leave two empty strips on your seaweed sheet – When I spread the rice, I leave a 1-inch (2.5-cm) empty strip of nori along the top and a 1/2-inch (1.5-cm) empty strip along the bottom. This keeps the rice from showing at the seam when rolled.
- Place the easy-to-hold ingredients near the bottom edge – You will roll the ingredients at the bottom OVER the other fillings. Therefore, I suggest putting the cucumber, tamagoyaki, and sashimi toward the edge closest to you.
- Place the simmered shiitake at toward the top edge – I’ve found that the small mushroom pieces won’t fall out as your roll if you place them toward the top.
- Use the bamboo mat for a tight and firm roll – Use the bamboo mat to snugly roll the nori and rice over the fillings. I like to pull the top edge of the mat and the roll away from each other to tighten up the rice and fillings before finishing the roll.
Variations and Customizations
You can change up your ehomaki any way you like—just keep your roll long for Setsubun! Here are my suggestions for personalizing your ehomaki.
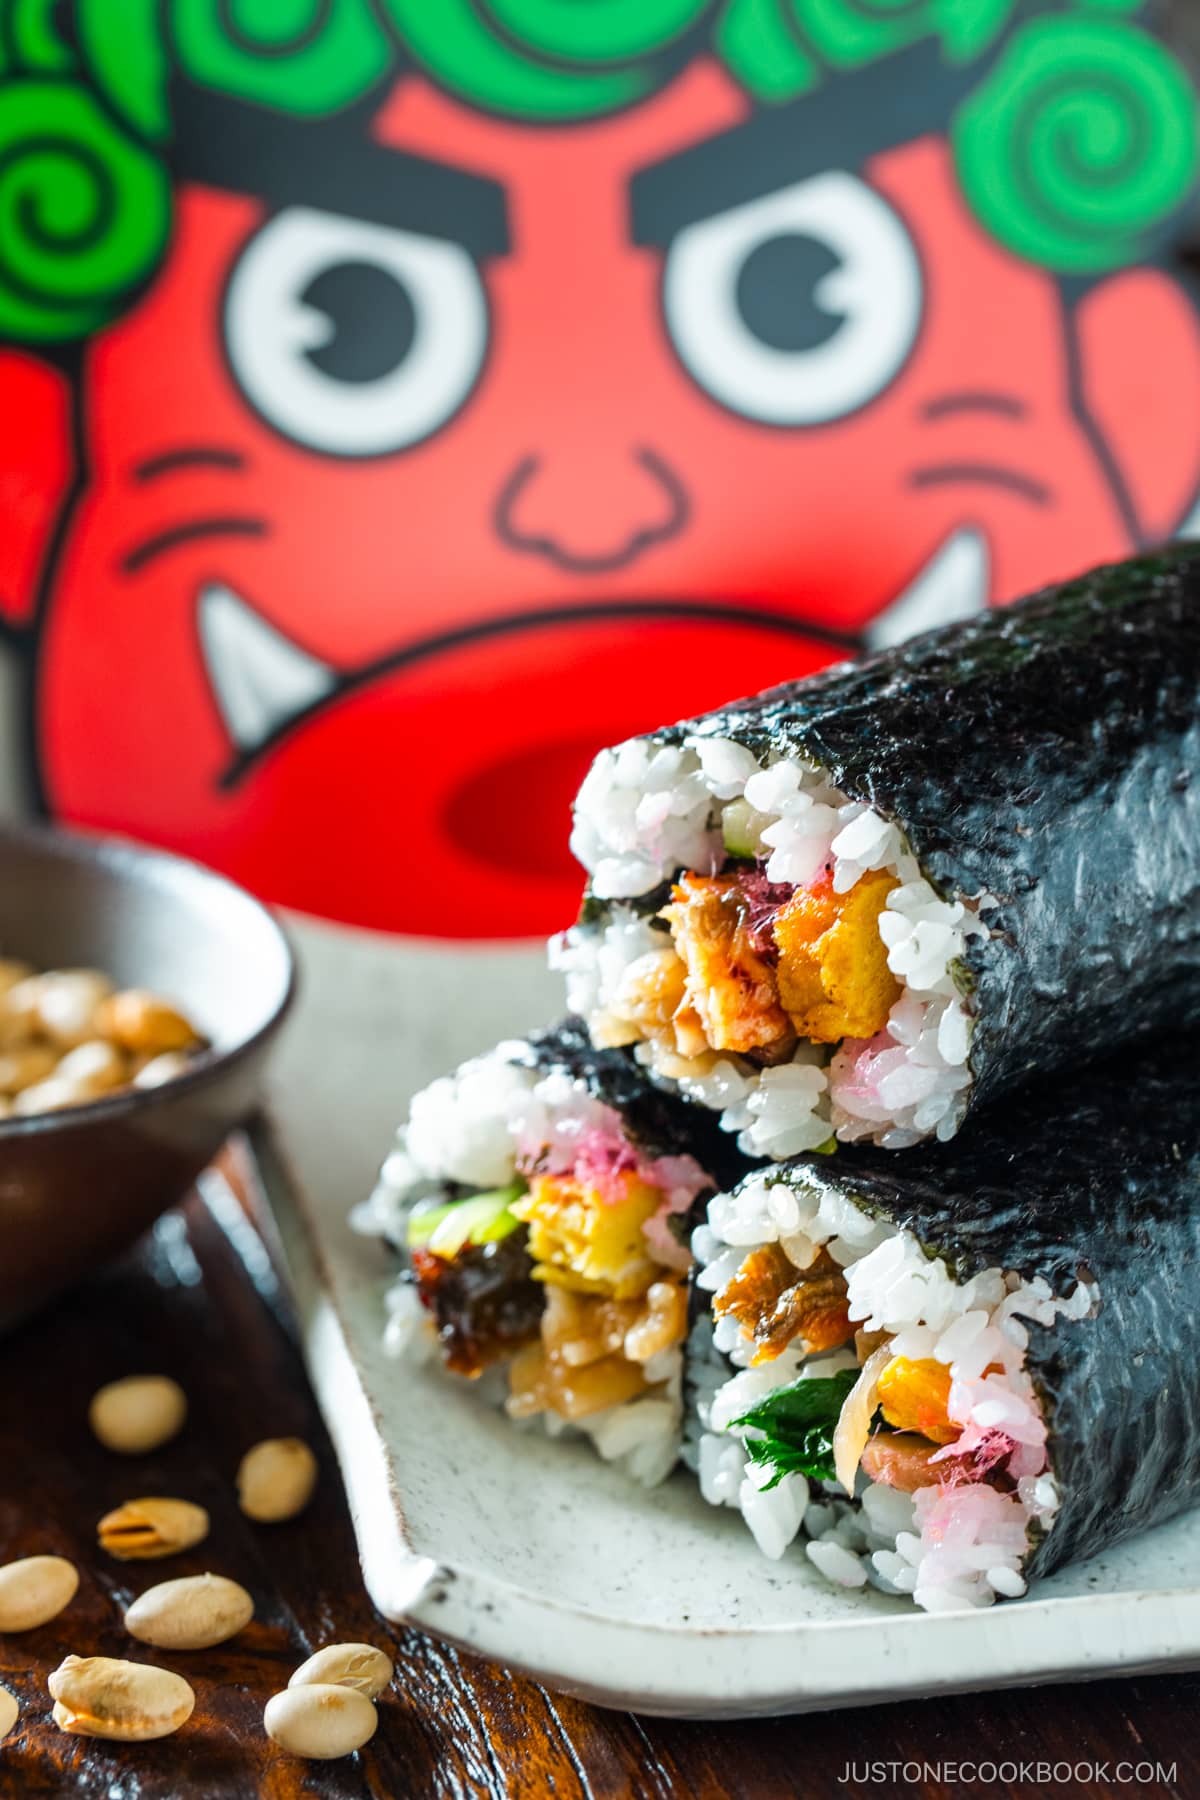
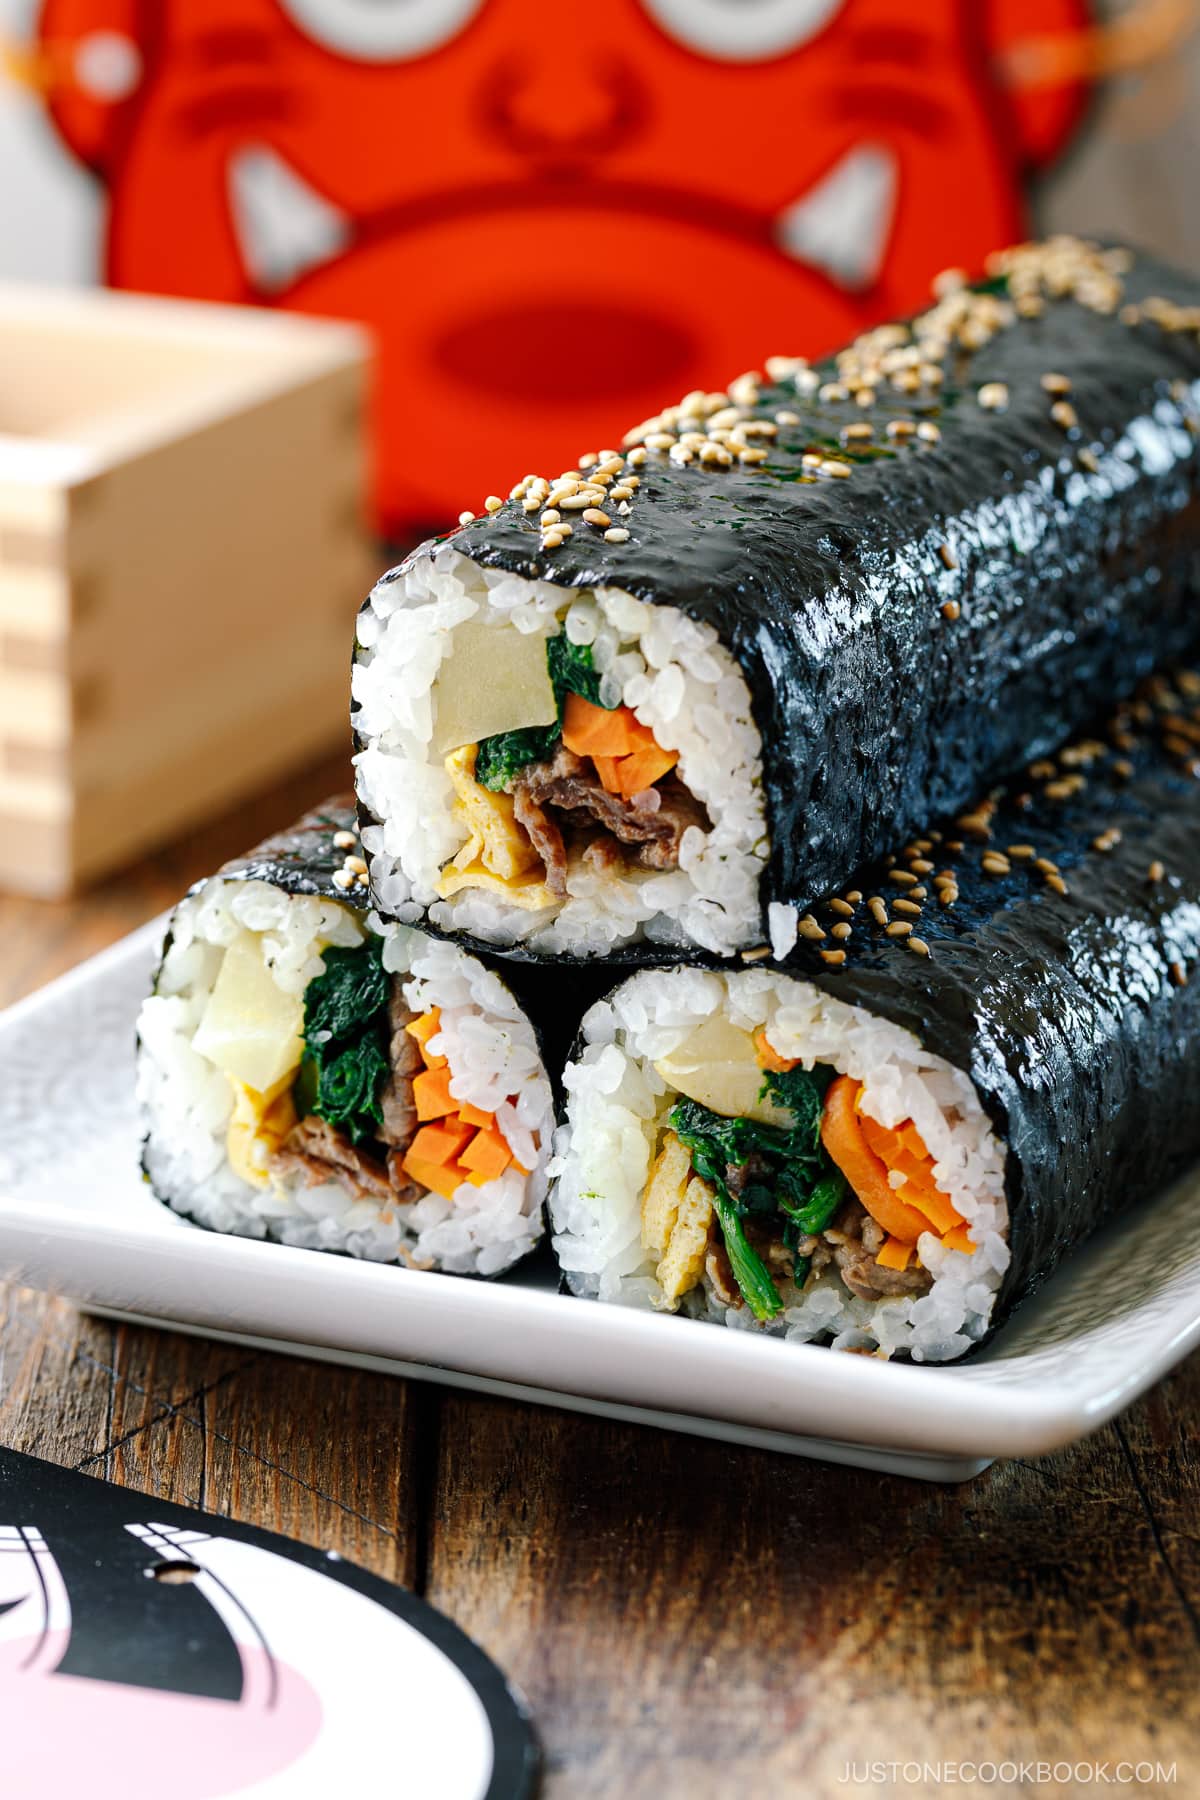
- Use plant-based ingredients – Make it vegan/vegetarian with fillings like deep-fried firm tofu cutlet (atsuage), koyadofu (freeze-dry tofu), shiso leaves, pickled red onions, avocados, spinach or mitsuba (Japanese parsley), and thin carrot strips.
- Choose your favorite seafood fillings – I suggest trying other types of seafood like real or imitation crab, kamaboko (fish cake), and different sashimi-grade raw fish.
- Make it with meat – You can also use meat fillings like gingery seasoned ground chicken or thin-sliced yakiniku beef. Pair it with a soft-boiled egg, crunchy lettuce, and onion slices.
- Try a seaweed roll – Ehomaki doesn’t have to be a sushi roll. Uncut Kimbap, a Korean seaweed rice roll, is a very popular choice these days in Japan to enjoy whole as ehomaki.
- Make futomaki instead – This traditional thick maki sushi is actually the customary choice for ehomaki. You can follow my Futomaki recipe to make it at home.
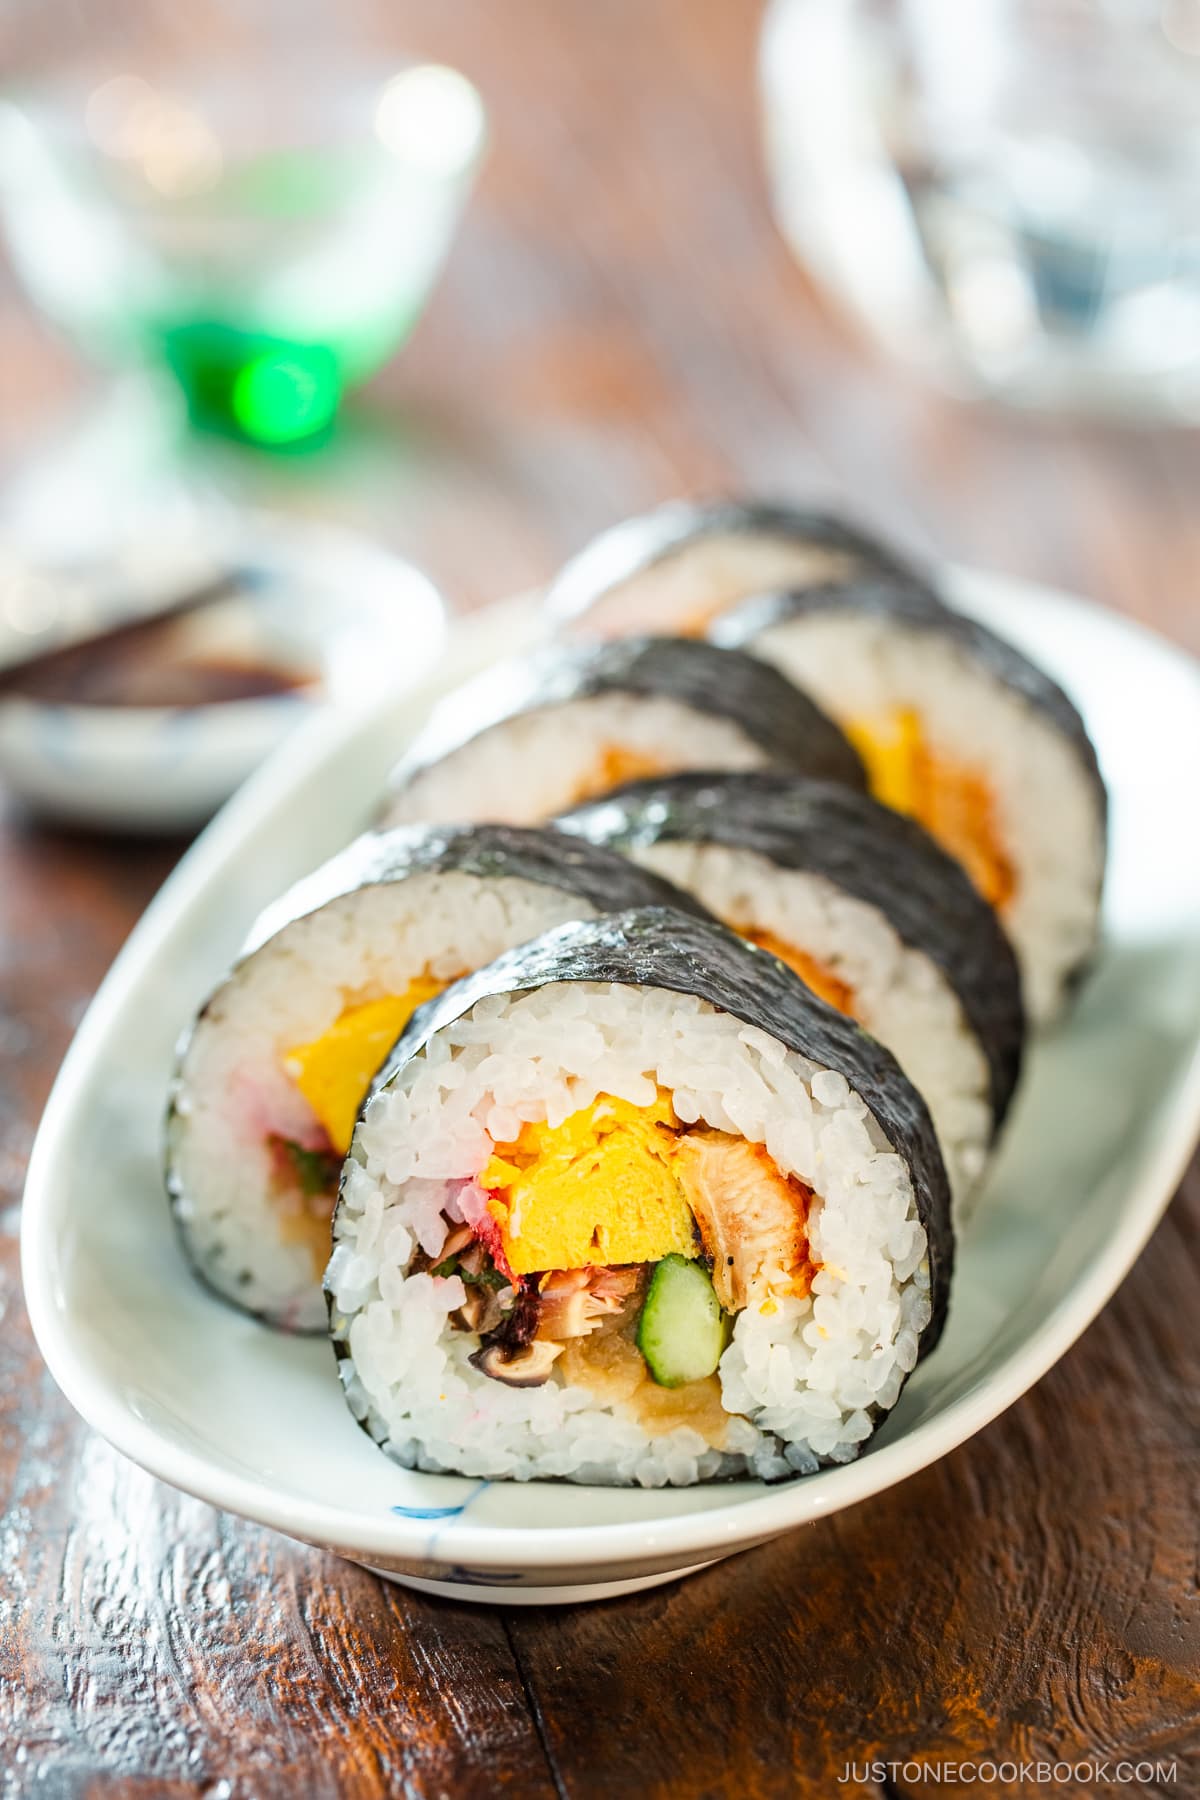
- Slice it for presentation – While tradition says not to slice the ends off, you can choose to do so for a neater presentation. Actually, you can serve these rolls anytime of year; in this case, I encourage you to cut the sushi roll into bite-size pieces!
What to Serve with Ehomaki (Setsubun Sushi Roll)
While ehomaki is the primary food enjoyed on this annual festival, here are some other foods that I suggest for Setsubun.
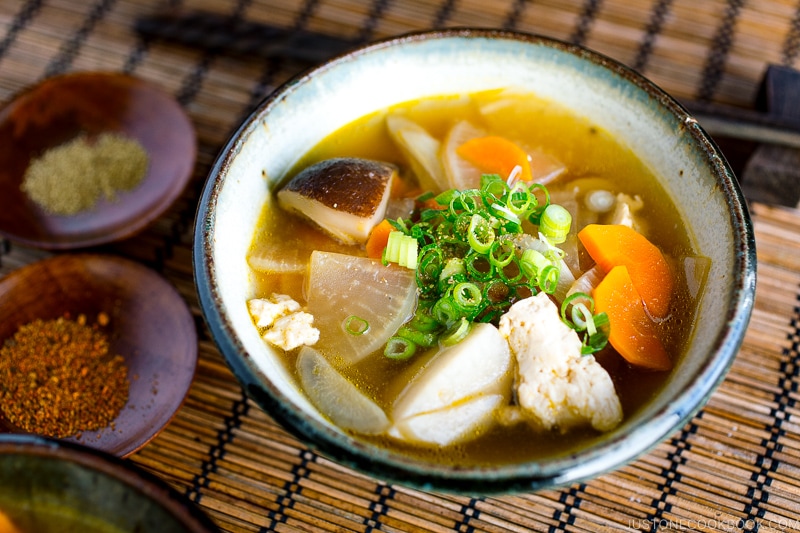
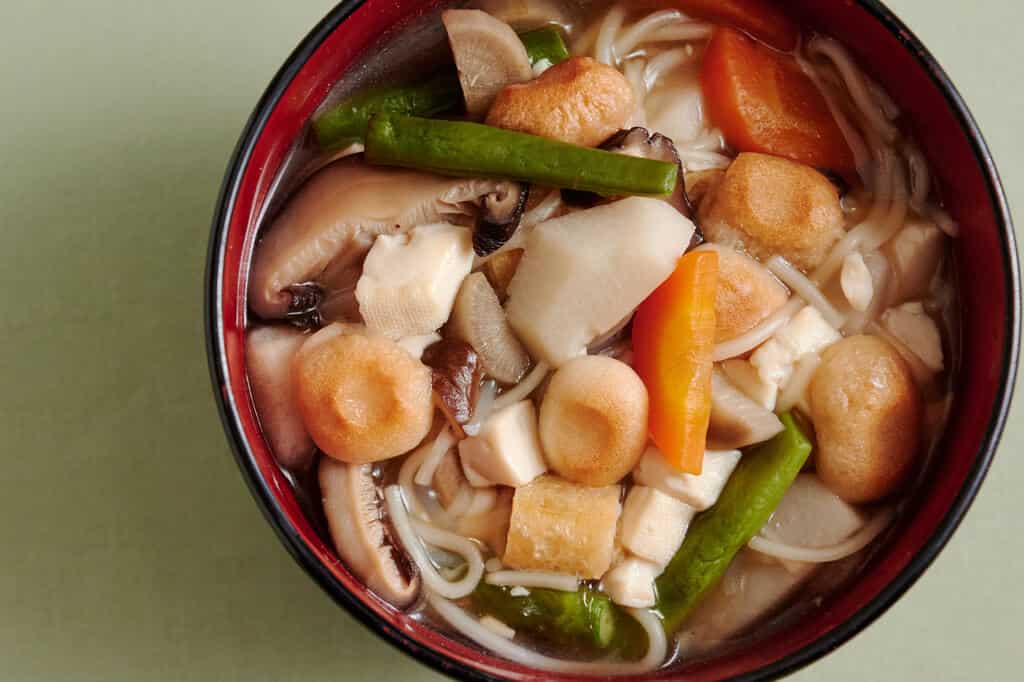
- With soup – Kenchinjiru (Japanese Vegetable Soup) was originally created as Japanese temple cuisine. This vegan soup is served in some parts of the Kanto region on Setsubun.
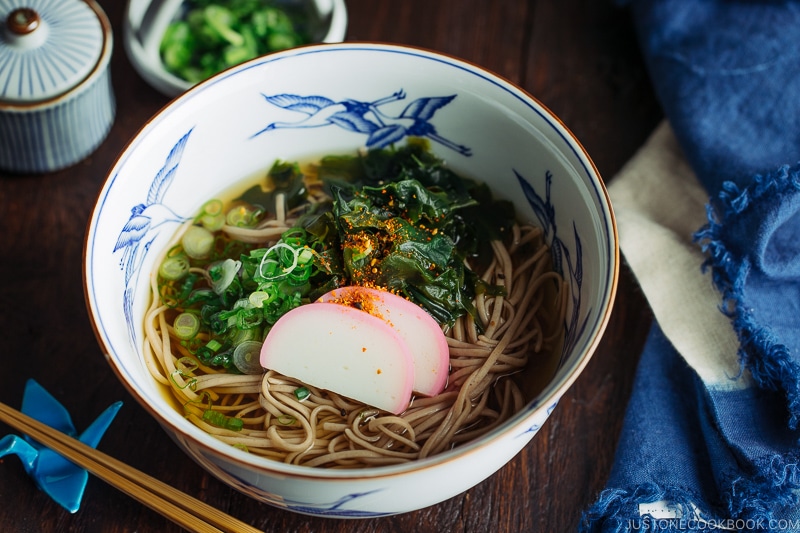
- With noodle soup – Back in the late Edo period, it was common to eat Toshikoshi Soba (New Year’s Eve Soba Noodle Soup) on Setsubun since the Japanese followed the lunar calendar in those days.
- With sardines – A sardine head was traditionally hanged in the home to ward off demons; these days, it’s still common to serve sardines for the Setsubun dinner.
- With roasted soybeans – A central ritual of Setsubun is mamemaki, or the throwing of roasted soybeans called fukumame (fortune beans) to cast out demons and other evil spirits from the home and bring in good luck. Afterwards, everyone eats the same number of beans as their own age, wishing to be free of sickness for the year.
Storage Tips
To store: It‘s best to enjoy ehomaki on the same day you make them. Rice gets hard and dry in the refrigerator. If you really want to keep ehomaki in the refrigerator, my recommendation is to cover them with plastic and then with a thick kitchen towel, so the rice will stay cool and safe, but not get cold.
Frequently Asked Questions
Can I make ehomaki ahead of time?
Due to the sashimi fillings, I strongly recommend that you consume these ehomaki on the same day you make them. Even if you don’t use raw fish, I don’t advise storing them overnight in the fridge as this will make the sushi rice hard and dry. If you really want to keep ehomaki in the refrigerator, I recommend that you cover them first with plastic and then with a thick kitchen towel, so the rice will stay cool and safe, but not get cold.
More Sushi Roll Recipes
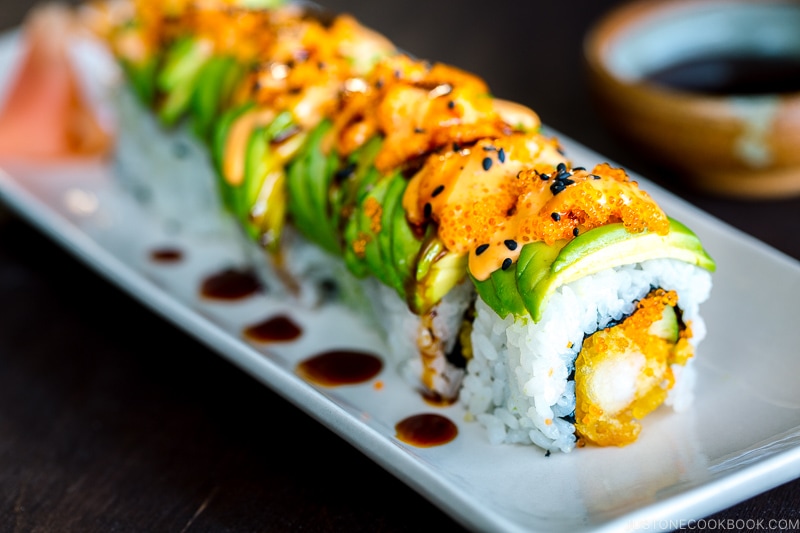
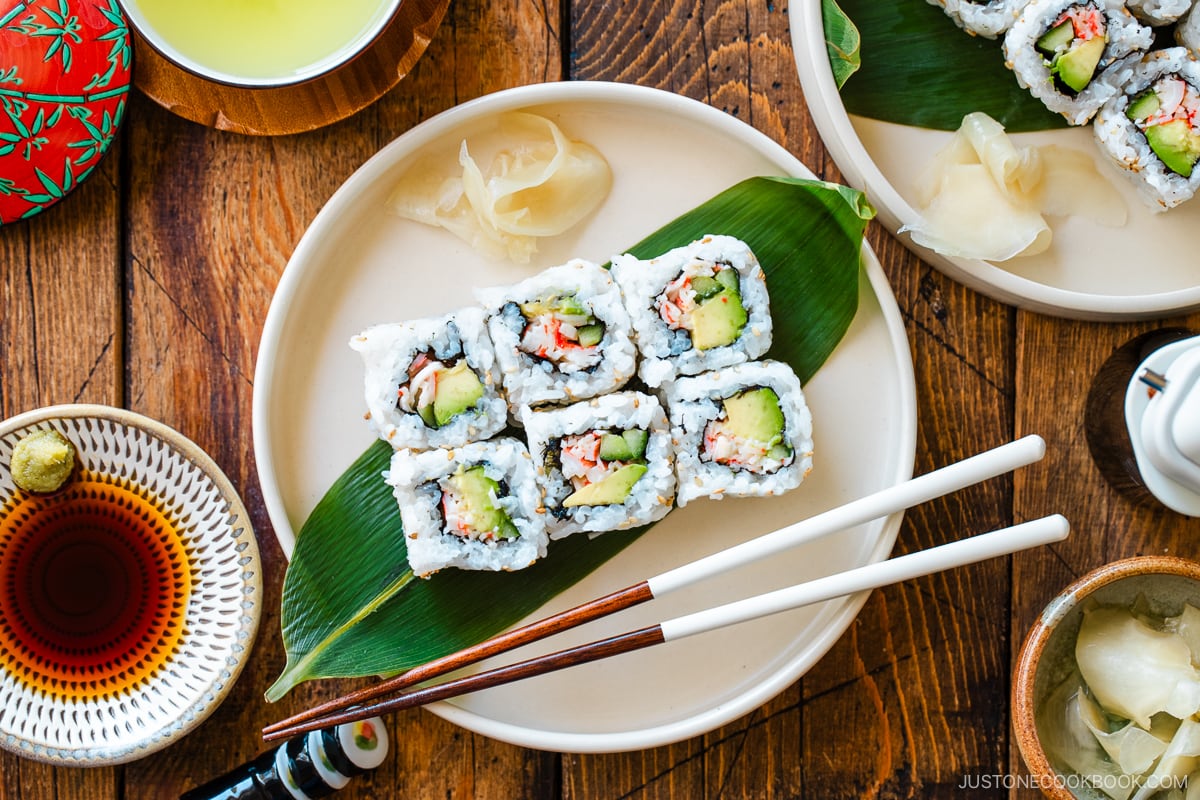
If you love ehomaki, you’re in for a treat with these other irresistible sushi roll recipes.
Prep Time: 1 hour
Total Time: 1 hour
Japanese Ingredient Substitution: If you want substitutes for Japanese condiments and ingredients, click here.
Before You Start
Make Ahead (Optional): 1–2 days in advance, I prepare the Simmered Shiitake Mushrooms and 3 Ingredient Simple Tamagoyaki and store them in the fridge until ready to use. For the cooked shrimp, I devein shell-on large shrimp (see How to Devein Shrimp), push their backs to straighten, then quickly boil them in 2 cups water with a splash of sake until their color changes. I peel the shells afterward.
The sushi rice takes about 90 minutes to make. Please note that 1½ cups (300 g, 2 rice cooker cups) of uncooked Japanese short-grain rice yield 4⅓ cups (660 g) of cooked white rice. You can follow my How to Make Sushi Rice recipe for step-by-step instructions on how to cook the rice and add the sushi seasoning. Now, gather all the ingredients.
To Prepare the Ingredients
Cut off the ends of 1 Japanese or Persian cucumber. (Optional: You can peel the skin alternately to create stripes.) Then, cut it lengthwise in half, then lengthwise again into quarters.
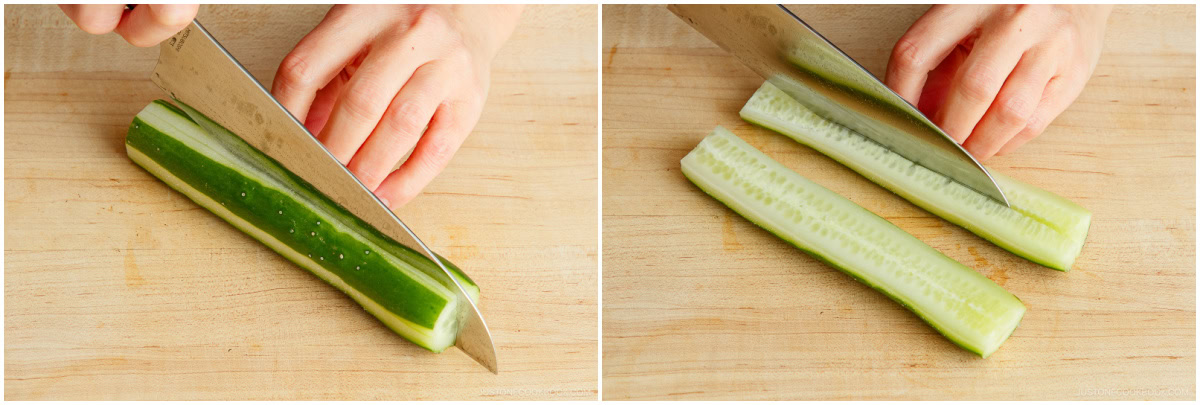
Remove the seeds by slicing them off with a knife. Then, cut the quarters lengthwise in half again. You should now have 8 cucumber sticks.
Cut 1 Tamagoyaki (Japanese Rolled Omelette) lengthwise into 8 strips.
Cut each of the 4 cooked shrimp in half lengthwise.
Cut 1 unagi (freshwater eel) fillet lengthwise into 4 strips.
To Add the Sushi Rice and Fillings
Make one roll at a time. Set the bamboo sushi mat on a work surface with the slats running sideways (horizontally) for rolling. Place 1 nori sheet shiny side down on the mat. Leave about 3–4 slats visible on the edge nearest you. Moisten a 1 cup measure in a small bowl of water, shake off the excess, and scoop 1 cup sushi rice. Tip: For thick sushi rolls, we typically place the nori sheet's short side along the mat's bottom edge closest to you so there's more room to roll the ingredients. When we serve the ehomaki uncut, we often roll it with the long side closest to you so it's thinner and easier to eat. You can decide which way to position the nori depending on if you serve the rolls whole or sliced.

Place the measured sushi rice in the middle of the nori sheet. Gently spread the rice with your fingers, leaving an empty strip of nori across the bottom ½ inch (1.5 cm) and top 1 inch (2.5 cm). Don't mash the rice, and make sure to spread it evenly so the roll isn't bumpy. Tip: Instead of using your fingers, you can use a rice paddle. Hold it vertically to avoid mashing the rice.
Leave a ¼ inch strip of rice at the bottom, then add the first layer of fillings, beginning with the easy-to-hold ingredients. Start with 2 cucumber sticks, lining them up across the width of the nori sheet. Then, place the 1 strip unagi, 2 strips shrimp, and 2 strips tamagoyaki, turning the shrimp and unagi on their side edge to keep the first layer compact. Finally, add a portion of the simmered shiitake mushrooms last so they won't fall out when rolling. Tip: Keep in mind what the filling will look like after it's rolled up. I try my best (but don't always succeed) to arrange the ingredients so similar colors are not next to each other.
For the second layer, place 2 strips sashimi-grade salmon and 2 strips sashimi-grade tuna on top of the cucumber and unagi.
To Roll the Ehomaki
Grab the bottom edge of the mat and nori sheet with your thumbs and index fingers. Tightly roll the bottom edge over the filling while holding the ingredients in place with your other fingers. Lift away the mat slightly as you roll firmly until the rice at the bottom and top edges meet.
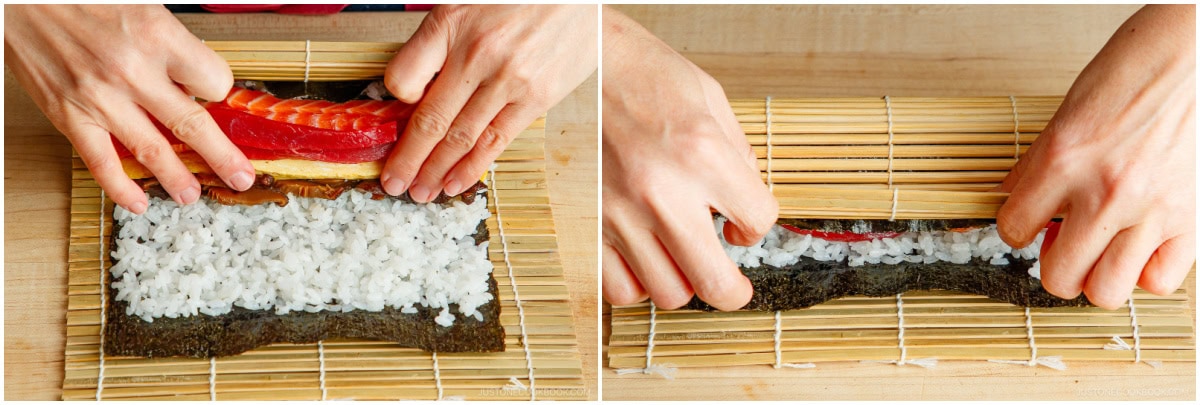
Press it through the mat to tighten the rice and filling.
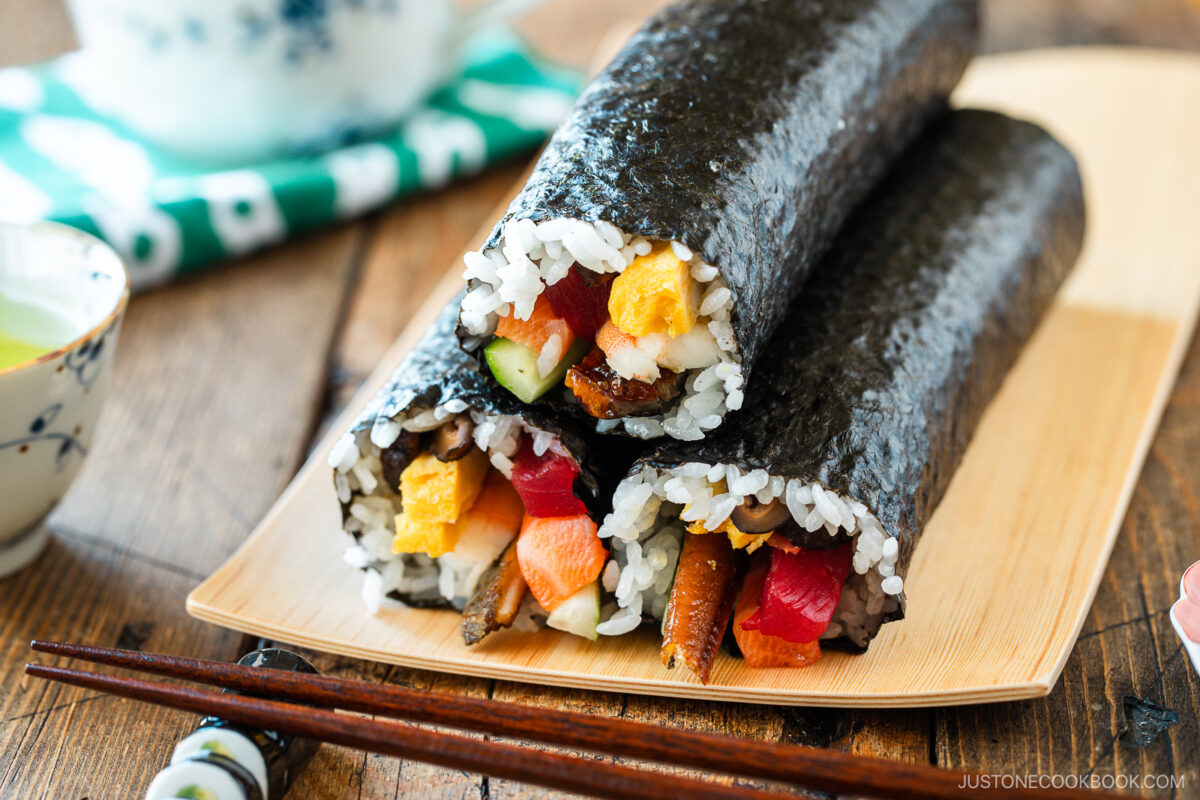
Now, hold the lifted edge of the mat with one hand and pull it forward as you use your other hand to finish rolling the rest of the way. Then, release the edge of the mat and press the roll through the mat to correct its shape. Continue rolling the rest of the ehomaki.
To Serve
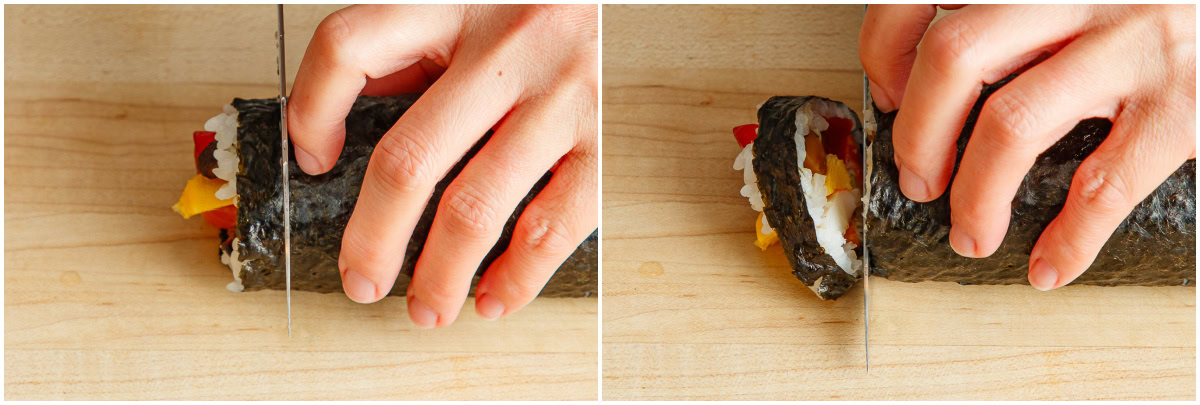
Optionally, you can cut off the ends of the roll for a neater presentation.
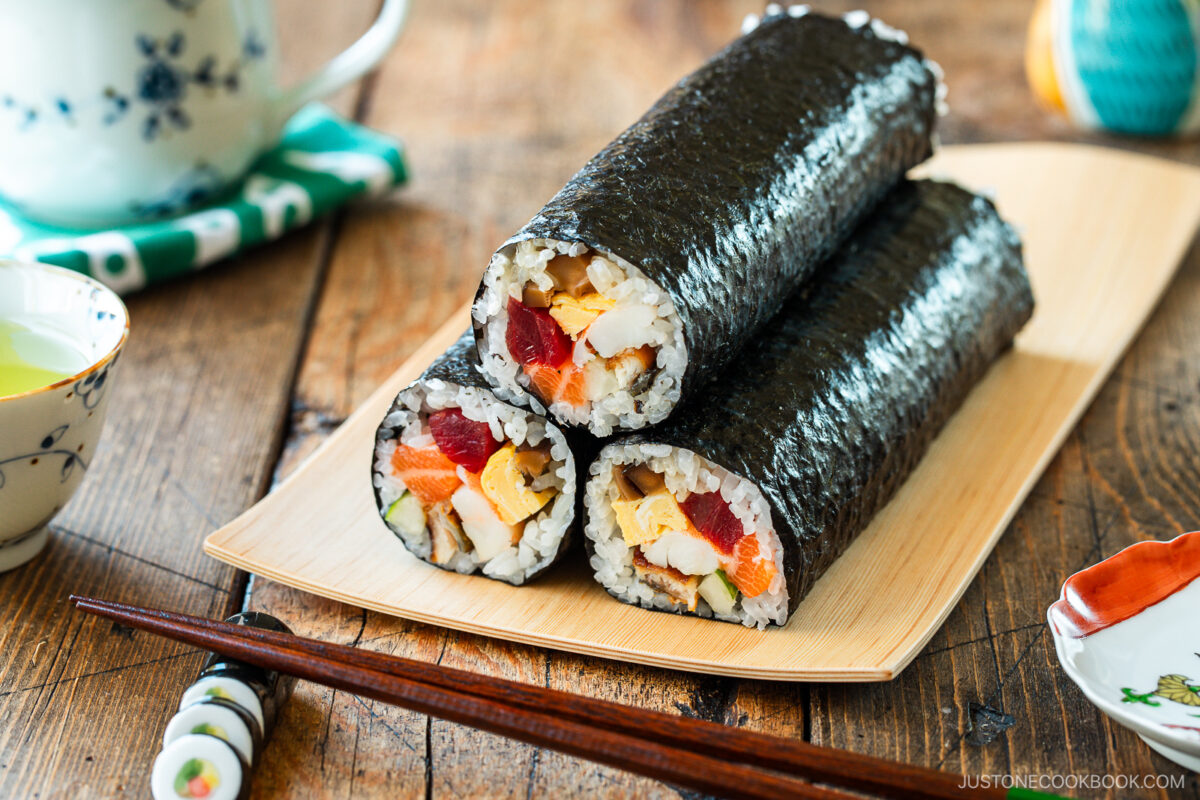
Enjoy the ehomaki uncut on Setsubun! You can also slice and enjoy these sushi rolls anytime of year.
To Store
It‘s best to enjoy ehomaki on the same day you make them. Rice gets hard and dry in the refrigerator, so it's not ideal to store them overnight. If you really want to keep ehomaki in the refrigerator, my recommendation is to cover them with plastic and then with a thick kitchen towel, so the rice will stay cool and safe, but not get cold.
Author: Namiko Hirasawa Chen
Course: Main Course
Cuisine: Japanese
Keyword: sushi roll
©JustOneCookbook.com Content and photographs are copyright protected. Sharing of this recipe is both encouraged and appreciated. Copying and/or pasting full recipes to any website or social media is strictly prohibited. Please view my photo use policy here.
If you made this recipe, snap a pic and hashtag it #justonecookbook! We love to see your creations on Instagram @justonecookbook!




 English (US) ·