 5 days ago
10
5 days ago
10
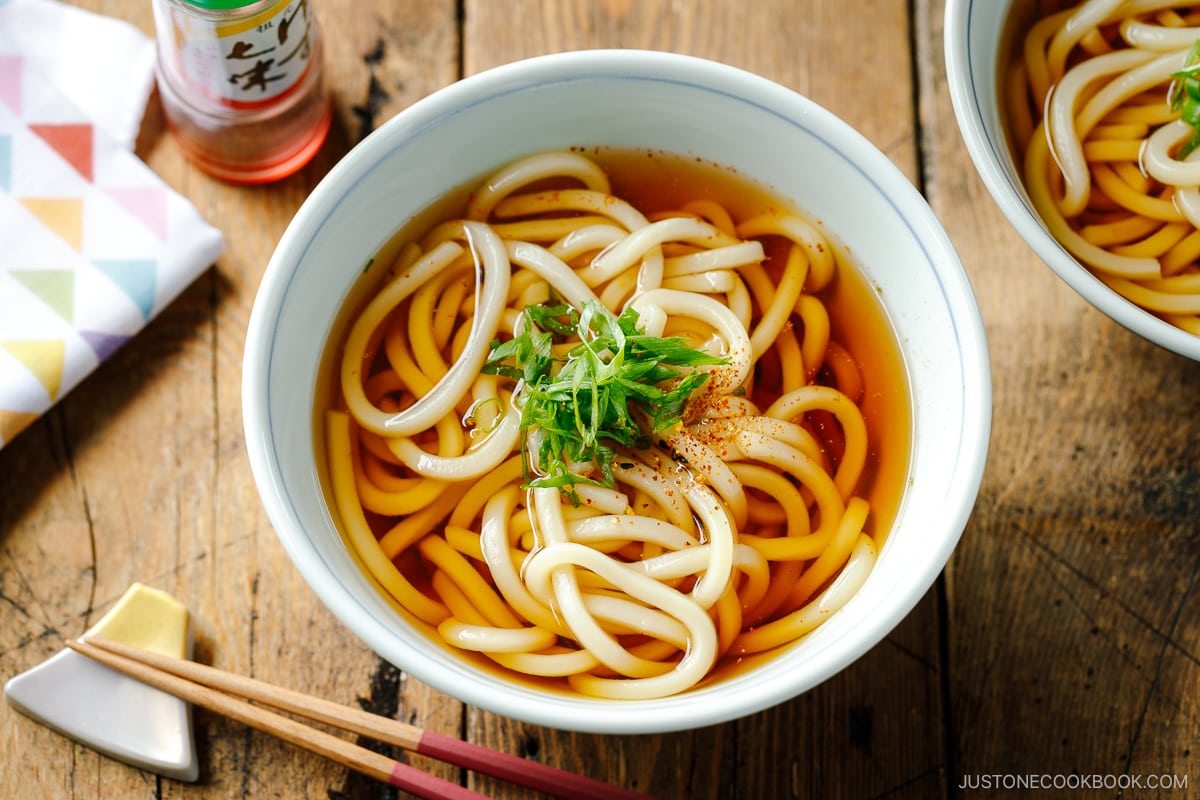
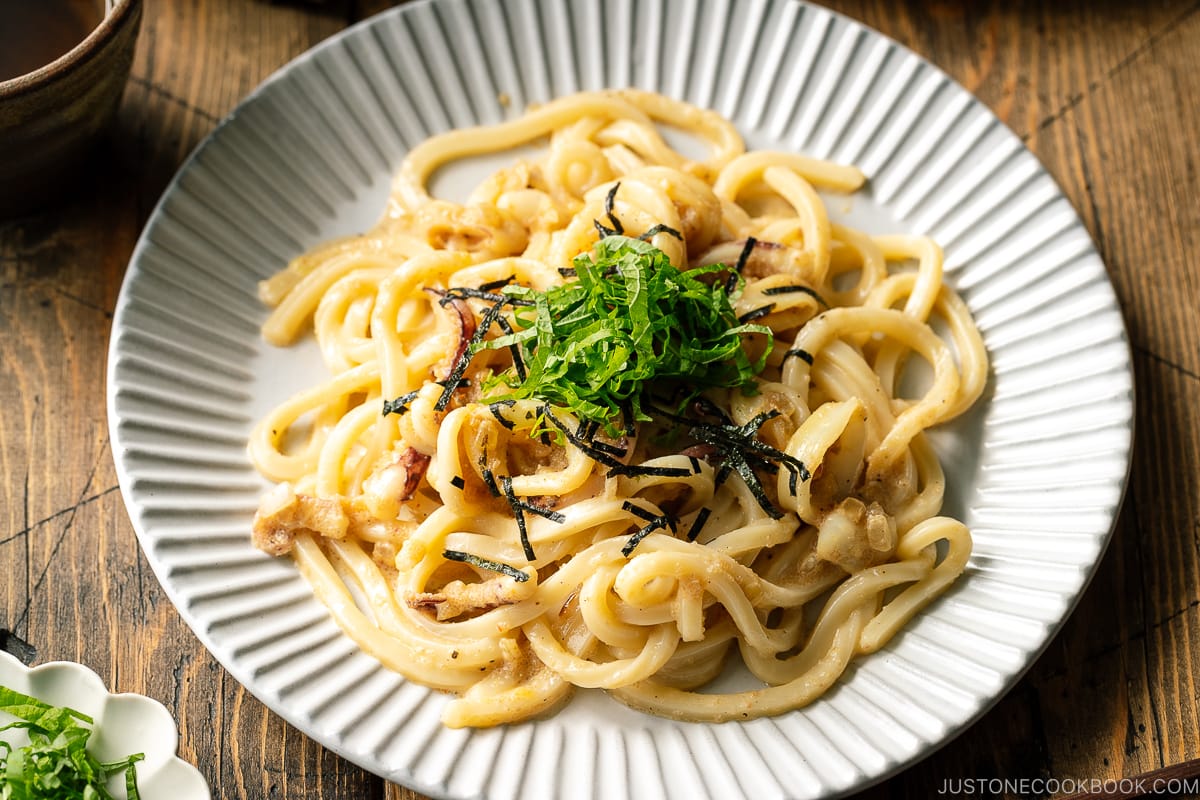
Learn how to make Homemade Udon Noodles from scratch using the traditional Japanese method. It’s easy and fun to make them by hand, and you’ll have fresh noodles that are utterly delicious and far superior to store bought!
One of the easiest Japanese noodles that you can make from scratch is Homemade Udon Noodles (うどん). Thick, chewy, and utterly satisfying, handmade udon is my all-time favorite. My family devours these noodles every time I make them. In this recipe, I’ll guide you through this fun and fulfilling cooking activity that even beginner cooks and kids will enjoy!
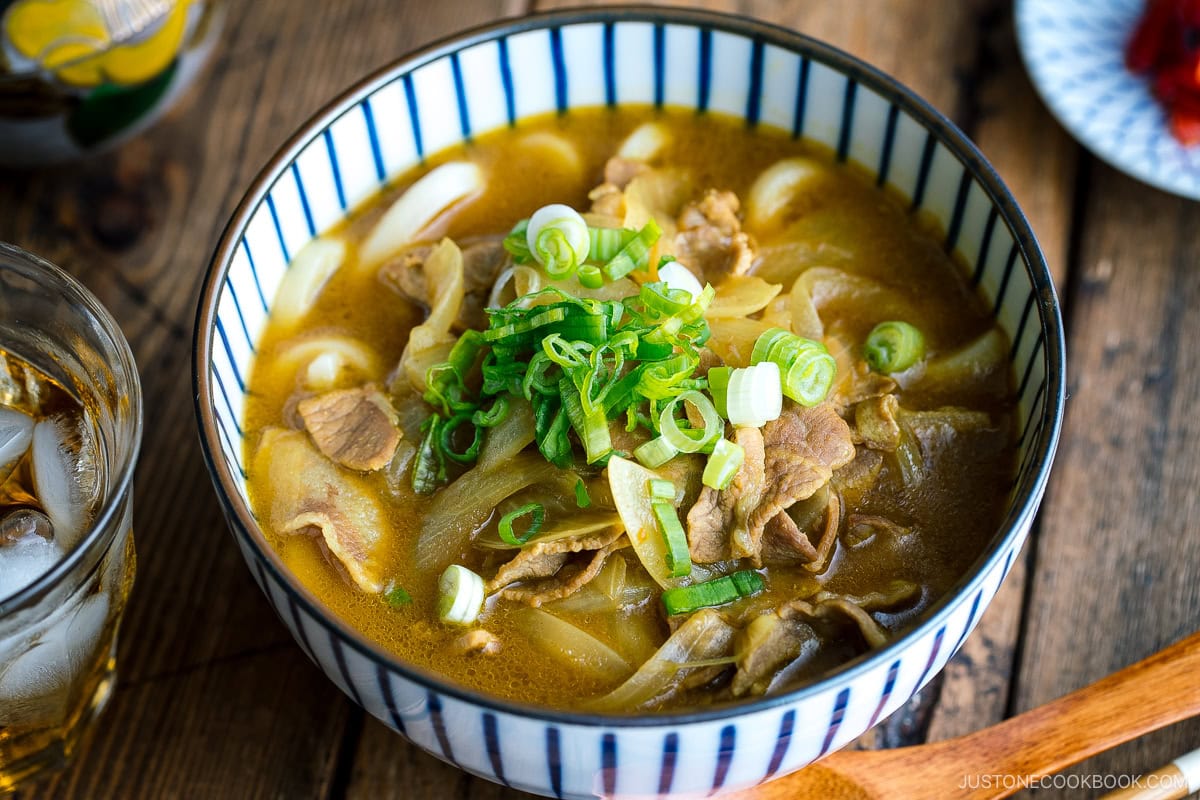
Want to try some popular udon dishes? Try my Beef Udon, Yaki Udon, and Kitsune Udon recipes next!
What are Udon Noodles?
The thick, wheat flour noodles called udon first came to Japan from China during the Nara period (710–794). Enjoyed by the upper class, they were originally shaped like a flattened rice cake. They eventually became elongated in the Edo period (1603–1867), when the general population began to enjoy them. Today, high-quality udon is smooth, bouncy, and elastic. They are gentle on the stomach and easy to swallow, an attribute the Japanese call nodogoshi ga ii (喉越しが良い).
Why I Love This Recipe
- Fresh taste and great texture – Handmade udon noodles are chewy with a springy, toothsome bite. My family loves the unbeatable freshness!
- An easy recipe with 3 simple ingredients –This method is very straightforward. Best of all, you’ll need only flour, water, and salt.
- No special equipment needed – You can make udon noodles with just your hands, your feet (read on to find out why), and a sharp knife!
Ingredients for Homemade Udon Noodles
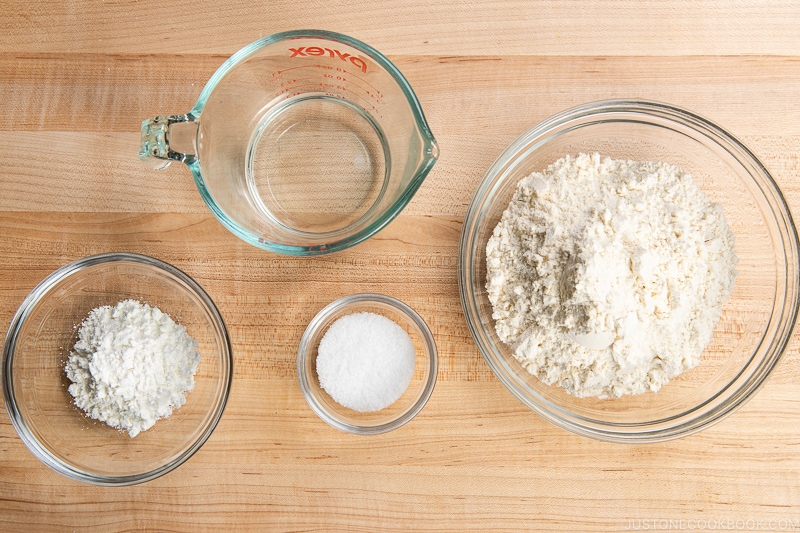
The ingredients and method for making fresh udon noodles from scratch are simple! I also love that there are no preservatives in this udon noodle recipe.
- All-purpose flour (plain flour) – 中力粉
- Water
- Kosher salt
- Potato starch – or cornstarch (for rolling and dusting)
Find the printable recipe with measurements below.
Substitutions
- Potato starch: This prevents the dough and noodles from sticking to each other. You could also use cornstarch. Please do not use all-purpose flour for dusting the cut noodles, as the noodle dough will absorb the flour and stick together.
How to Make Homemade Udon Noodles
Preparation
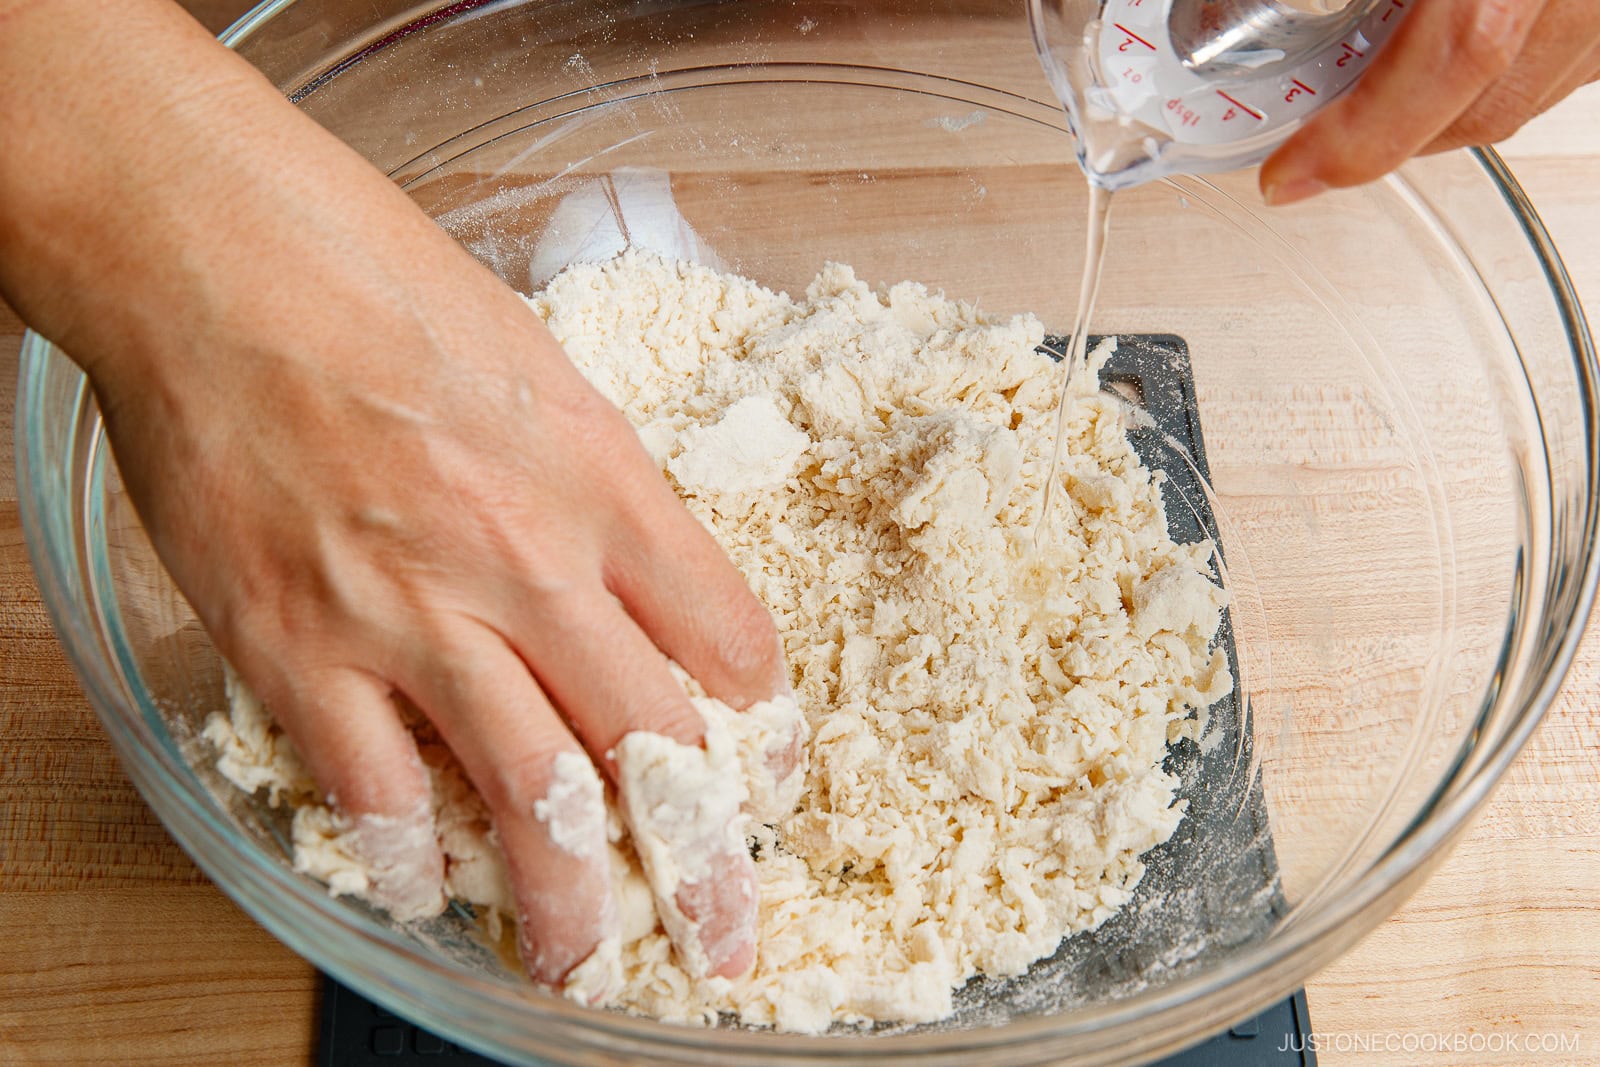
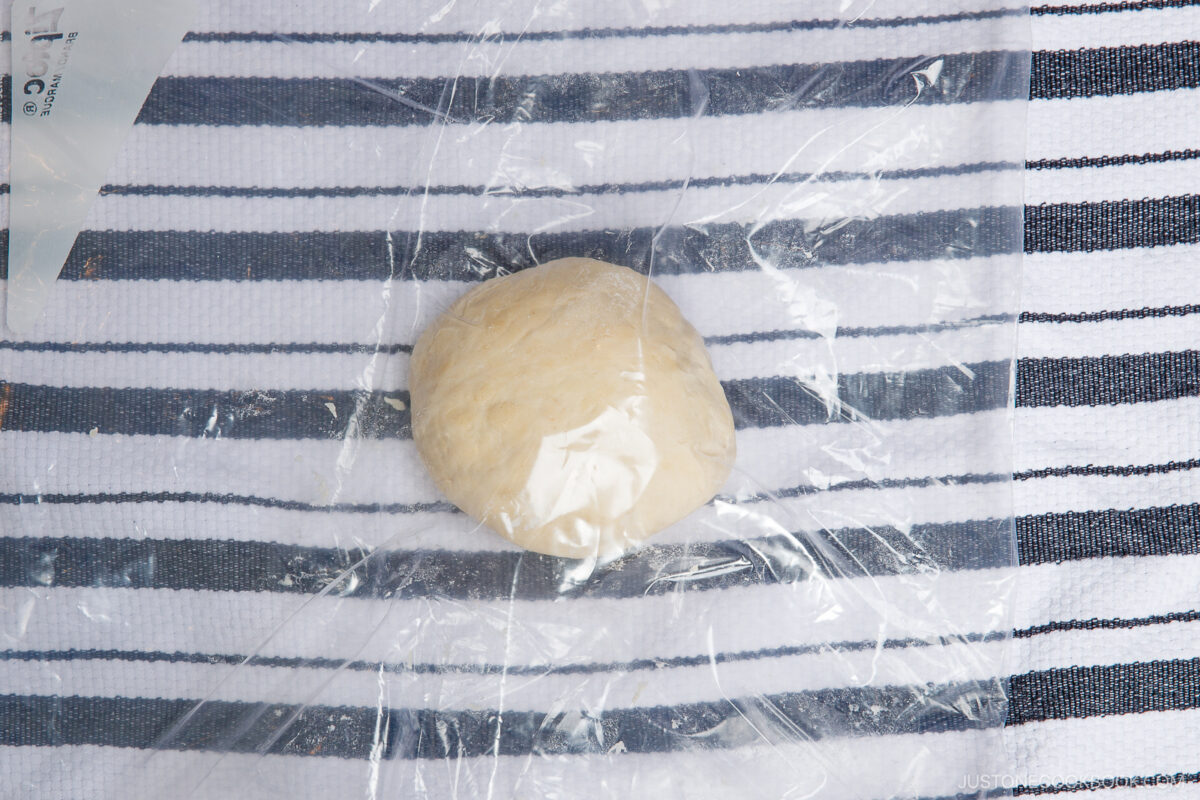
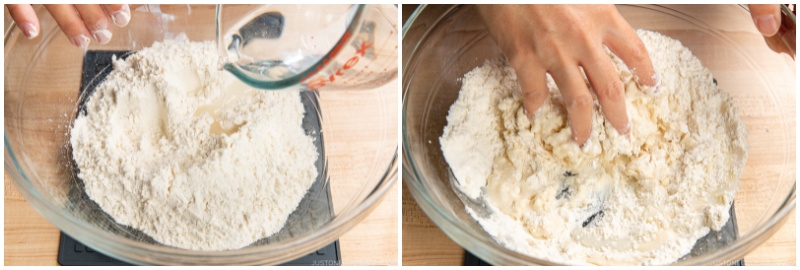
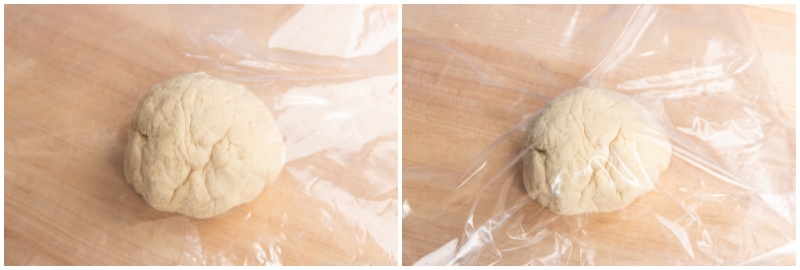
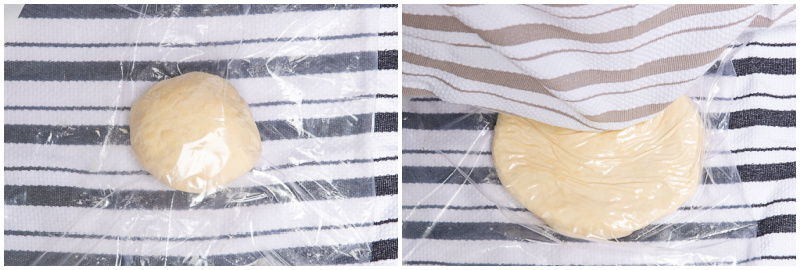
- Make the dough. Combine saltwater and flour in a large bowl. Mix it until there is no dry flour. Form into a ball, wrap it, and rest it for 30 minutes.
Kneading
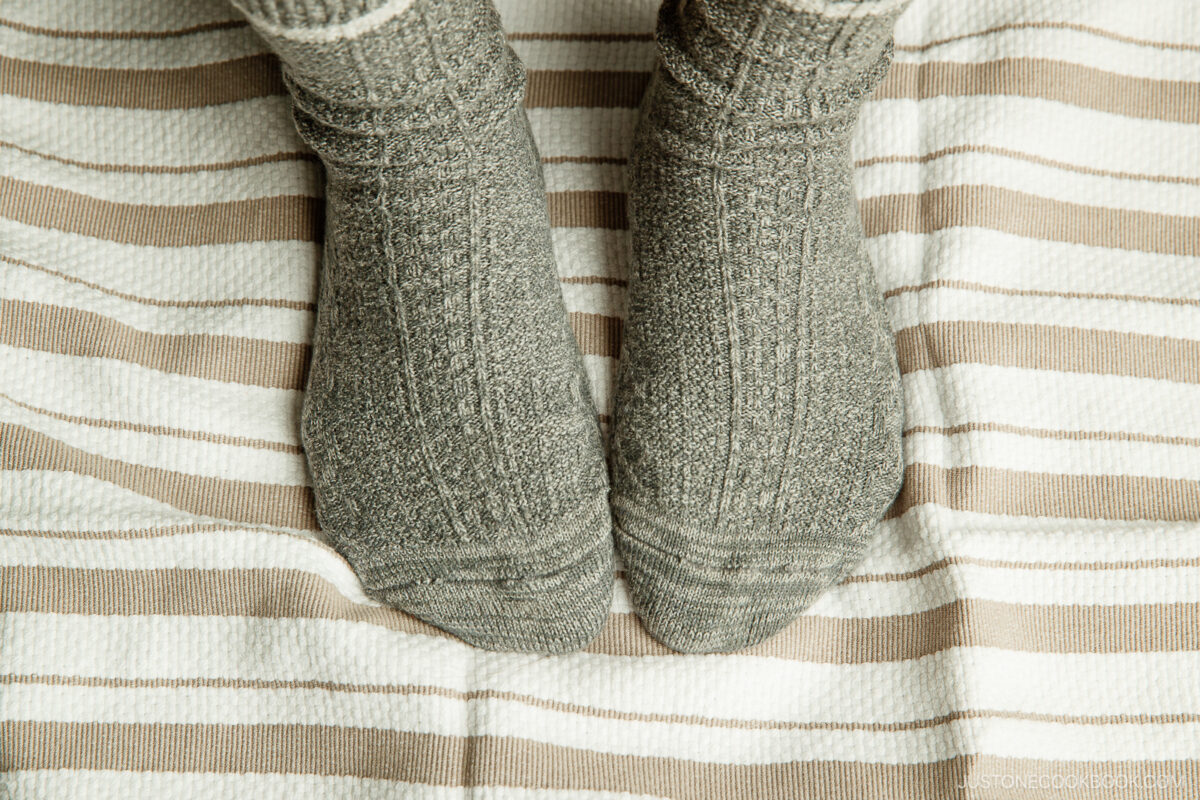
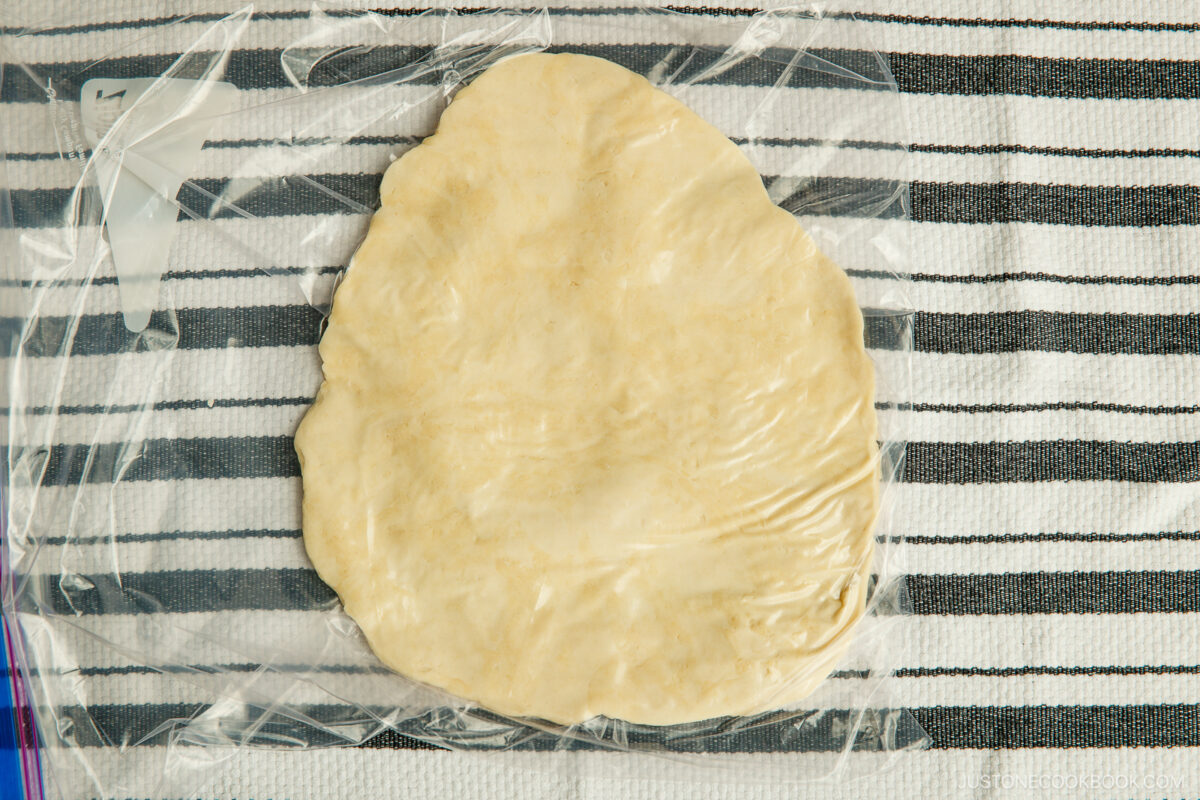
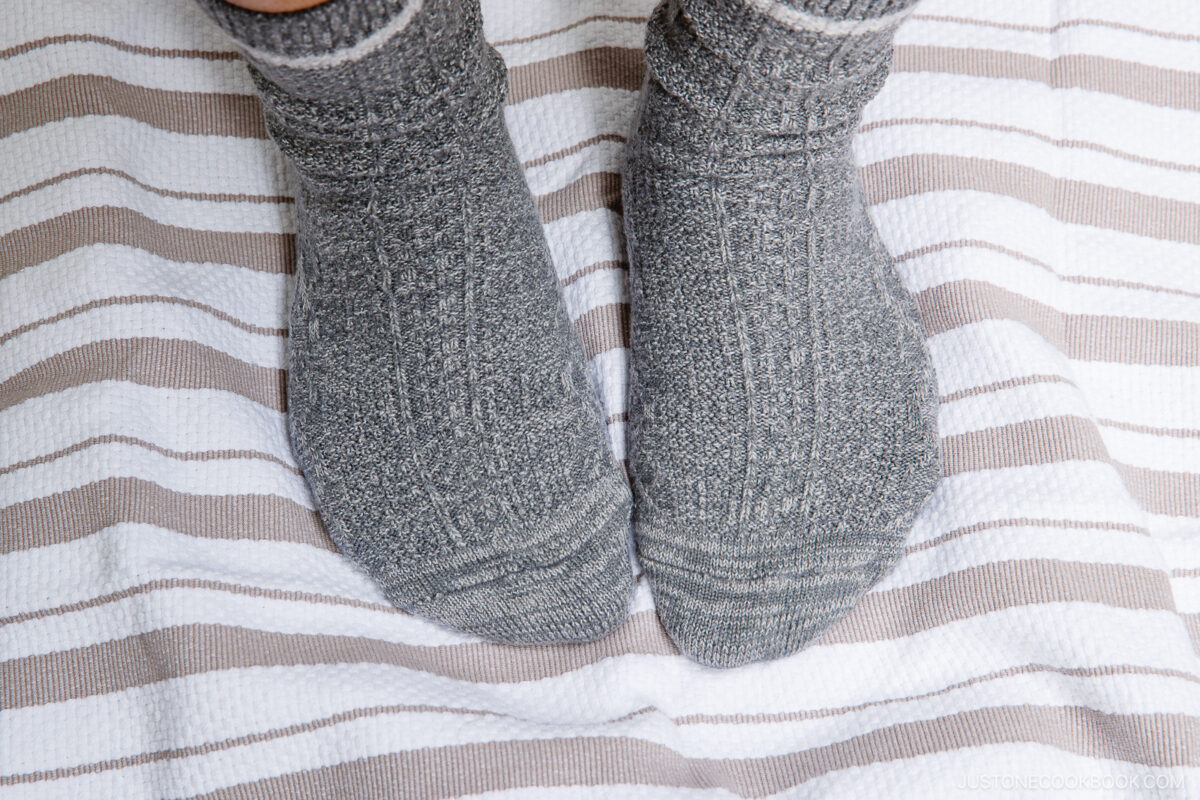
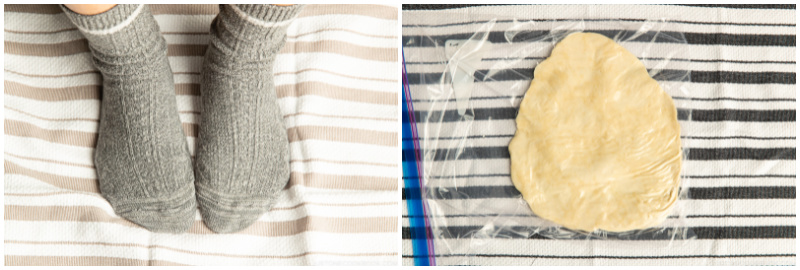
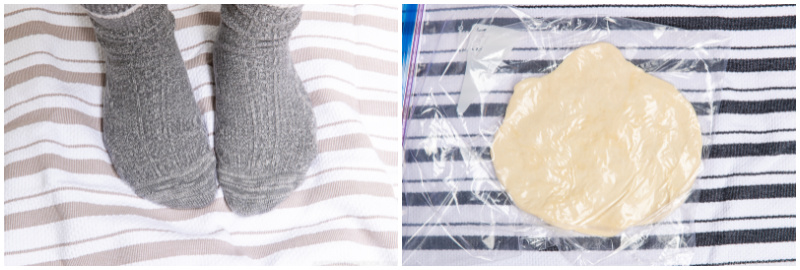
- Step on the dough. Place it in a plastic bag between kitchen towels on the floor. Step on it with your heels. Slowly turn in a circle as you stretch the dough from the center to the edges. Continue until it’s stretched and completely flat.
Step 3 – Gather the dough into a ball and keep kneading. Place the dough ball back into the bag and step on it again. Repeat four more times or until it is soft like an earlobe.
Step 4 – Rest the dough. After the fifth round of dough stepping, take out the dough and form it into a round ball. Let it rest in the bag on the countertop for 2 hours (3 hours in winter).
Cutting
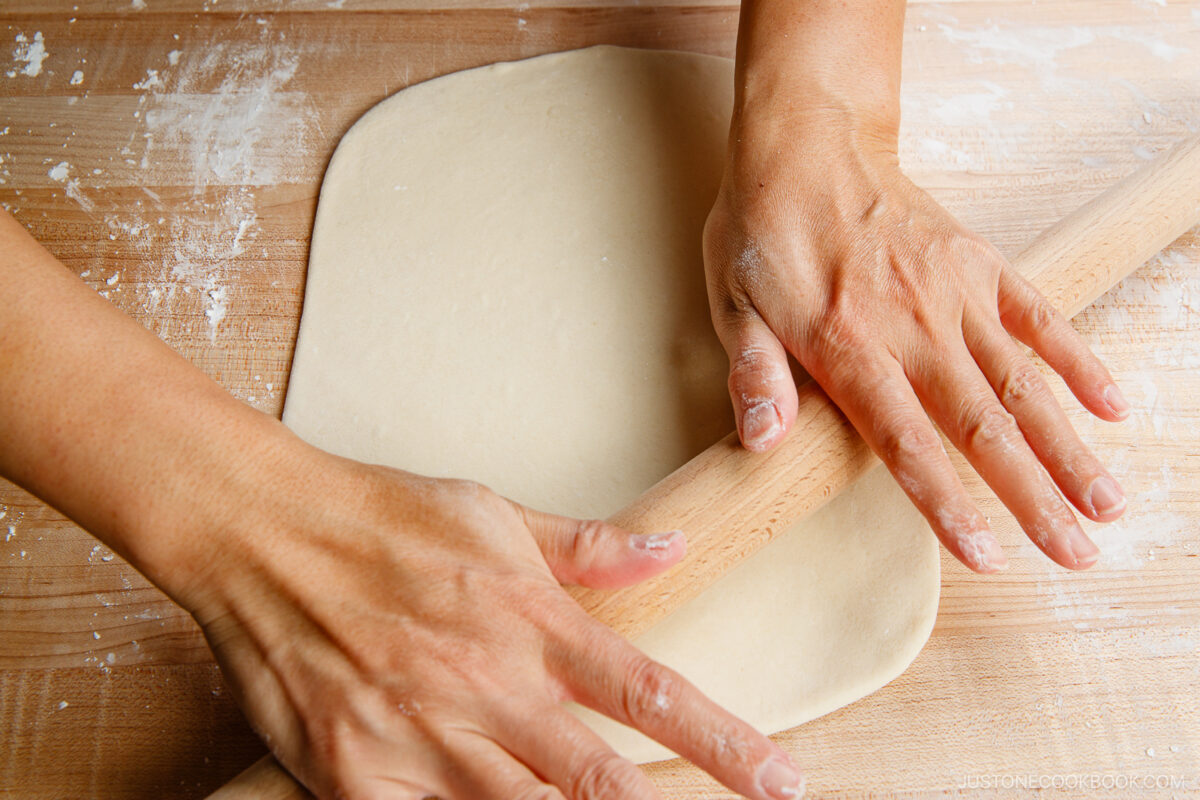
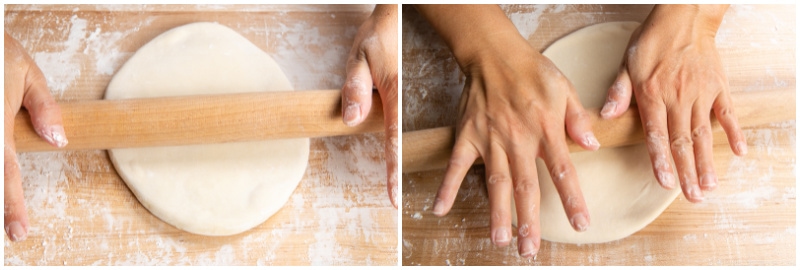
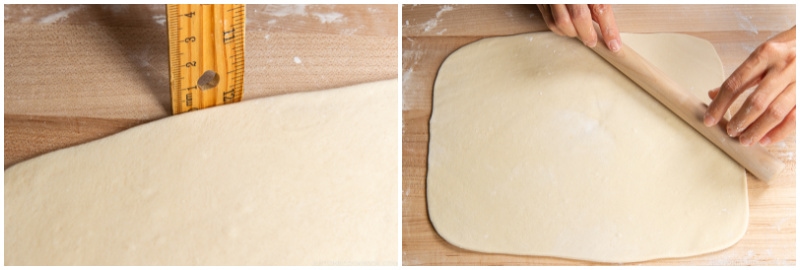
Step 5 – Roll out the dough. Flatten the dough with your hand on a work surface dusted with potato starch. Roll it out into a rectangle. It should be ⅛ inch (3 mm) thick and 10–12 inches long.
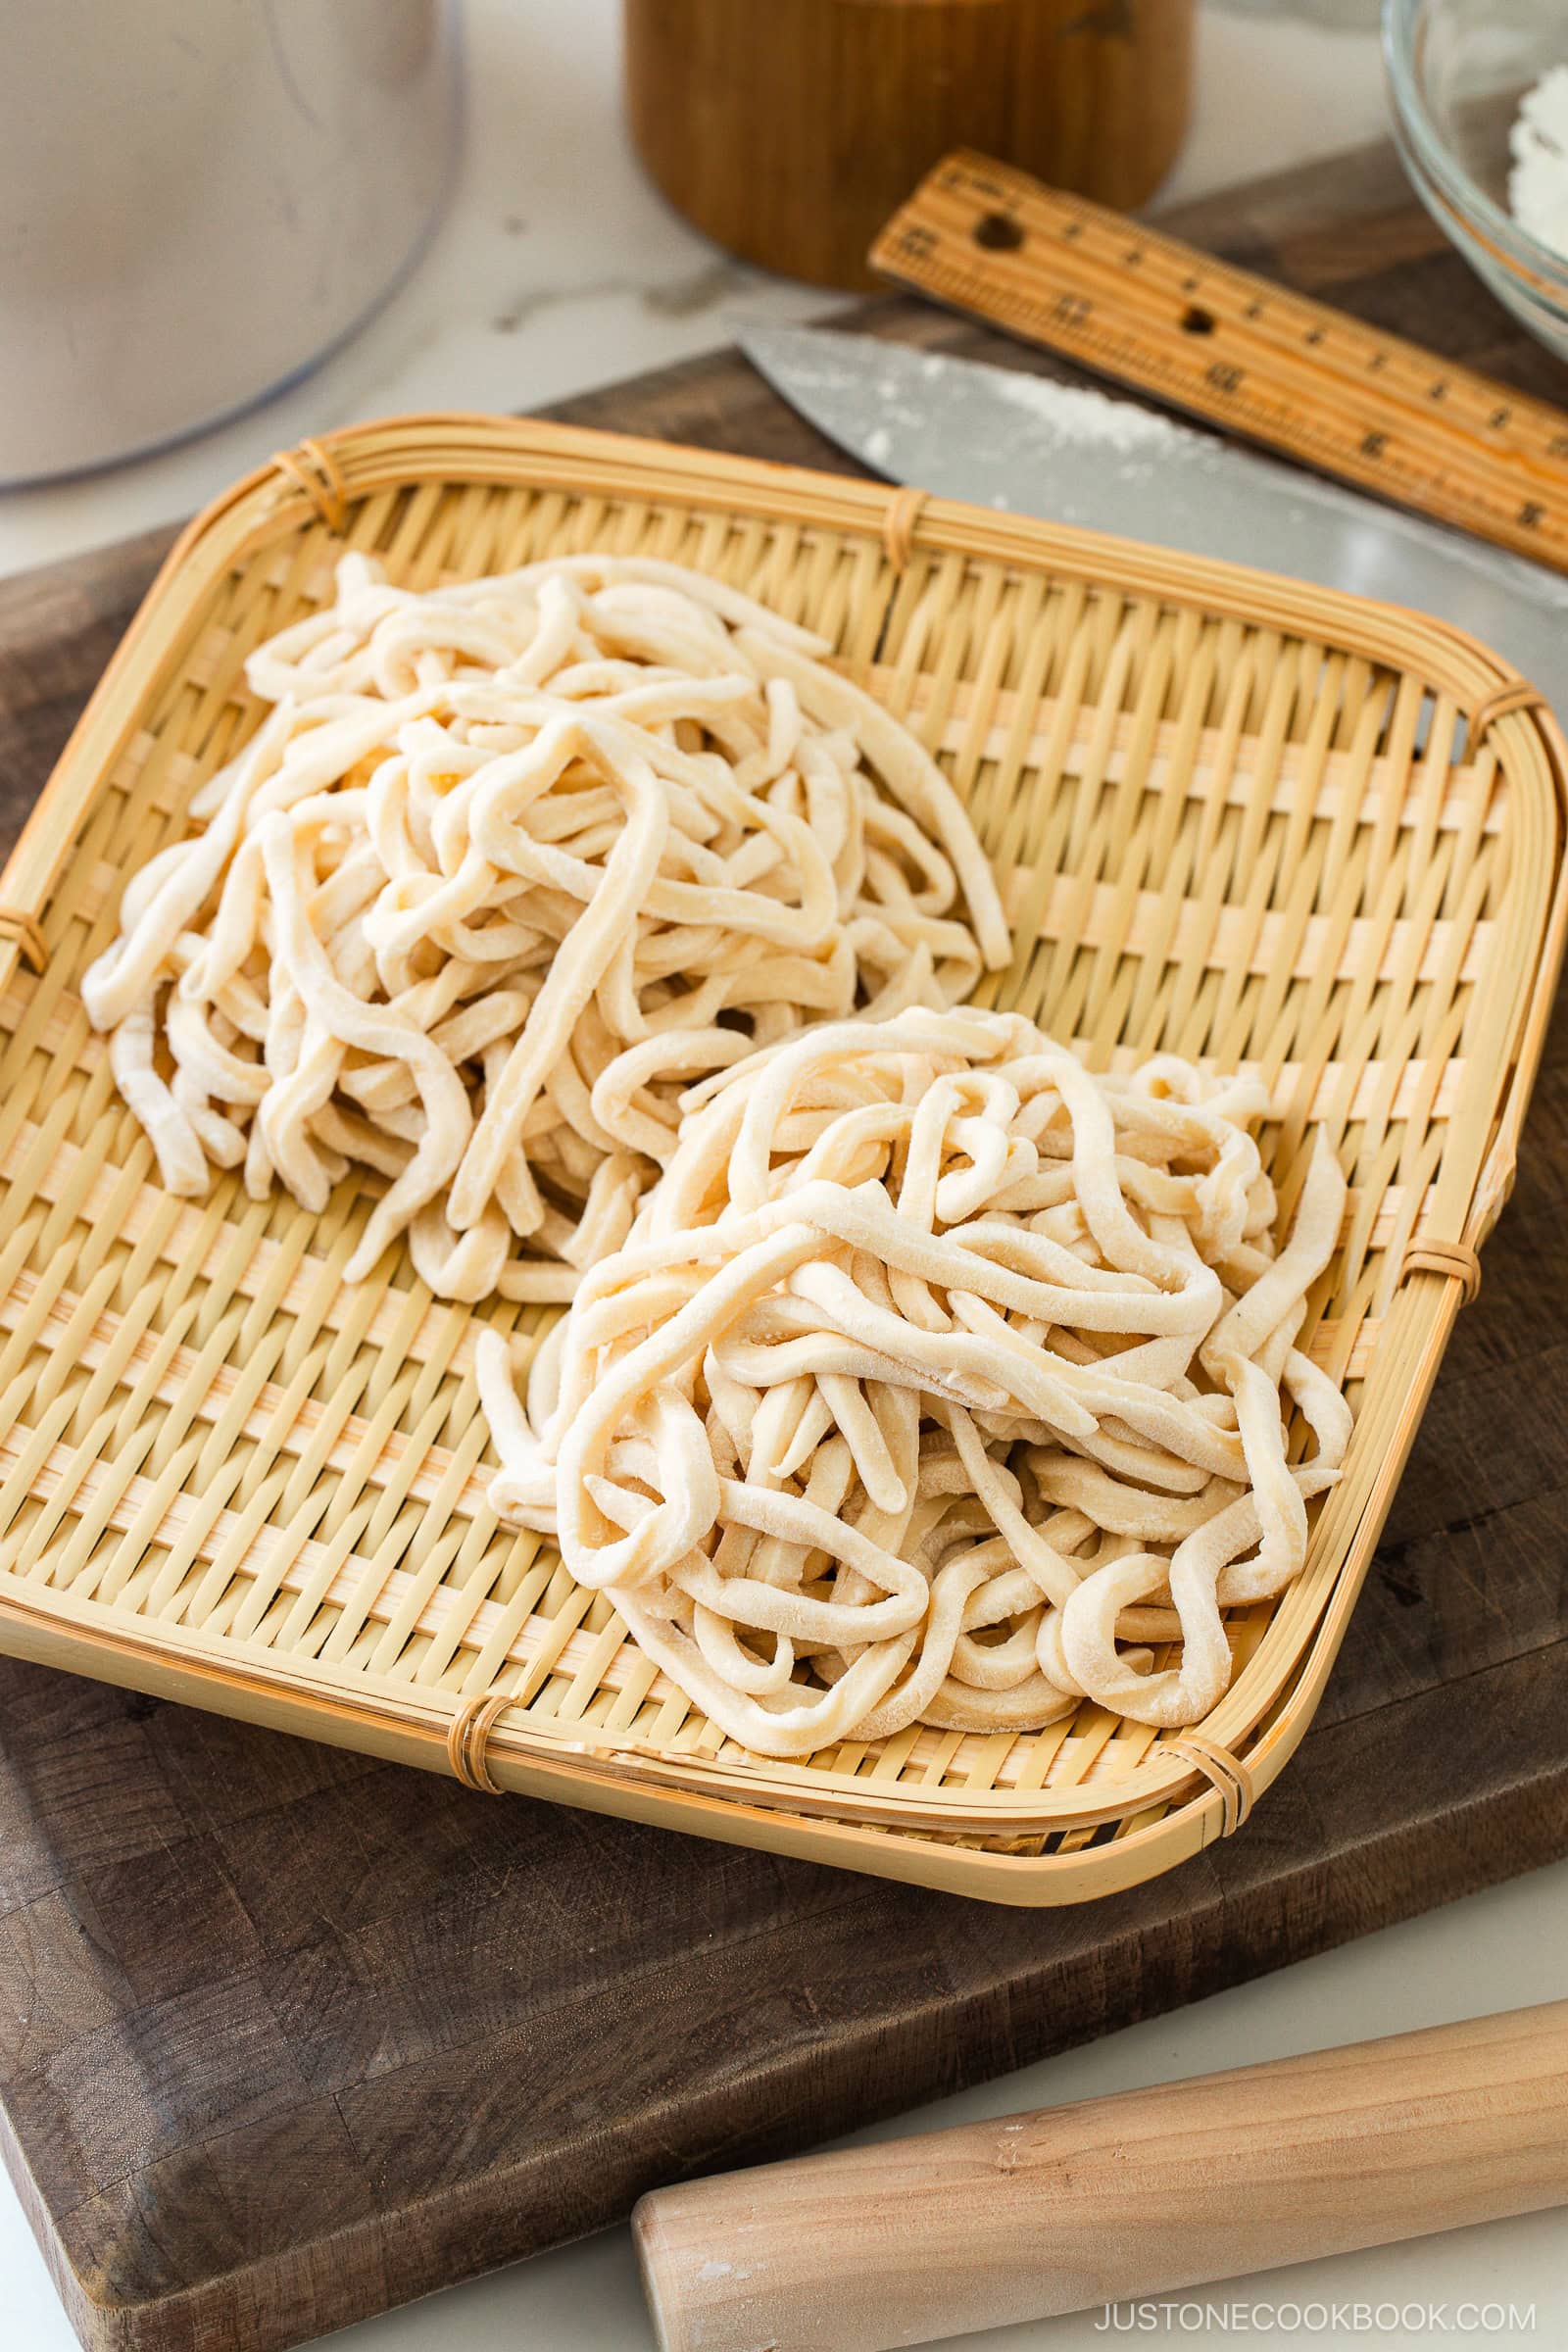
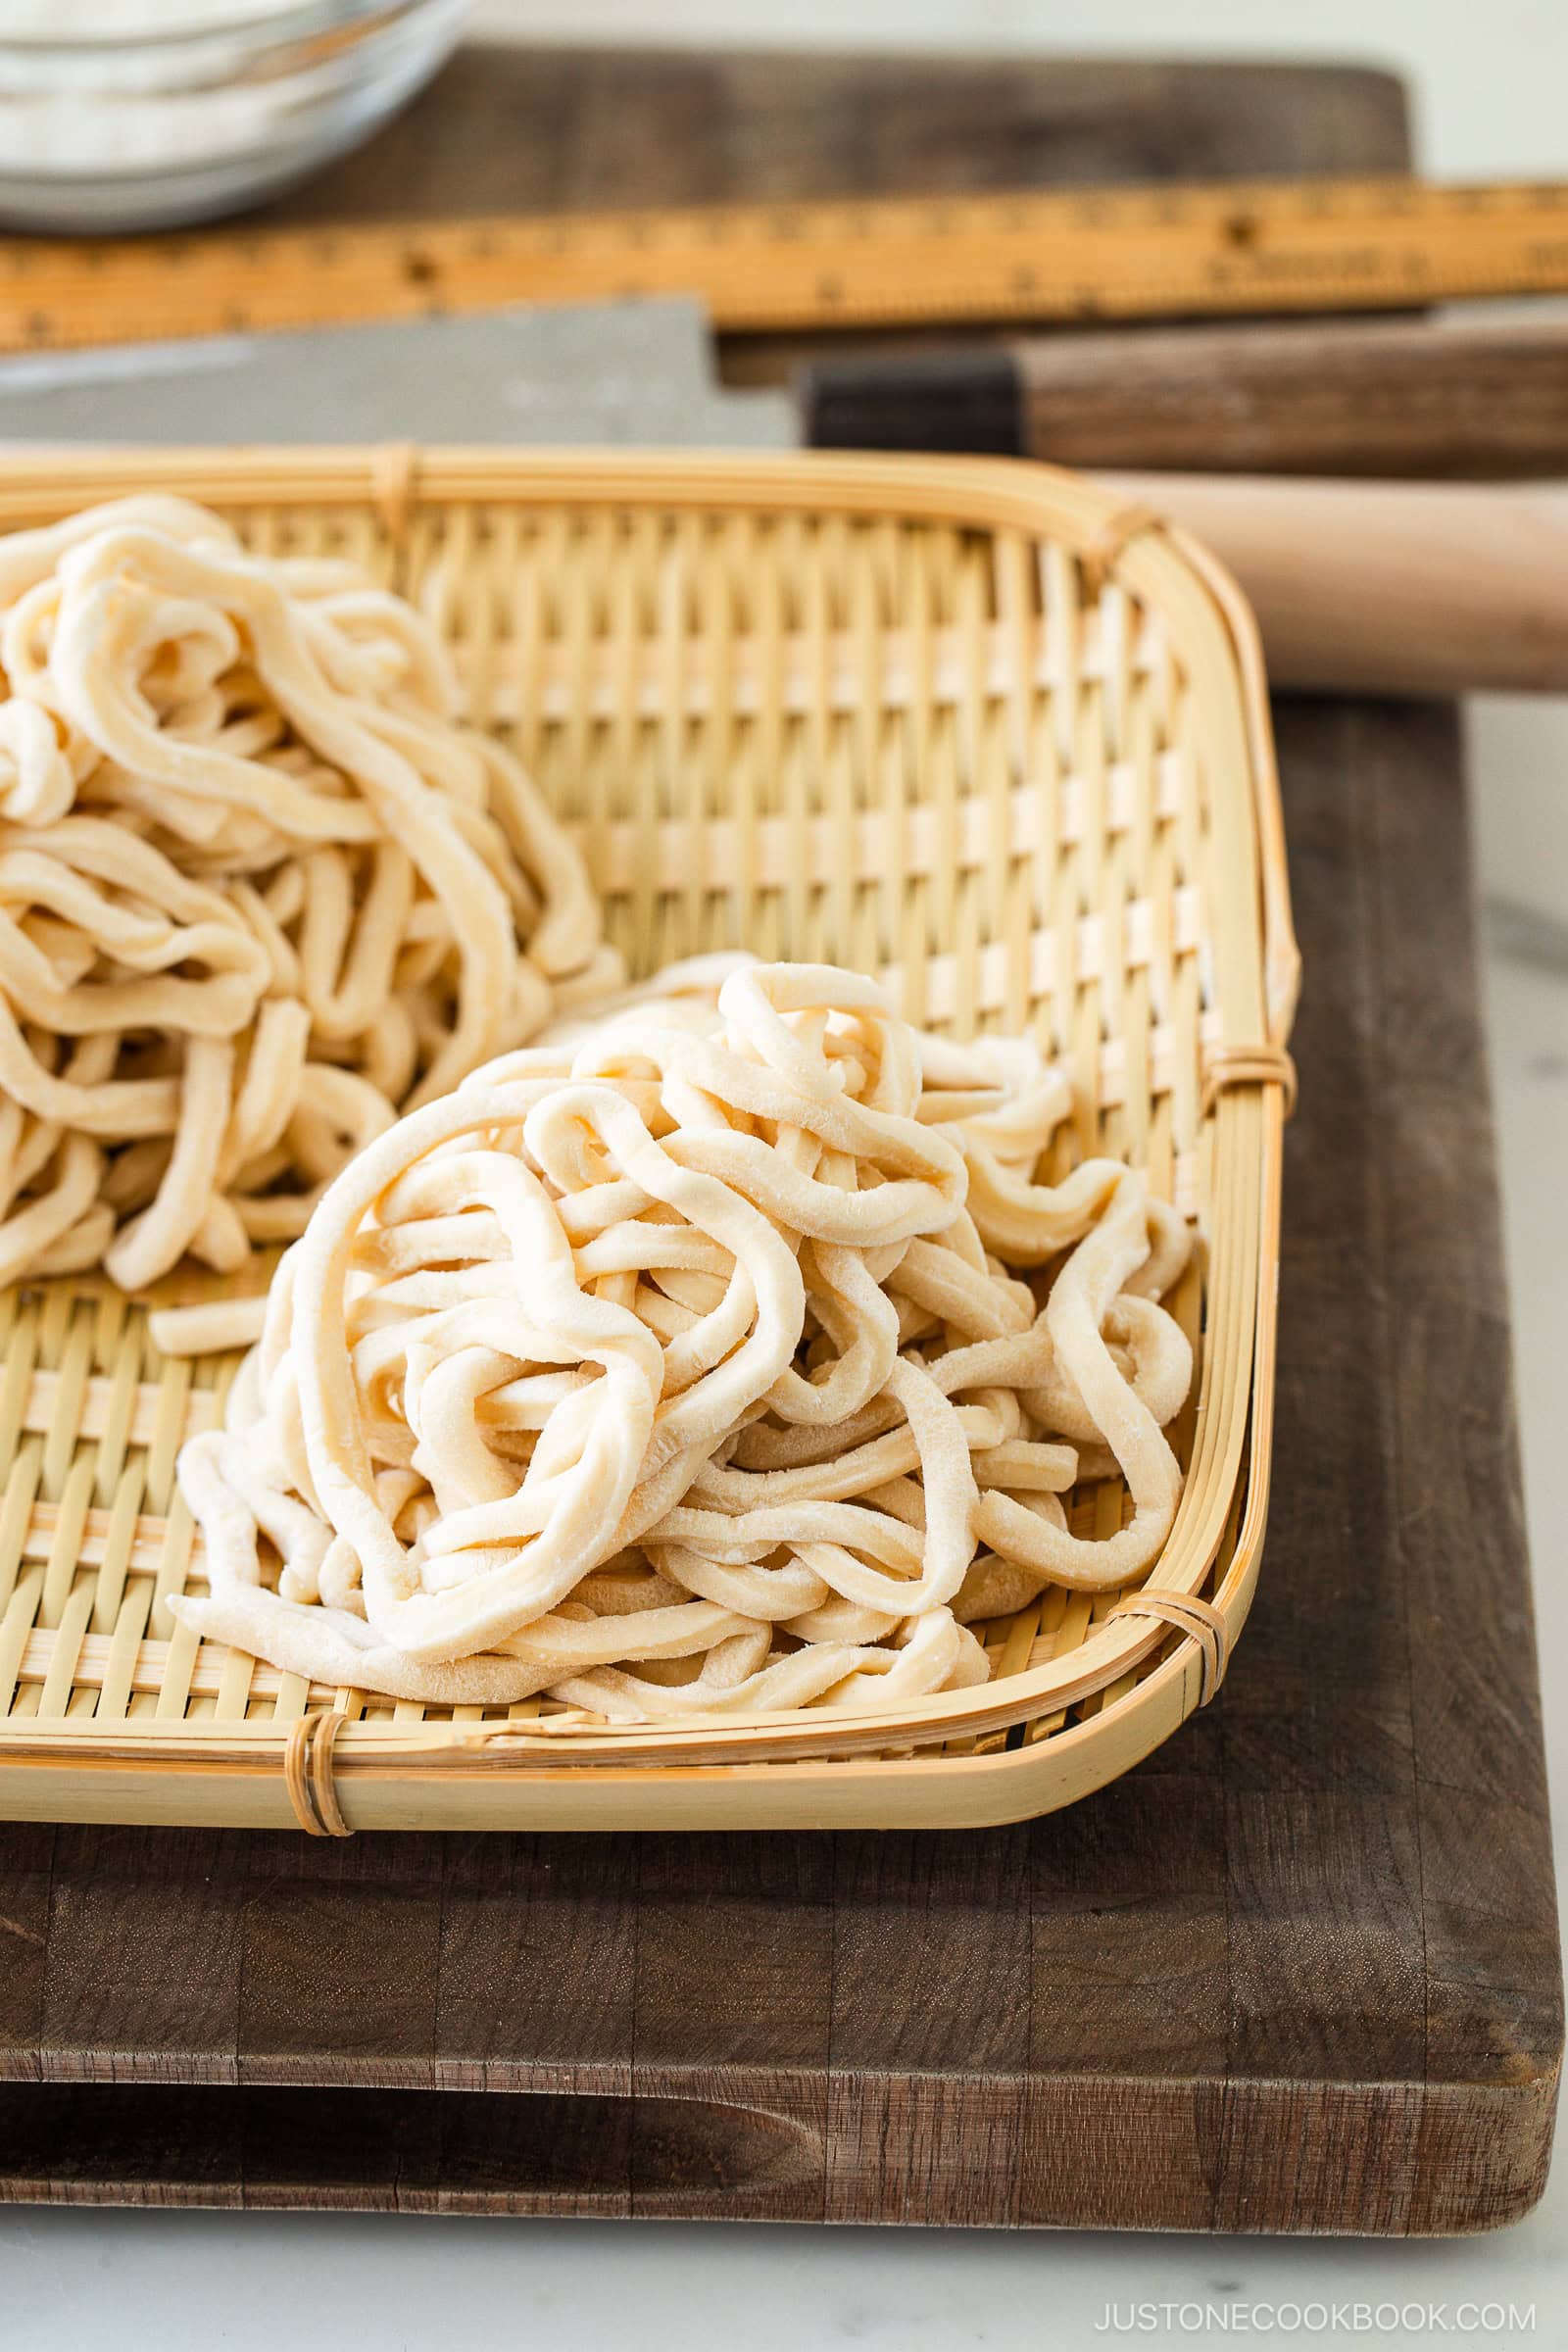
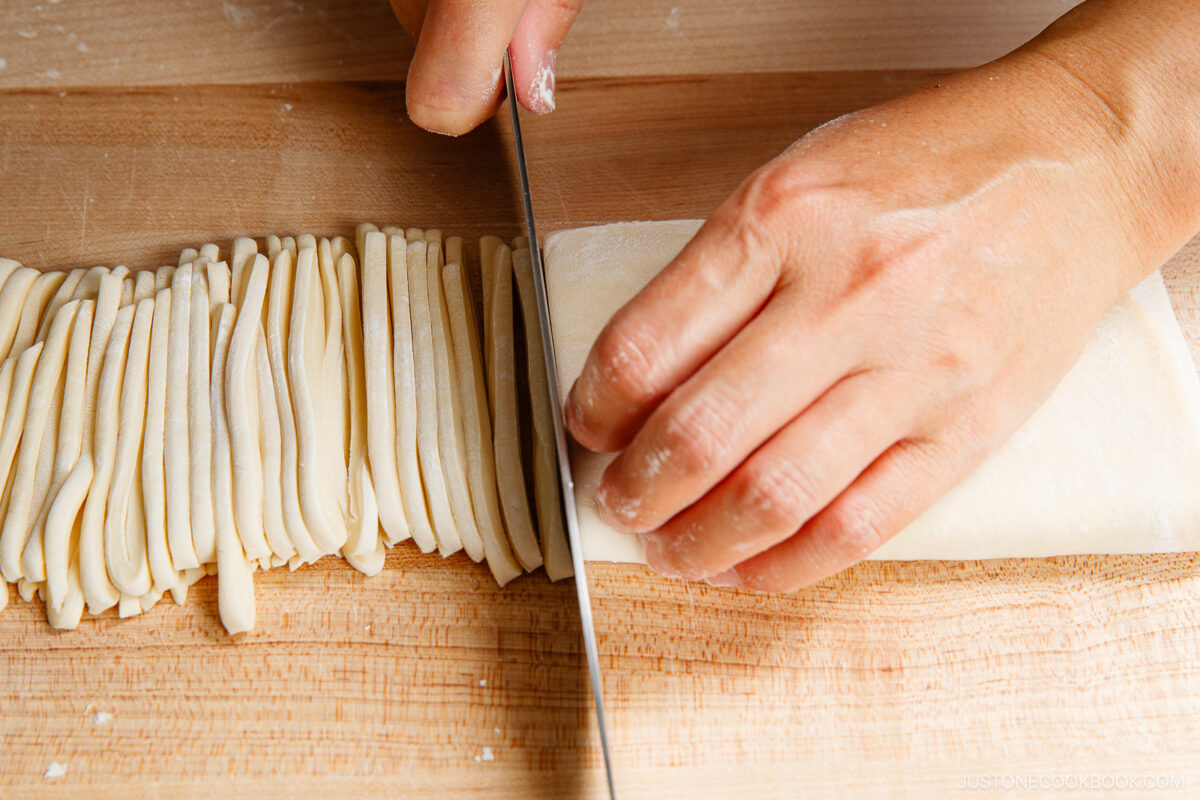
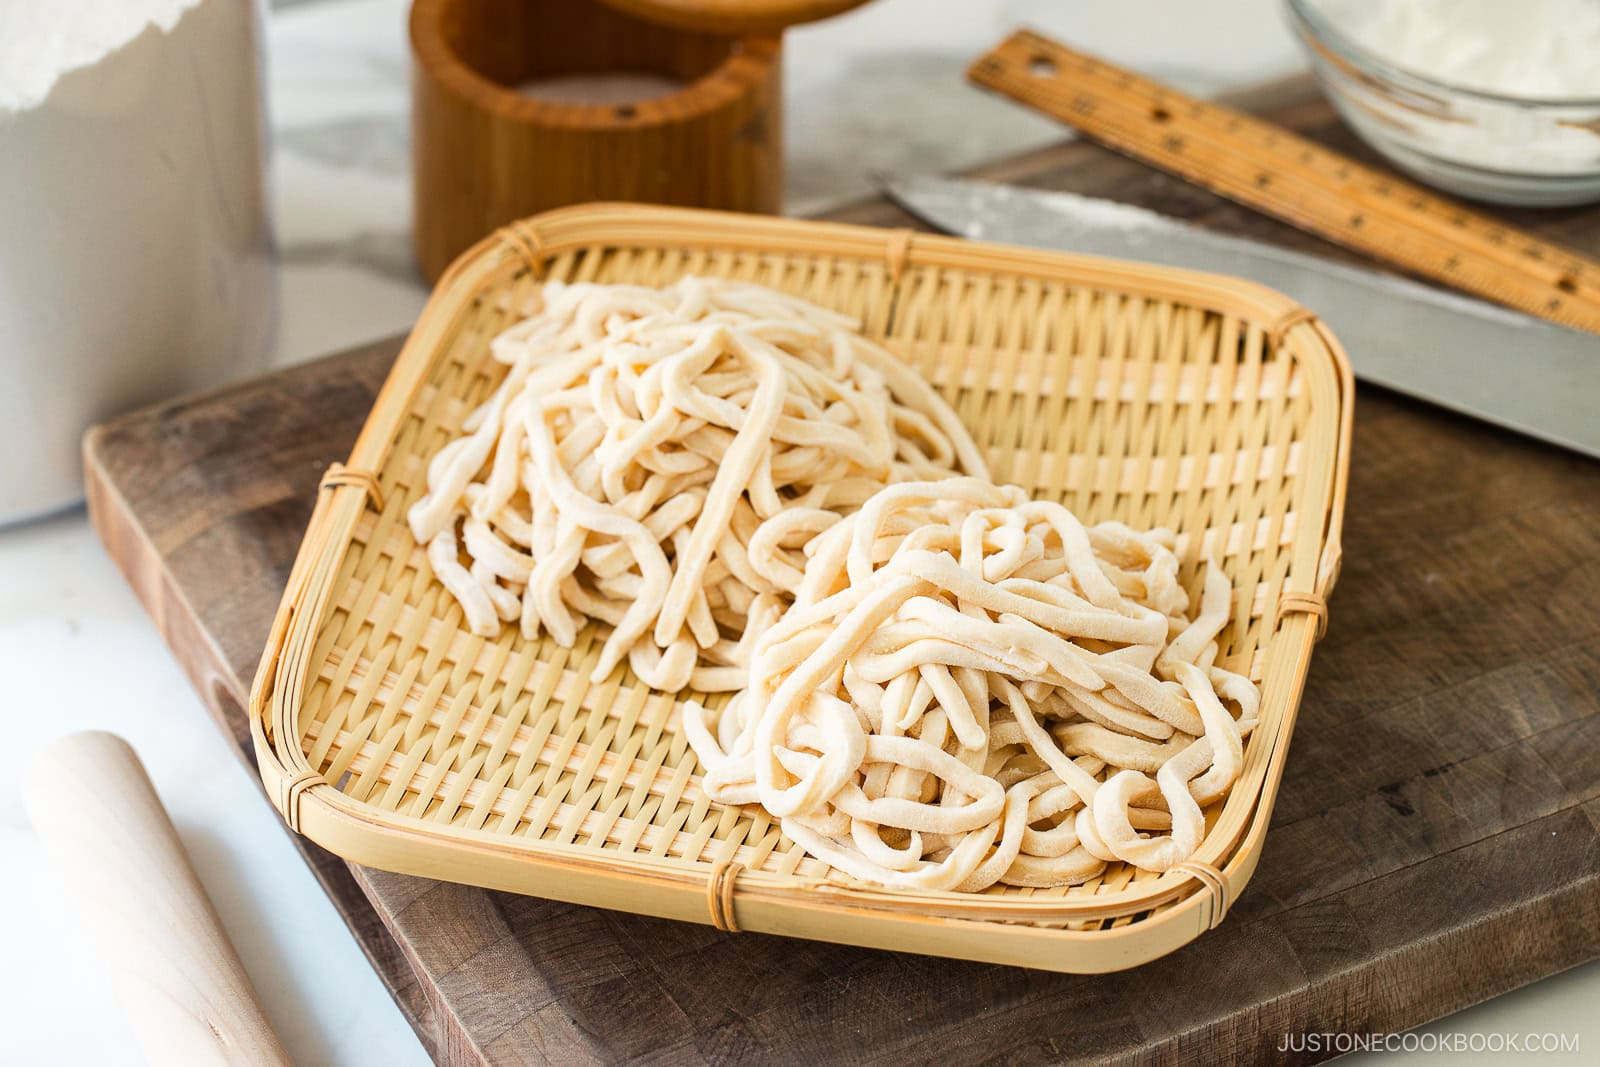
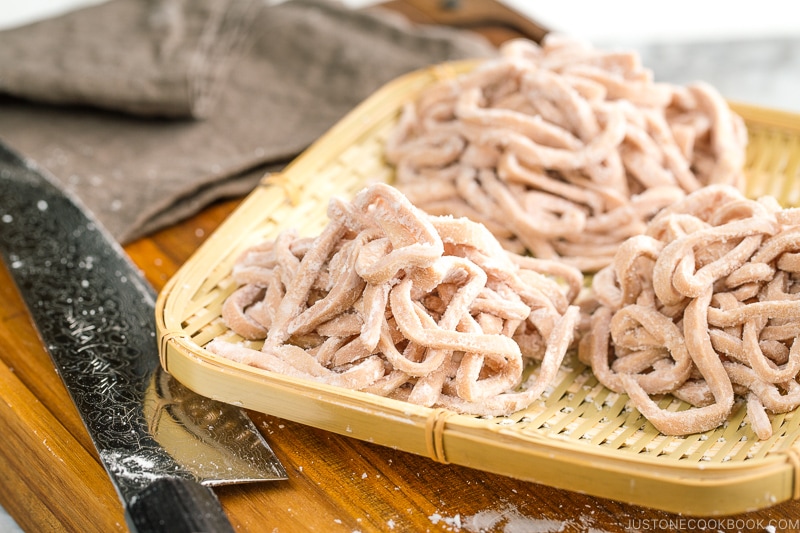
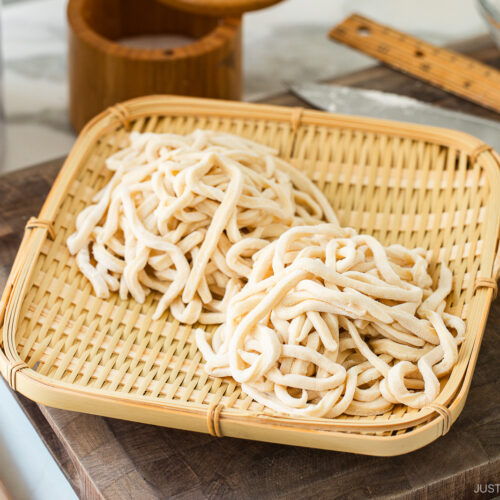
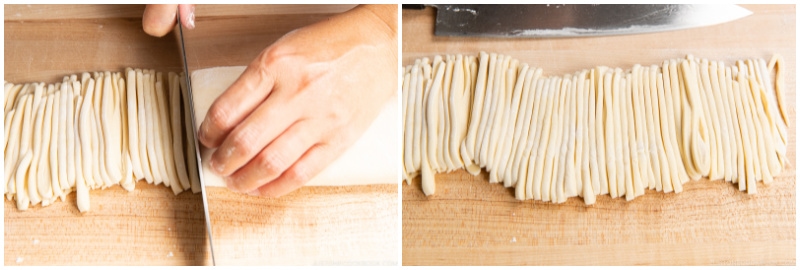
Step 6 – Cut into noodles. Fold the dough in half or thirds. Cut it into ⅛-inch (3 mm) noodles with a sharp knife. Fluff them with your fingers and dust with potato starch so they don’t stick. It’s ready to cook now or freeze for later.
How to Cook Homemade Udon Noodles
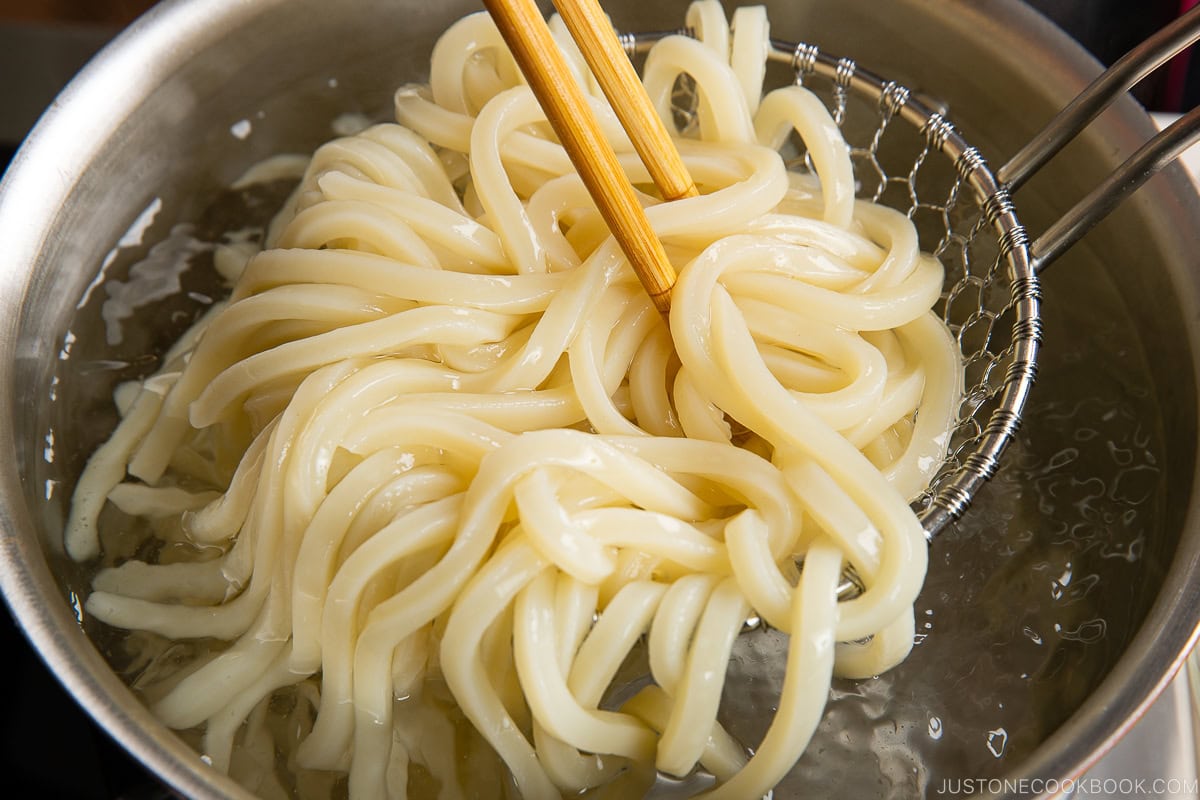
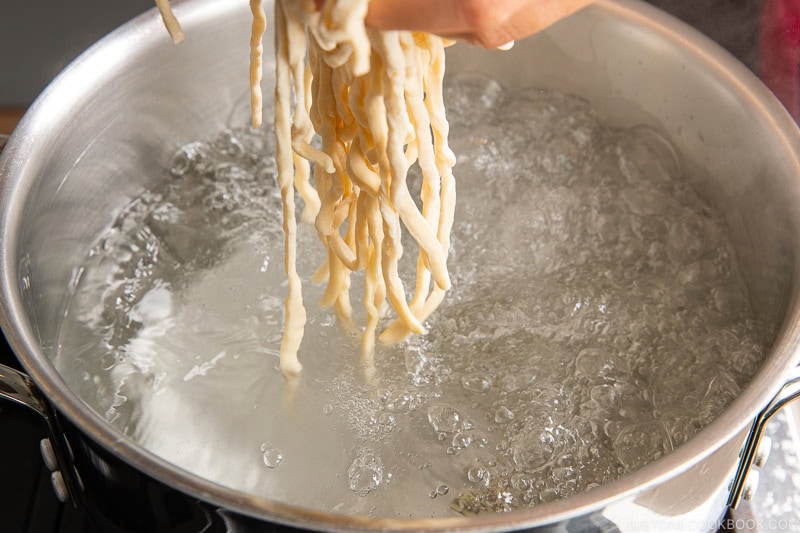
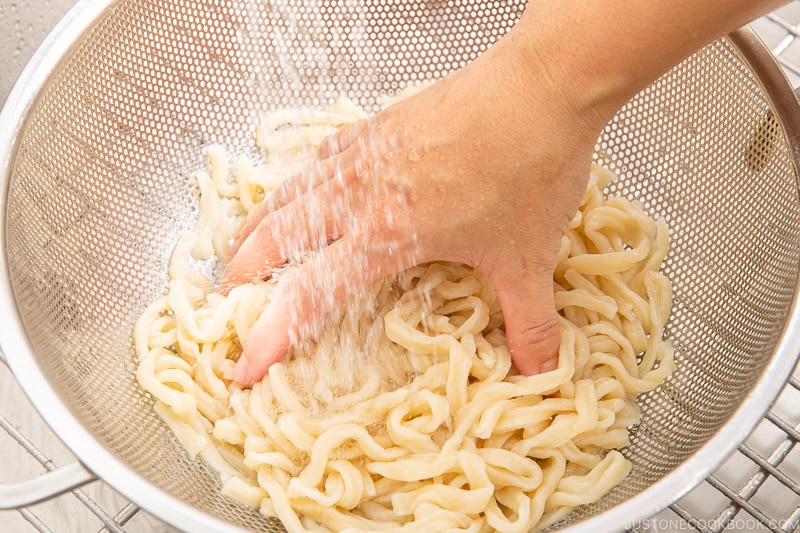
Bring a large pot of unsalted water to a boil. Loosen the fresh noodles, shake off the excess starch, and cook them in the pot while stirring occasionally with chopsticks for about 10 minutes (depending on thickness). Drain and rinse well under cold running water to remove starch and improve the noodles’ texture.
Nami’s Recipe Tips
- Weight your flour and salt with a kitchen scale. Weighing your flour and salt in metric is effortless and there’s zero error. On the other hand, I didn’t include a “cup” volume measurement as the amount in 1 cup of flour varies depending on how packed the flour is when you scoop it. You’re likely to end up with more flour than you need in this case. Likewise, the best way to measure salt is to weigh it, as the volume is different depending on the type of salt.
- Don’t adjust the amount of salt. Salt plays a key role in tightening the flour’s gluten and increasing the dough’s elasticity. Don’t worry, the noodles will release some salt while cooking in unsalted water and won’t be salty. Trust me!
- Evenly distribute the salted water. You want to go slow and steady and distribute the saltwater evenly into all parts of the flour. This helps to achieve a consistent elasticity in the dough.
- Try not to add more water. This is probably the MOST IMPORTANT tip. Bear in mind that the udon dough is tough. If you can knead it with a rolling pin or hands, you probably added more water than you should.
- Use a large, resealable plastic bag. I try not to use plastic bags, but it is a very helpful tool for stepping on the dough with our feet. Get a 2-gallon resealable bag for this recipe. A 1-gallon bag is way too small!
- Step on the dough from the center out. When you press down on the dough, start stepping from the center with your toes. Then spread the dough toward the outer edges, just like you would roll the dough with a rolling pin.
- “Knead until the dough is as soft as your earlobes.” This is a common expression in Japanese cookbooks and recipes. After kneading, the dough should become pliable and soft, so you can finally roll it out with a rolling pin!
- Roll out the corners of the dough to form a rectangle. If you roll out your dough into a rectangle or square, all of your noodles will be equal in length.
- Use a sharp knife. This gives a clean edge to the noodles, leading to a great texture.
Variation – Make Pink Udon Noodles!
In 2015, I collaborated with many talented YouTubers for Tastemade‘s “Hero Series.“ The star ingredient was beets, and I used it as a natural dye to make pink udon noodles. My daughter LOVED them! They are fun to make for special occasions like Valentine’s Day and Japanese Girl’s Day.
Simply follow the same method as my recipe below using the following ingredients.
- 200 g (7 oz) all-purpose flour
- 80 ml (⅓ cup) water
- 10 ml (2 tsp) beet juice – see below for how to make it
- 10 g (0.35 oz) kosher salt
- potato starch or cornstarch – for dusting the dough
For beet juice: Peel and slice a beet root ½ inch (1.3 cm) thick. Boil it in 1 cup (240 ml) of water for 20 minutes until the beet juice is reduced to 2 tablespoons. You will only need 2 teaspoons of this liquid to color the udon.
If you’re wondering, you don’t really taste the beets. You can watch my tutorial video to see how I make it!
How to Enjoy Homemade Udon Noodles
Handmade udon noodles are versatile for their neutral flavor and chewy texture that holds up in hot soups, stir-fries, and more. Here are some delicious ways to prepare them.
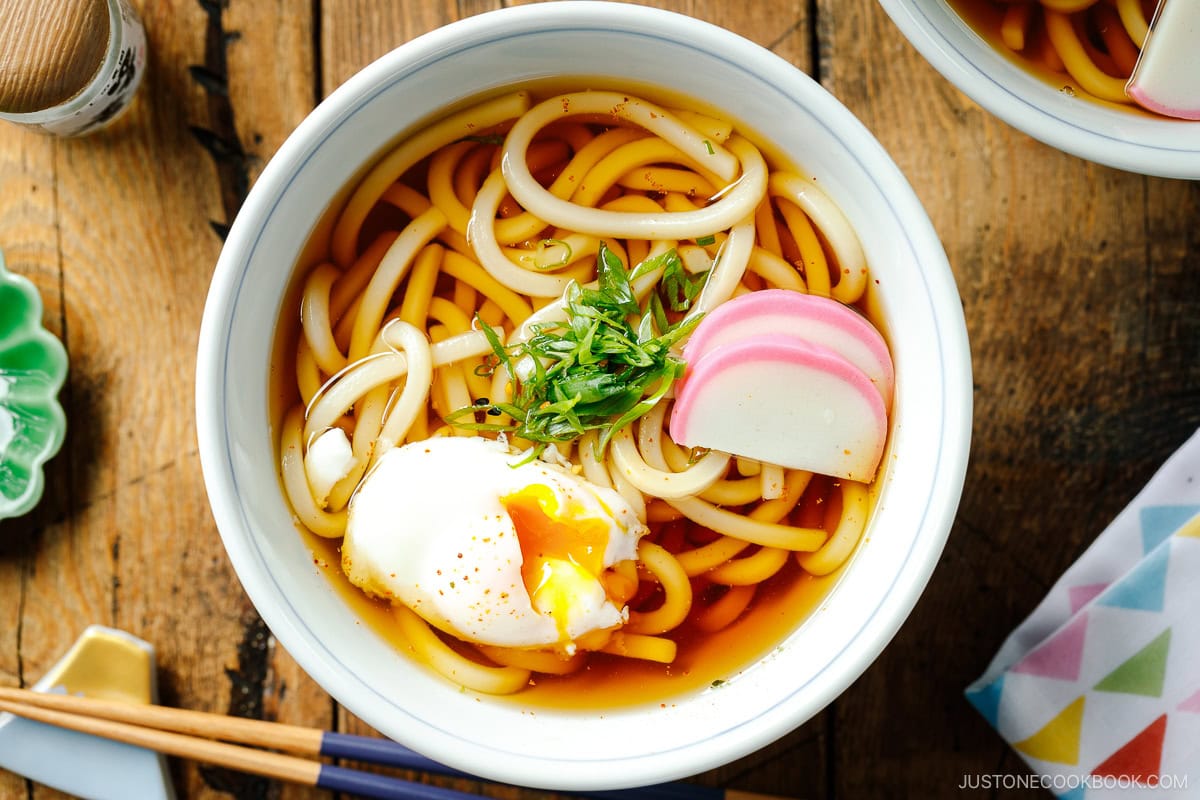
- In hot soup – Try traditional Udon Noodle Soup (Kake Udon) topped with a green onion garnish. Need a more creative one? Try my Curry Udon!
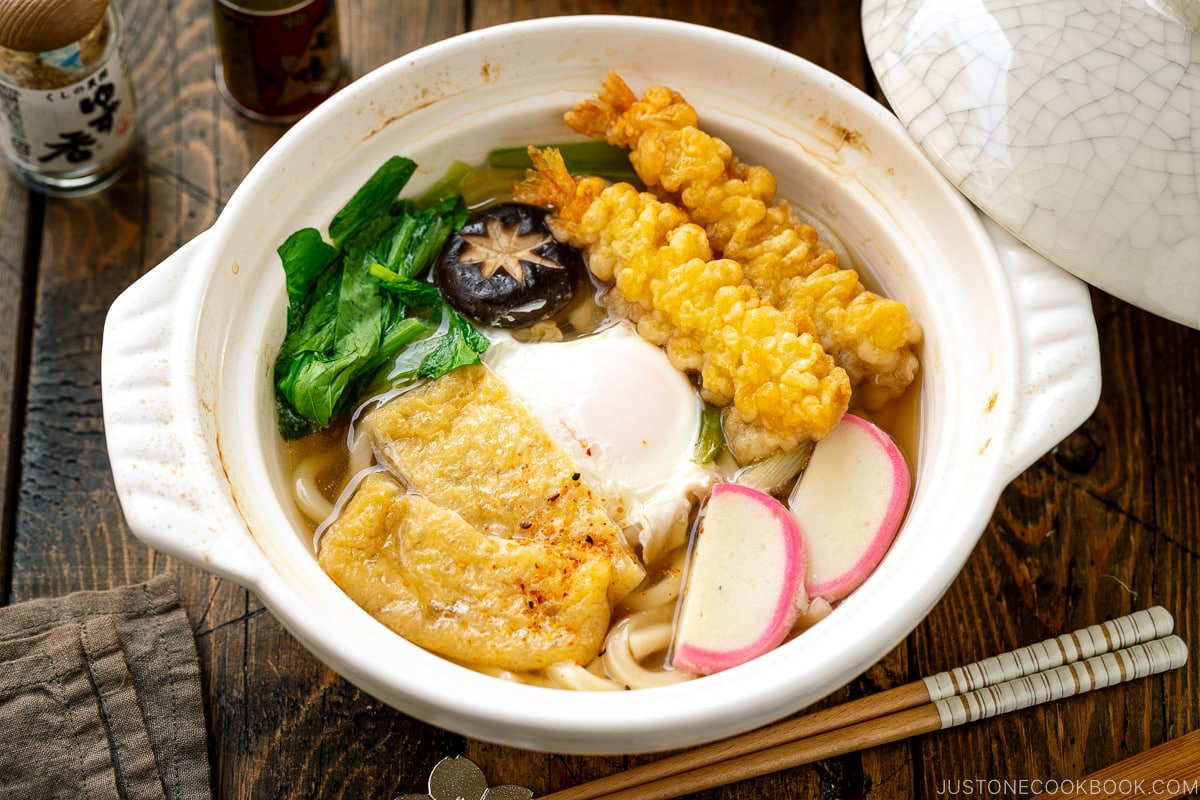
- In a donabe hot pot – Piping-hot and comforting Nabeyaki Udon is a wintertime staple in Japan.
- In a stir-fry – Cook up these noodles with cabbage, carrots, mushrooms, and a protein (think chicken, pork, or shrimp) in Easy Yaki Udon for a quick weeknight meal.
- In Japanese-style wafu pasta – Toss chewy udon in a creamy sauce of spicy salted cod roe in my Mentaiko Udon.
- In cold udon – For an easy summer lunch, try this refreshing Cold Tanuki Udon with mentsuyu sauce.


Storage Tips
To store: You can cook the freshly made udon right away! But if you want to use it later, you can divide the uncooked noodles into smaller portions and freeze them for up to a month.
Frequently Asked Questions
Can I make the dough ahead of time?
Yes, you can. When it’s time to rest the kneaded dough for 2 hours at room temperature, you could instead keep the dough in the refrigerator overnight. Then, you can continue the rest of the process on the following day. You can also make the fresh noodles and freeze them uncooked for up to a month (see the next section).
Can I store the noodles to cook later?
Yes! While you could refrigerate fresh noodles up to a few days, the best way is to freeze them right away. Divide the uncooked noodles into individual portions (150 g each), seal in airtight containers or bags, and freeze for up to a month. Cook straight from frozen in boiling water for 12 minutes, then rinse under cold water. For hot noodle soup, quickly reheat in hot water before serving.
Do I really have to rest the dough for 2–3 hours?
I know it’s hard to wait, but resting the dough allows the gluten to relax so you can roll out the dough with a rolling pin. It’s the same approach as with breadmaking. If you don’t rest it, the dough will spring back when you try to roll it into a flat rectangle.
Prep Time: 1 hour
Resting Time: 2 hours 30 minutes
Total Time: 1 hour
Japanese Ingredient Substitution: If you want substitutes for Japanese condiments and ingredients, click here.
Before You Start…Please note that this recipe requires 2½ hours of resting time.
Gather all the ingredients. I highly encourage you to weigh your flour and salt using a kitchen scale for this recipe. Click on the Metric button at the top of the recipe to convert the ingredient measurements to metric. If you don't have a scale, here's how to measure flour with a measuring cup: Fluff the flour with a spoon, sprinkle it into the measuring cup, and level it off. Otherwise, you may scoop more than you need.
To Make the Udon Dough
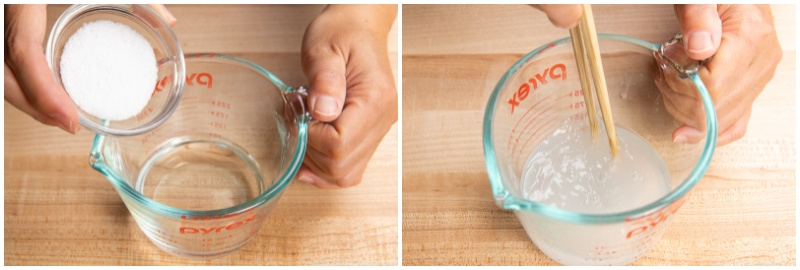
Add 0.35 oz Diamond Crystal kosher salt to 6 Tbsp water and stir until it’s completely dissolved. Important: The amount of salt may seem like a lot, but some of it will be released into the boiling water while cooking. Also, you will not need to salt the cooking water because the udon noodles are already salted.
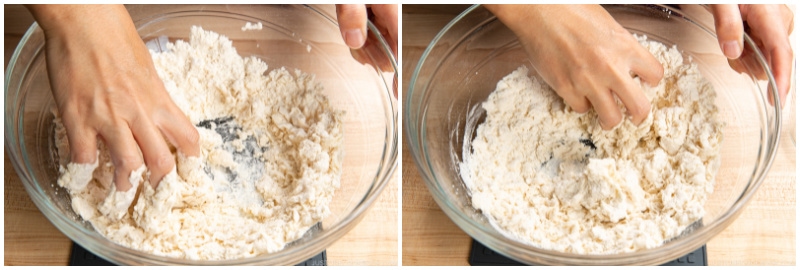
Place 7 oz all-purpose flour (plain flour) in a large bowl. Gradually distribute the salted water evenly across the flour while mixing with your hands. This way, salt doesn‘t concentrate into one part of the dough.
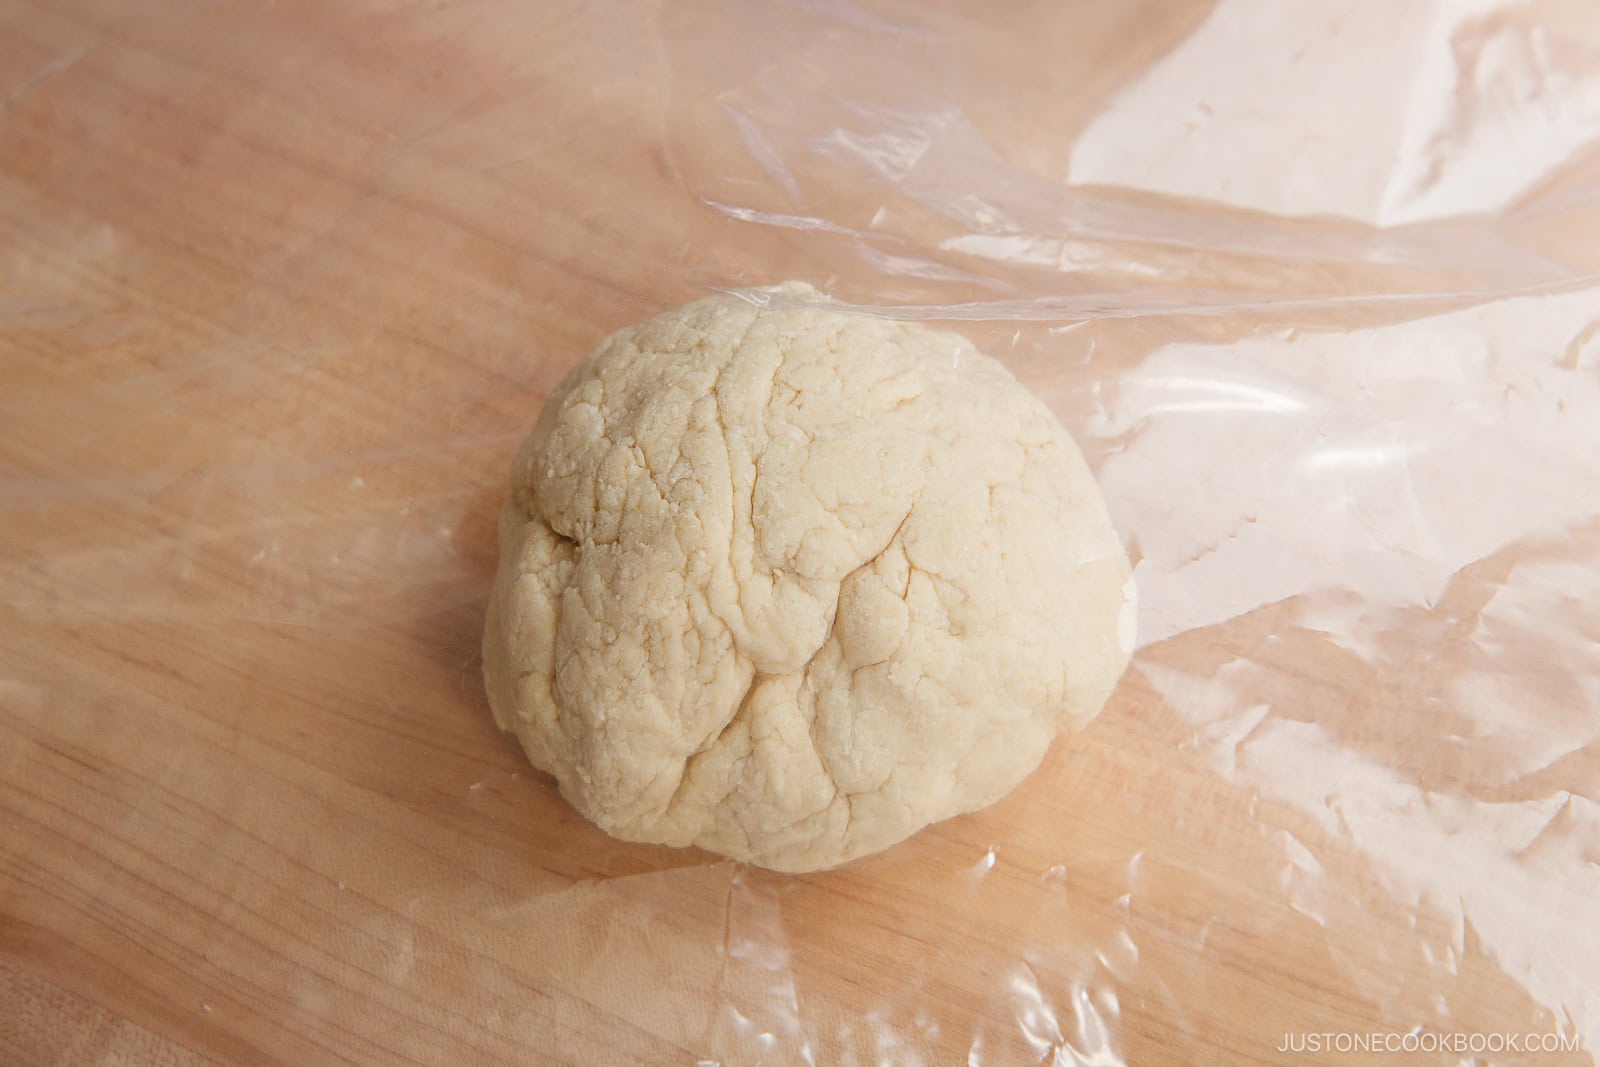
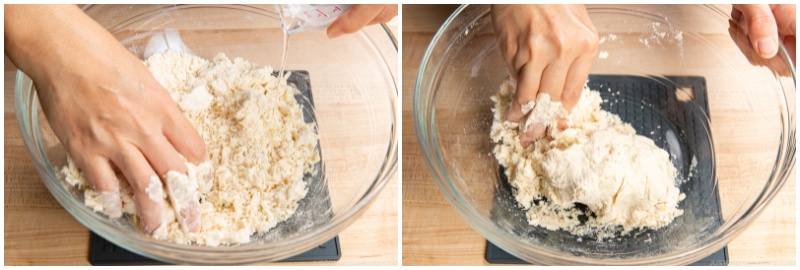
Combine the dough until there is no dry flour left. Then, form it into a ball.
If there is some dry flour left, add only a very small amount of water needed to hydrate the flour. Important: The dough should be really tough, unlike bread dough. Try your best to avoid adding water, unless you have a really hard time pressing the dough into a ball. Again, use as little water as possible.
Place the dough ball in a large durable plastic bag (such as a 2-gallon Ziploc bag).

Close the bag, leaving a small air gap and let it rest for 30 minutes to relax the gluten.
To Knead the Dough
To keep your dough and the bag clean while kneading, place the bag between two kitchen towels on the floor.

Step on the bag with the dough inside using the heels of your feet. Use your weight to flatten it, slowly turning 360 degrees as you stretch out the dough from the center to the edges. Continue to step on the dough until it is stretched out and completely flat. Tip: You can knead with your hands instead, but it will take more effort and time. Stepping on the udon dough is a common practice in Japan!
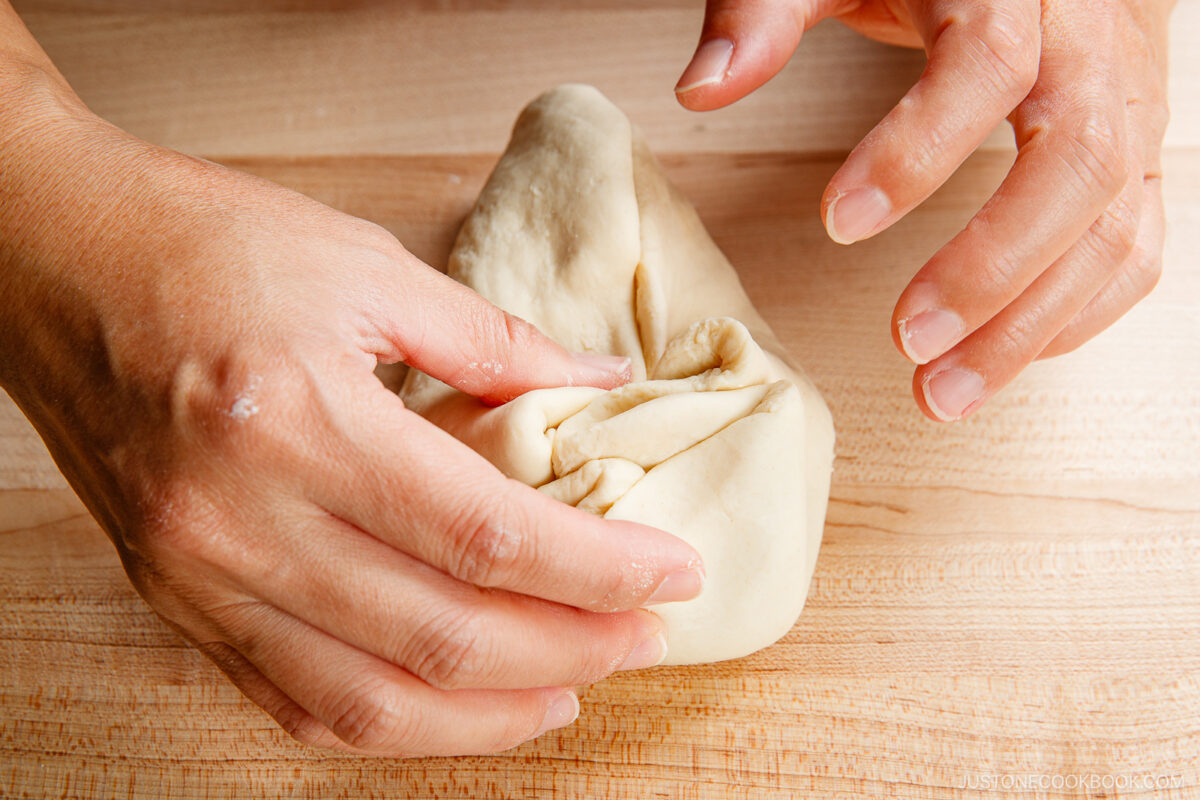
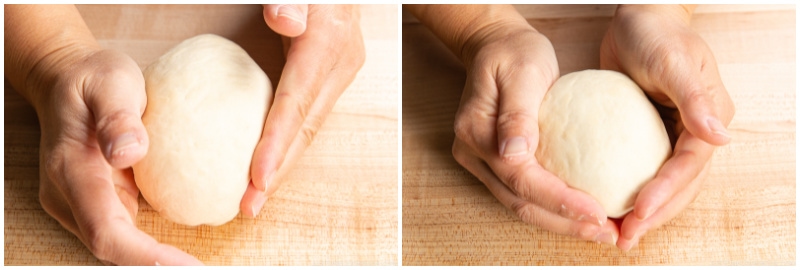
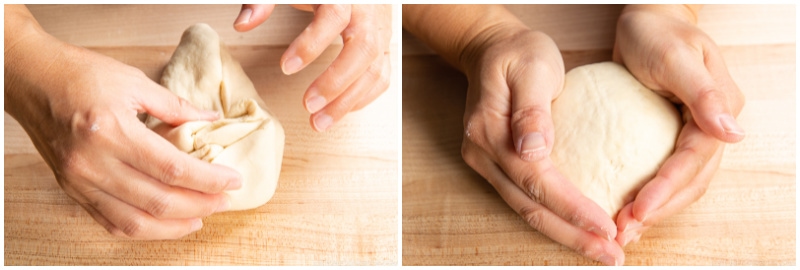
Remove the dough from the bag and fold in the edges toward the middle.
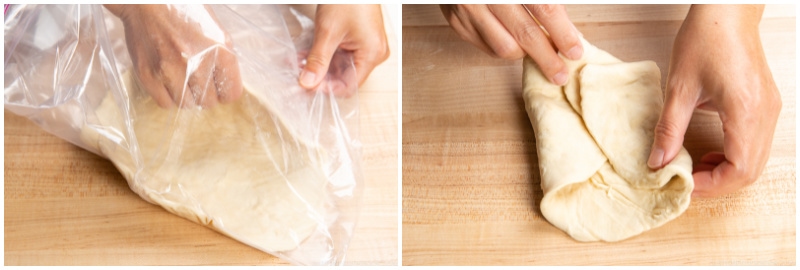
Collect the edges in the center of the dough and flip it over so the seam side is facing down.
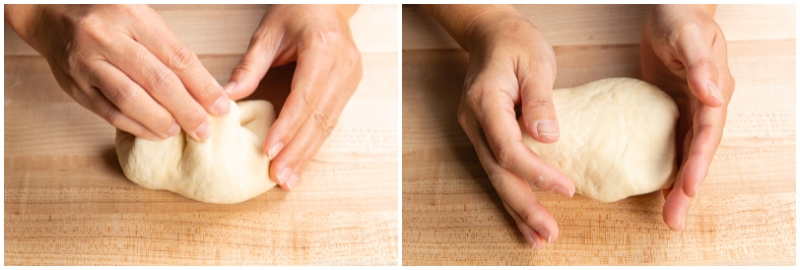
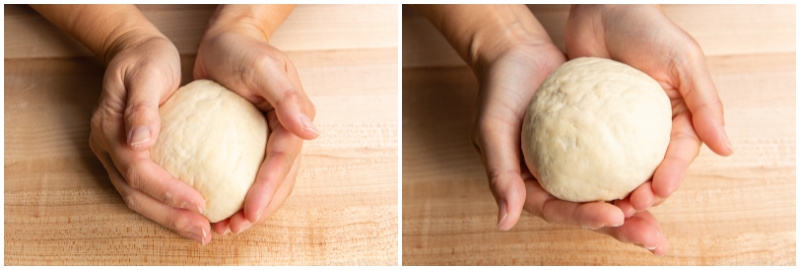
Press and rotate the dough with cupped hands to form it into a ball.
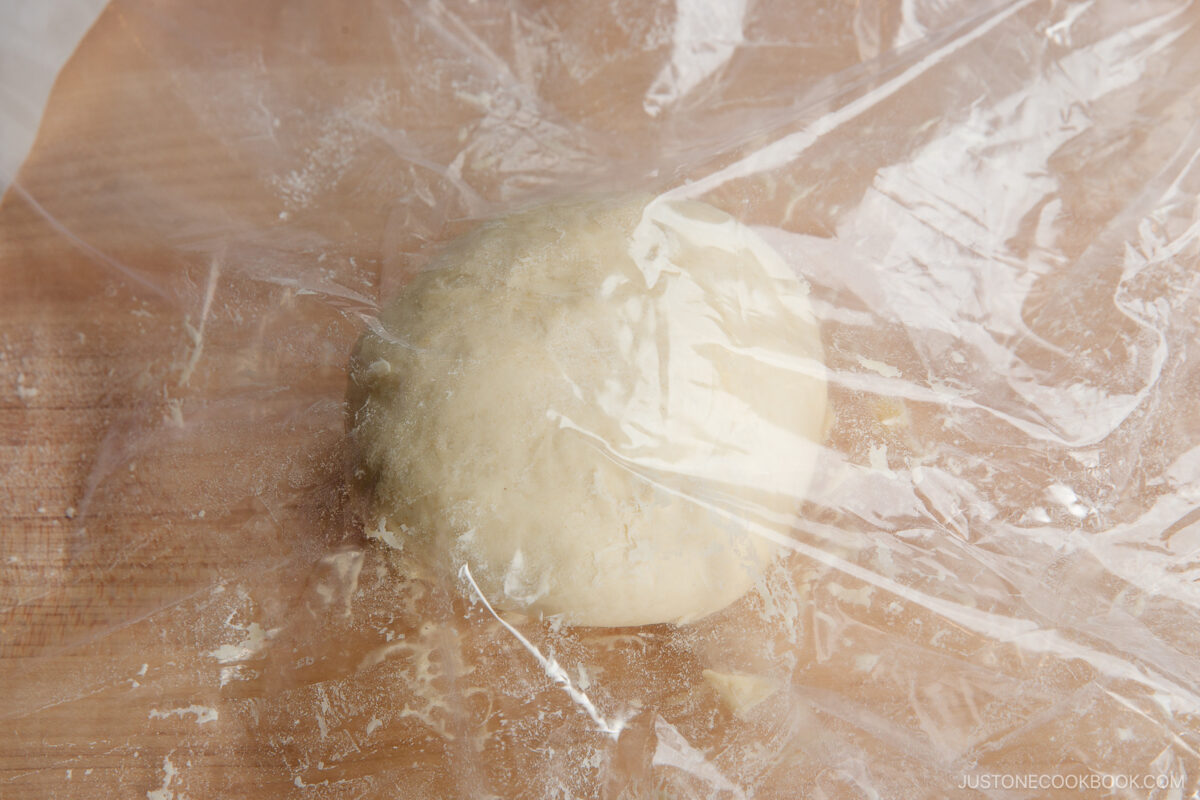
Place the dough ball back into the bag and close the bag, leaving a small air gap. Repeat the dough kneading or “stepping“ process from Step 2. You can see if you are stepping on the right location to flatten the dough by occasionally lifting the towel to check.
Continue stepping on the dough until it is stretched flat.
Remove the dough from the bag and fold the edges toward the center, flip it over, and form it into a ball again.

You will notice that the dough is slightly more pliable than the first time.
Repeat this process three more times for a total of five rounds of dough stepping, or until the dough is as soft as an earlobe (that’s how we describe the texture of the finished udon dough in Japan).
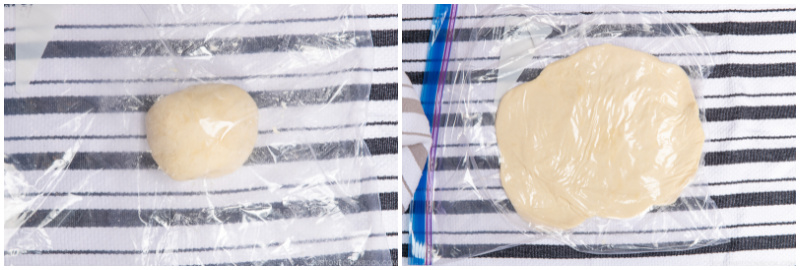
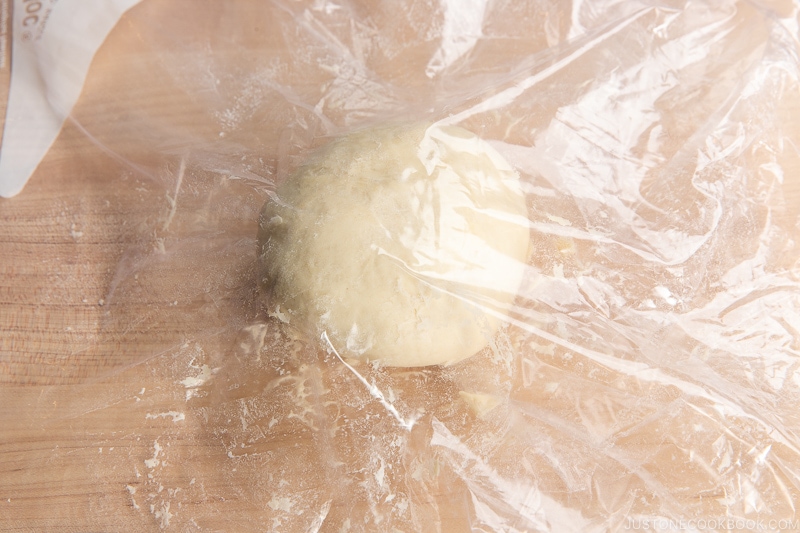
After the fifth round of dough stepping, take out the dough and form it into a nice, round ball. Put the dough back into the bag and close.
To Rest the Dough (2 Hours)
Rest the dough on the kitchen counter for 2 hours (3 hours in the wintertime). You can also keep the dough in the bag and store it in the refrigerator overnight if you would like to continue the rest of the process on the following day.
To Roll Out the Dough
Dust the work surface with potato starch or cornstarch and take out the dough from the bag. Tip: It‘s especially important to use potato starch or cornstarch if you plan to freeze the noodles since the noodles tend to absorb wheat flour, which causes them to stick to each other.
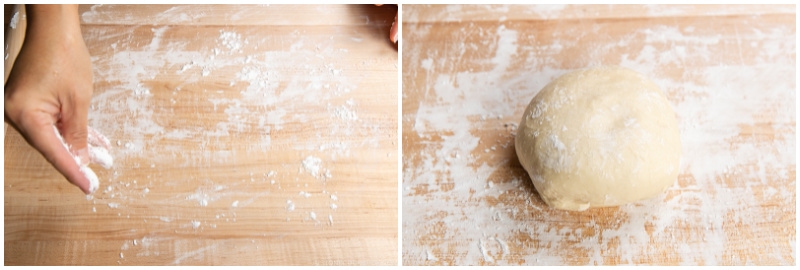
Flatten the dough with your hand.
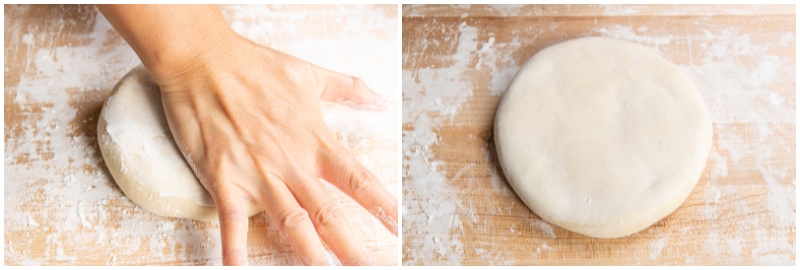
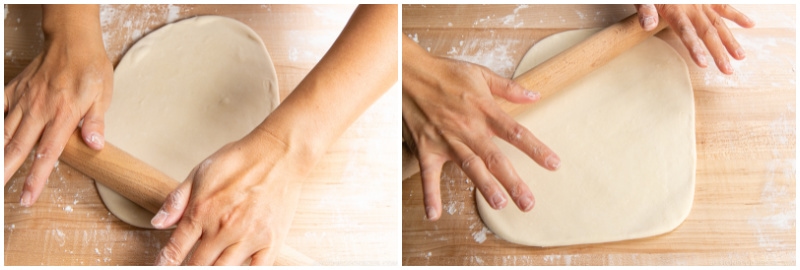
Using a rolling pin, first roll out the dough into an oval shape. Then, turn the dough 90 degrees and roll it out evenly in the other direction.
Then, roll out the corners to create a rectangular shape.
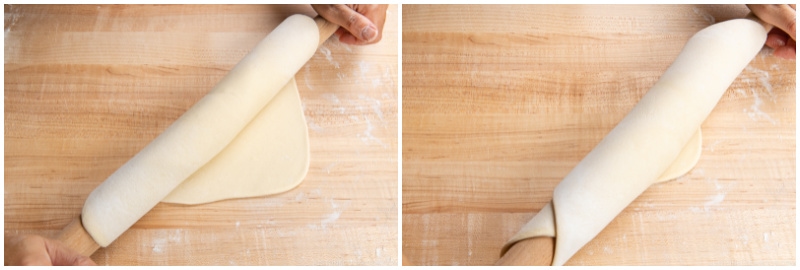
Dust the dough with potato starch or cornstarch occasionally to make sure the dough does not stick to the rolling pin or the work surface.
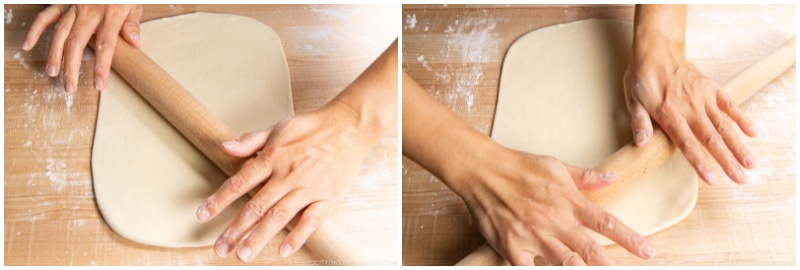
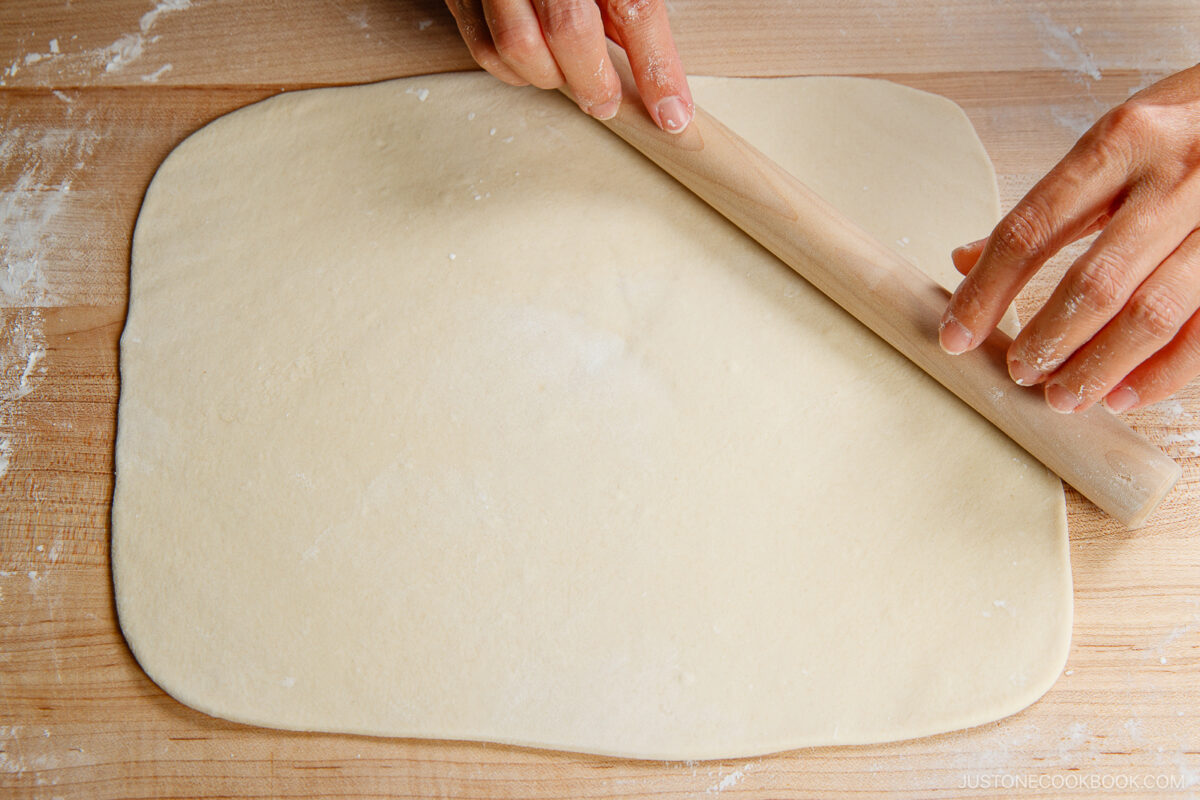
Turn the dough 90 degrees and roll out the dough more.
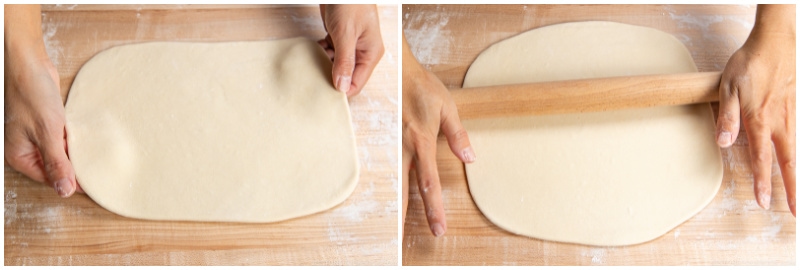
The dough should be 3 mm (⅛ inch) thick and about 10–12 inches long.
Roll out each rounded corner so the dough forms a rectangle. This will allow the noodles to be the same length when you cut them.
Dust more potato starch on top of the dough and spread it thinly.
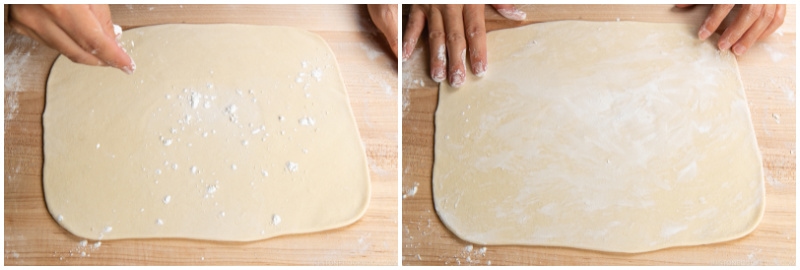
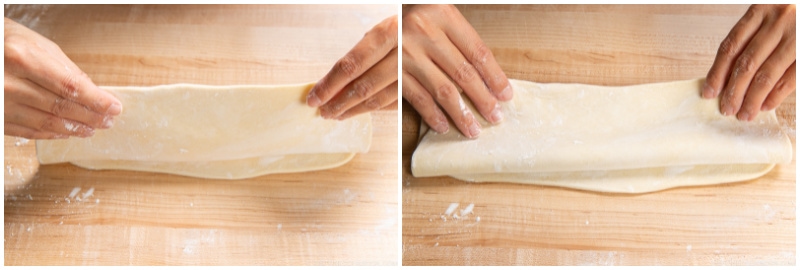
Fold the dough in half or thirds and sprinkle more potato starch on top.
To Cut into Noodles
With a sharp knife or cleaver, cut the folded dough into noodles about 3 mm (⅛ inch) wide.
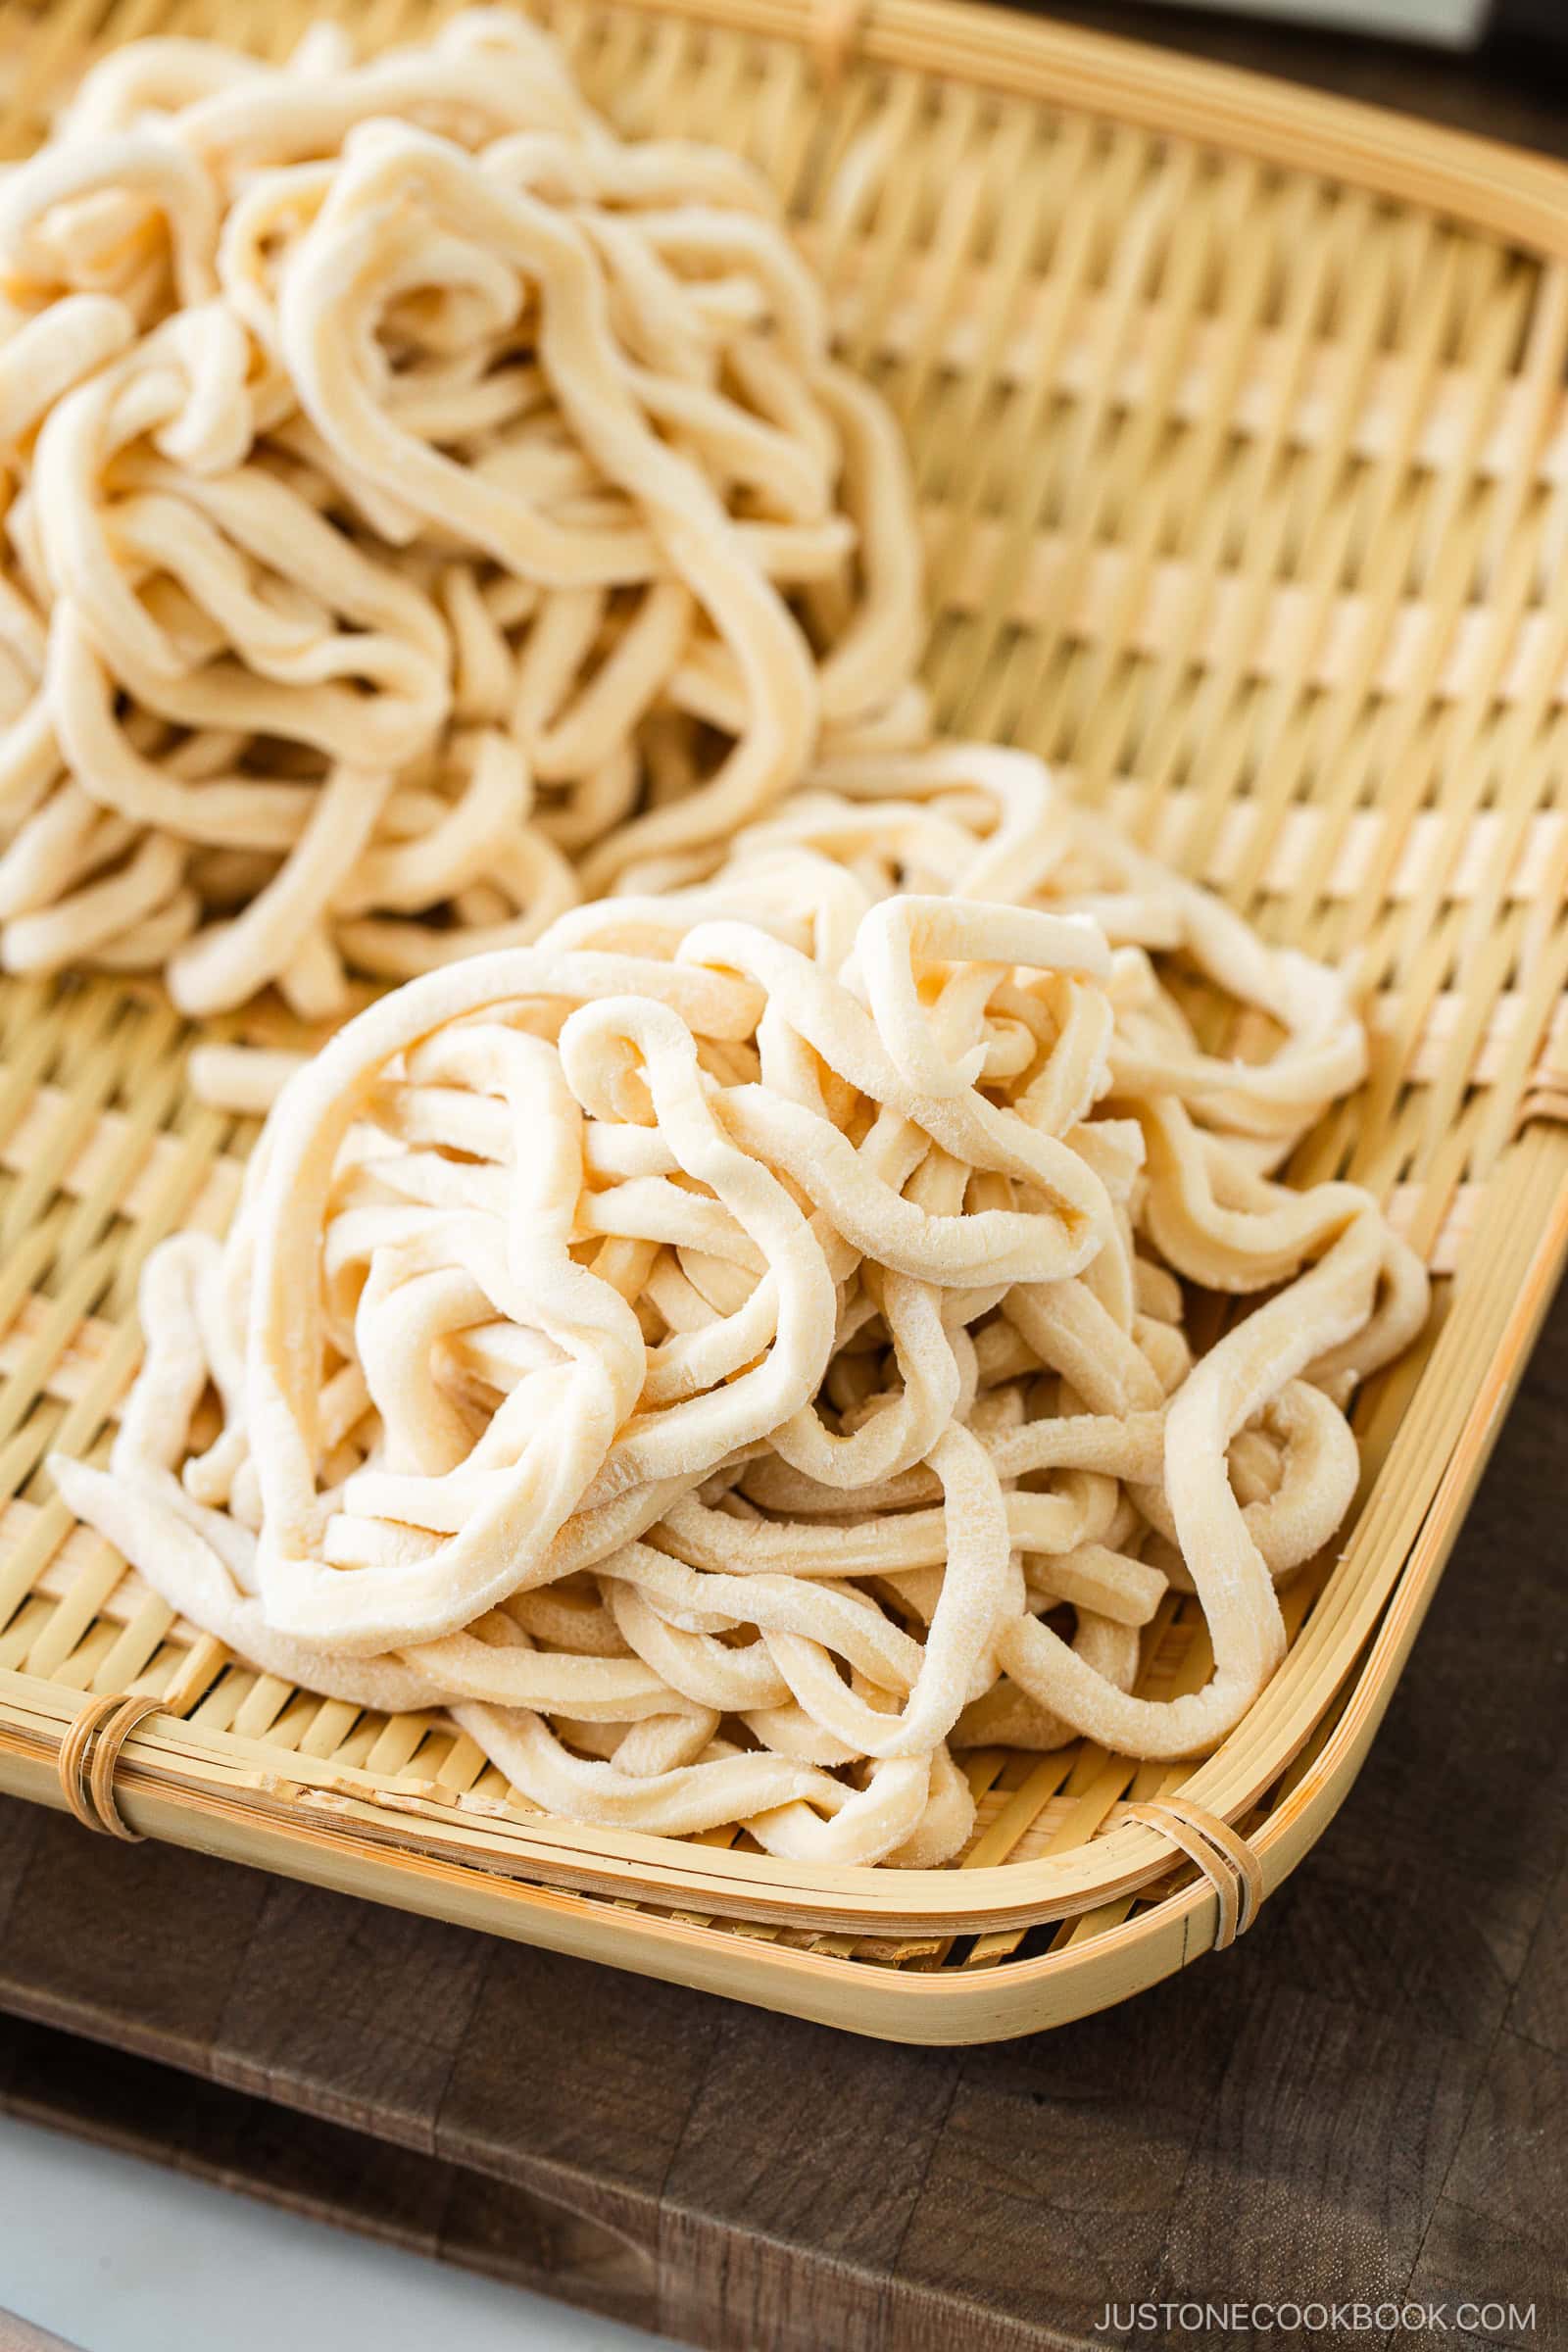
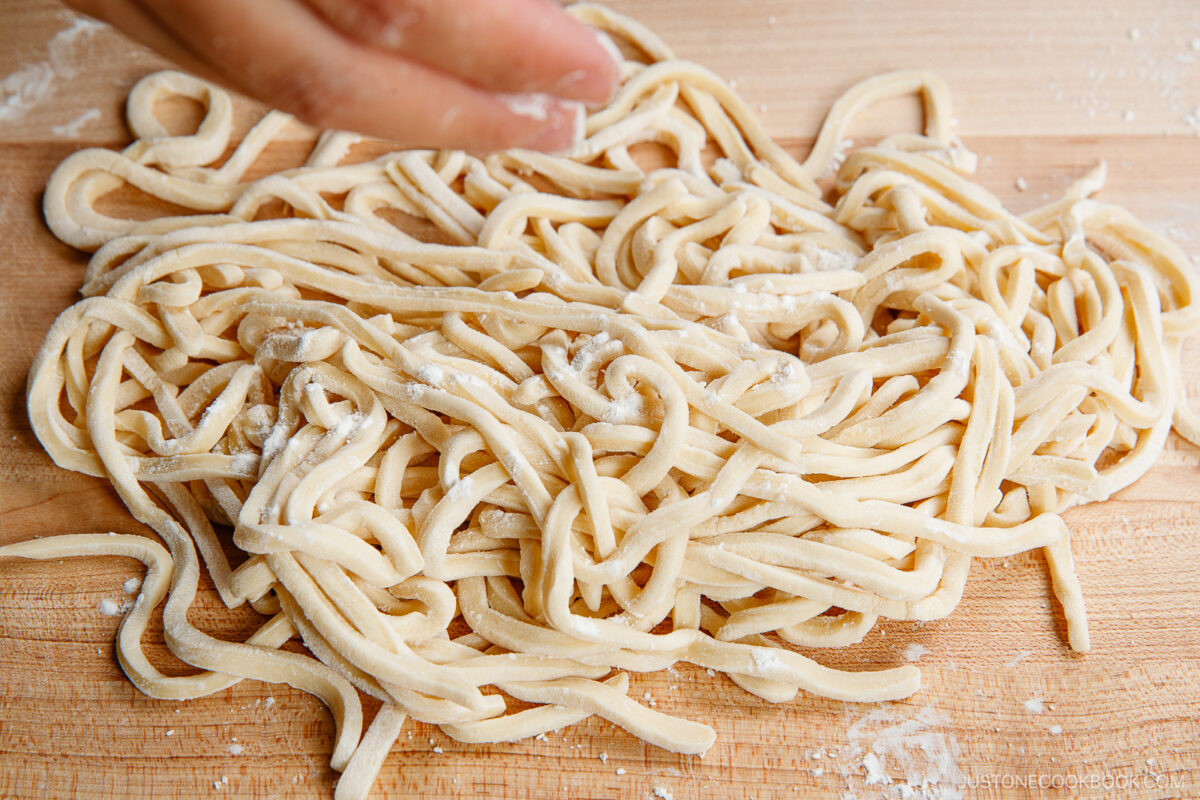
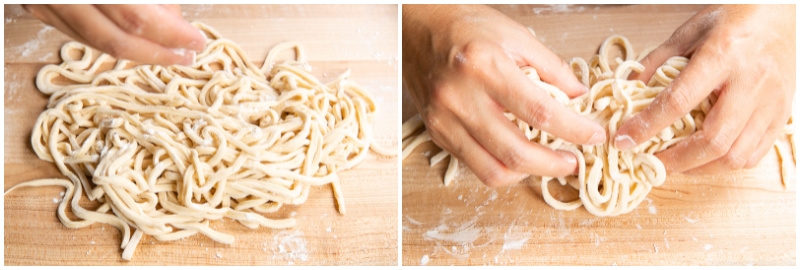
Pick up some of the noodles and fluff them with your fingers to make sure they are covered with the potato starch/cornstarch to prevent them from sticking to each other. The noodles are ready to cook now or freeze for later.
To Cook the Fresh Noodles
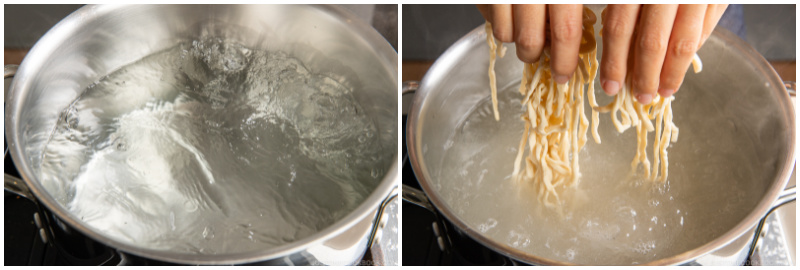
Bring a big pot of unsalted water to a rolling boil (DO NOT add salt to the water; the noodles are already seasoned and will release some salt during cooking). Loosen up the noodles, leaving the excess starch behind, and add the noodles to the pot.
Cook, stirring occasionally, for about 10 minutes (depending on the thickness of your noodles).
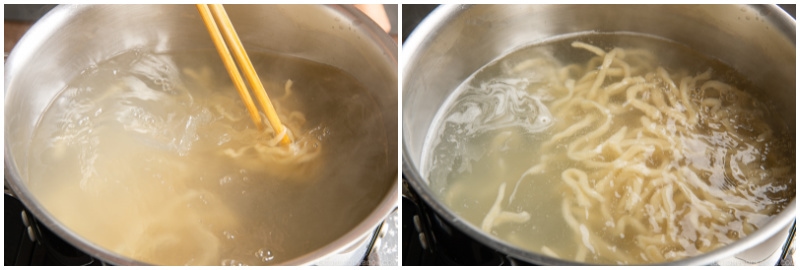
Drain and rinse well under cold running water to remove the starch and give the noodles a firm texture. The noodles are now ready to use in your favorite udon recipe.

To Store the Fresh Noodles for Later
Divide the uncooked noodles into individual portions (150 g each) and freeze in an airtight container or bag for up to a month. You can refrigerate it for a few days, but it tastes better when you freeze the fresh udon right away. To cook from frozen, bring a large pot of water to a boil and cook the frozen udon for 12 minutes without defrosting. Drain and rinse well under cold running water to remove the starch. For hot noodle soup, you can quickly heat up the noodles in a pot of hot water or warm them up under hot running water.
Calories: 361 kcal · Carbohydrates: 76 g · Protein: 10 g · Fat: 1 g · Saturated Fat: 1 g · Polyunsaturated Fat: 1 g · Monounsaturated Fat: 1 g · Sodium: 198 mg · Potassium: 106 mg · Fiber: 3 g · Sugar: 1 g · Calcium: 21 mg · Iron: 5 mg
Author: Namiko Hirasawa Chen
Course: Main Course
Cuisine: Japanese
Keyword: homemade noodle, udon
©JustOneCookbook.com Content and photographs are copyright protected. Sharing of this recipe is both encouraged and appreciated. Copying and/or pasting full recipes to any website or social media is strictly prohibited. Please view my photo use policy here.
If you made this recipe, snap a pic and hashtag it #justonecookbook! We love to see your creations on Instagram @justonecookbook!
Editor’s Note: This post was originally published on February 7, 2015. It was updated on October 6, 2021, with a new video and refreshed images. The post was most recently republished on May 25, 2025, with even more helpful tips and updated information.


 English (US) ·