 3 weeks ago
18
3 weeks ago
18
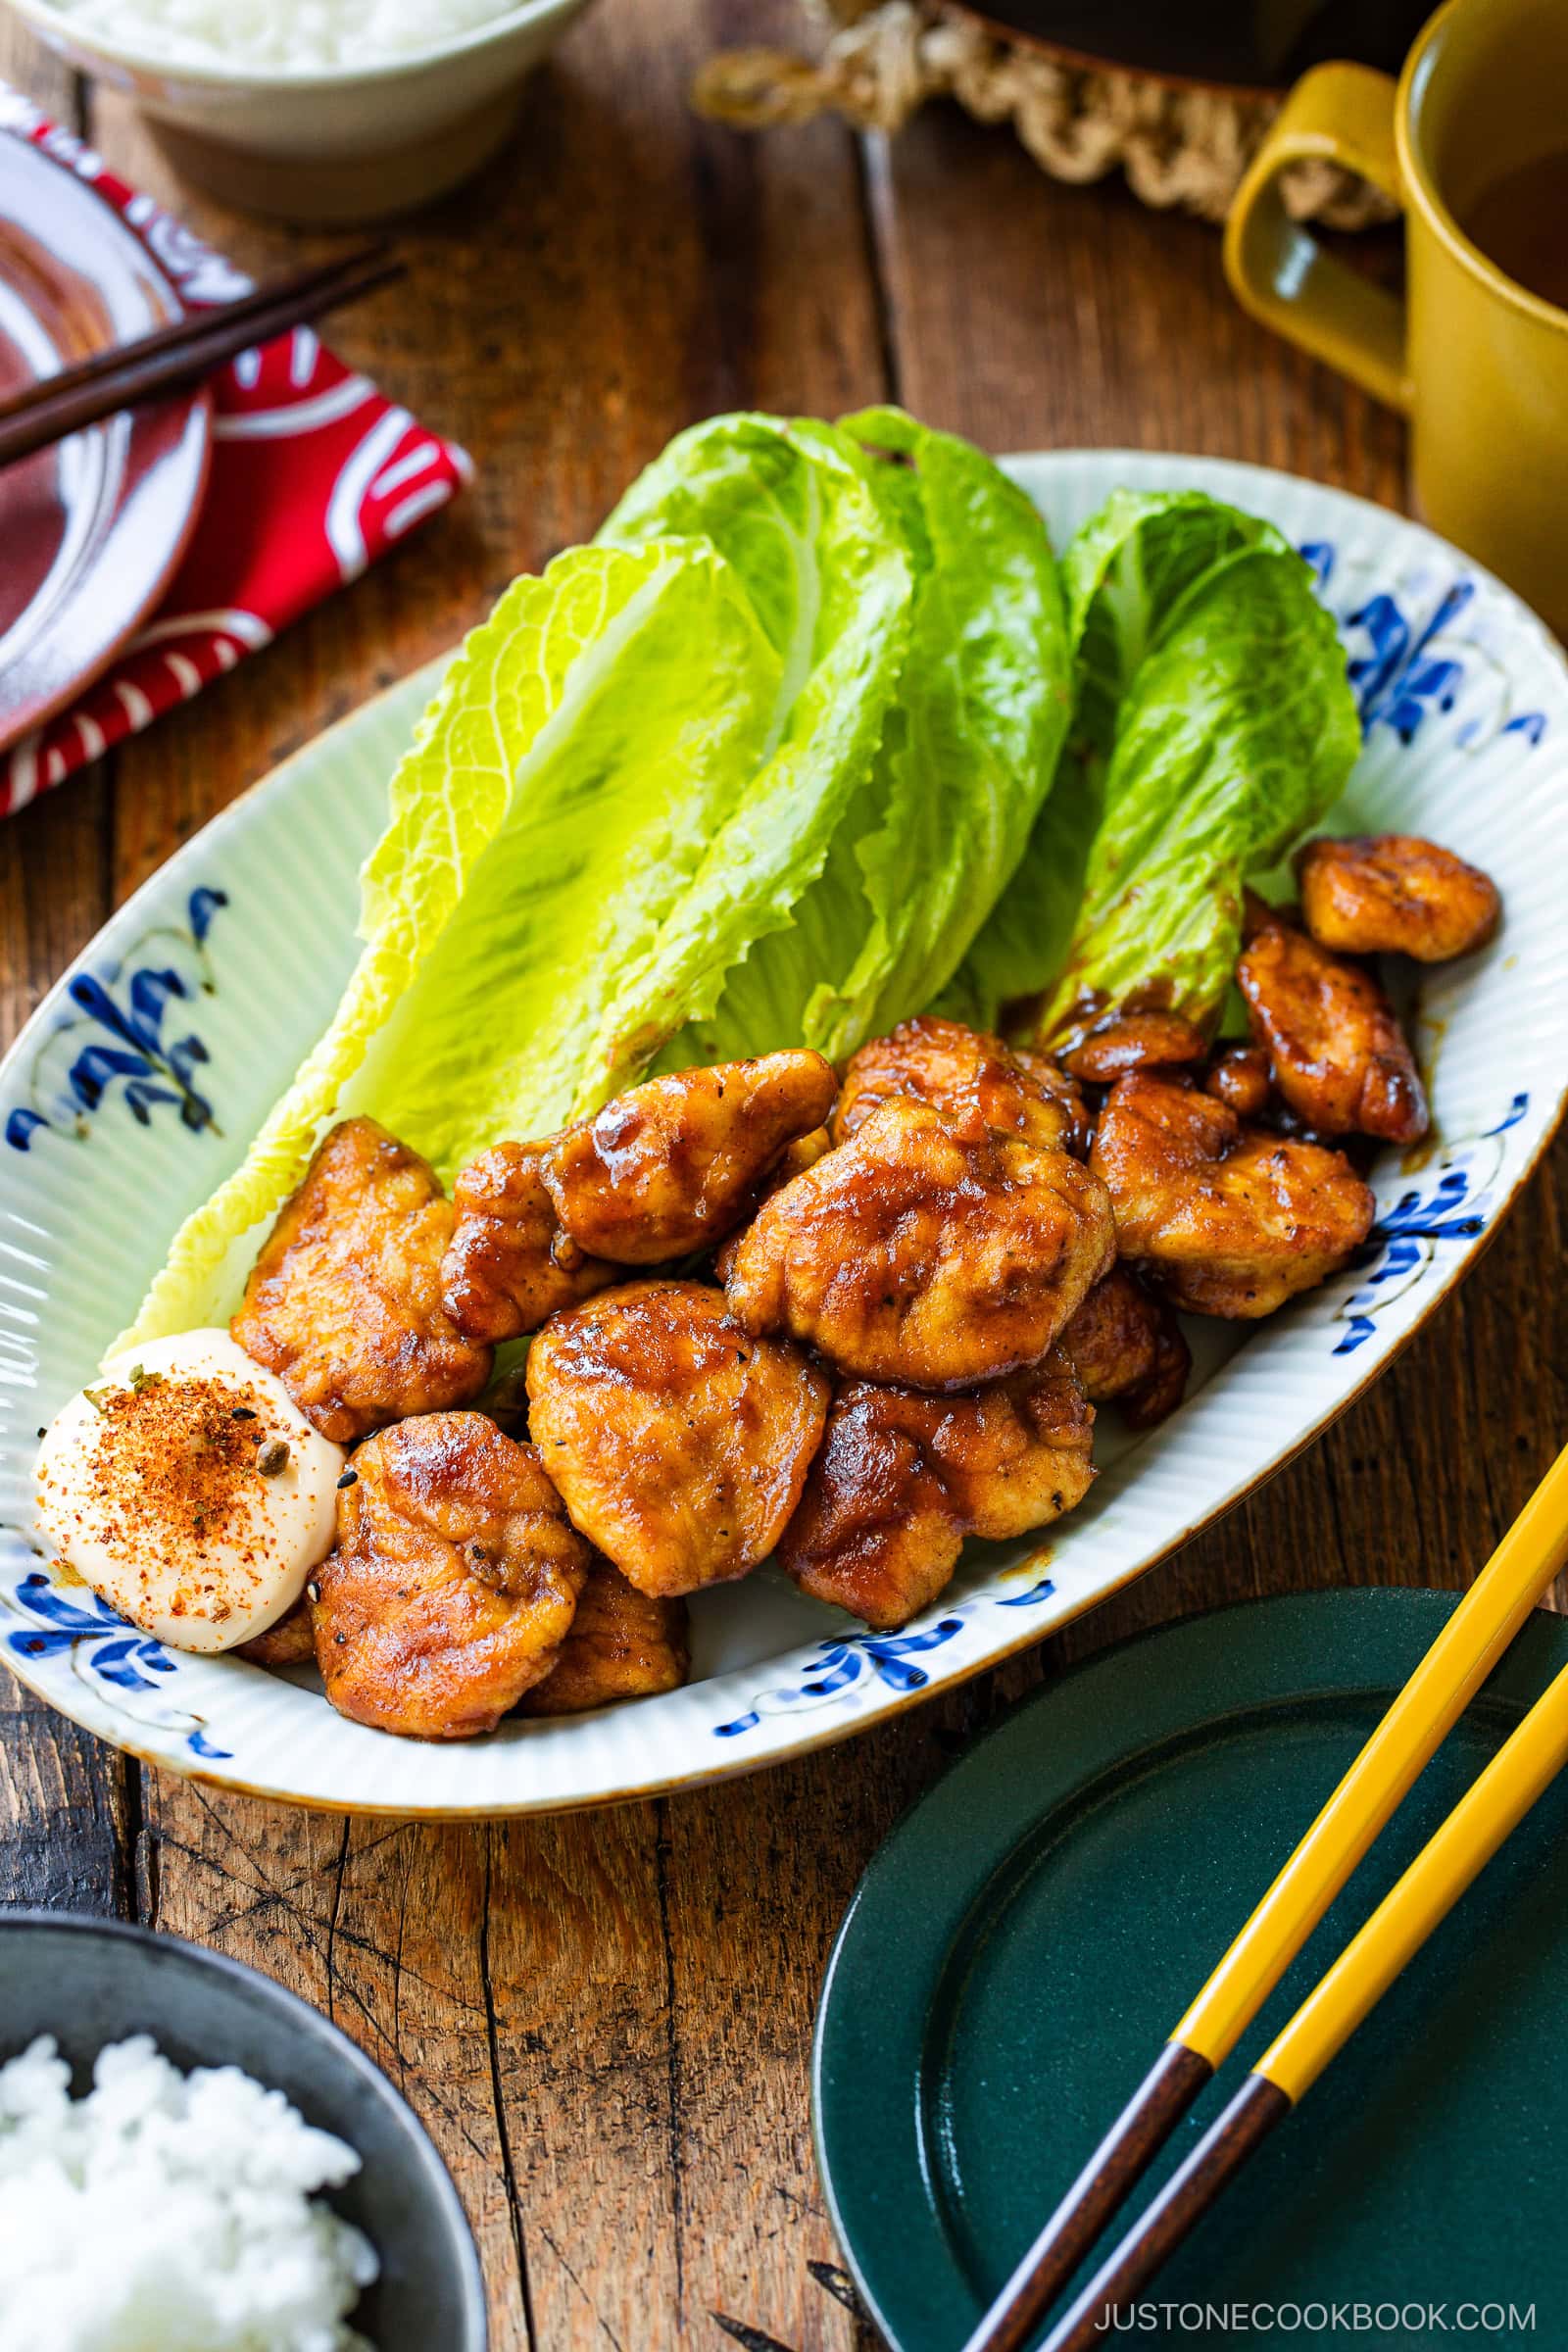
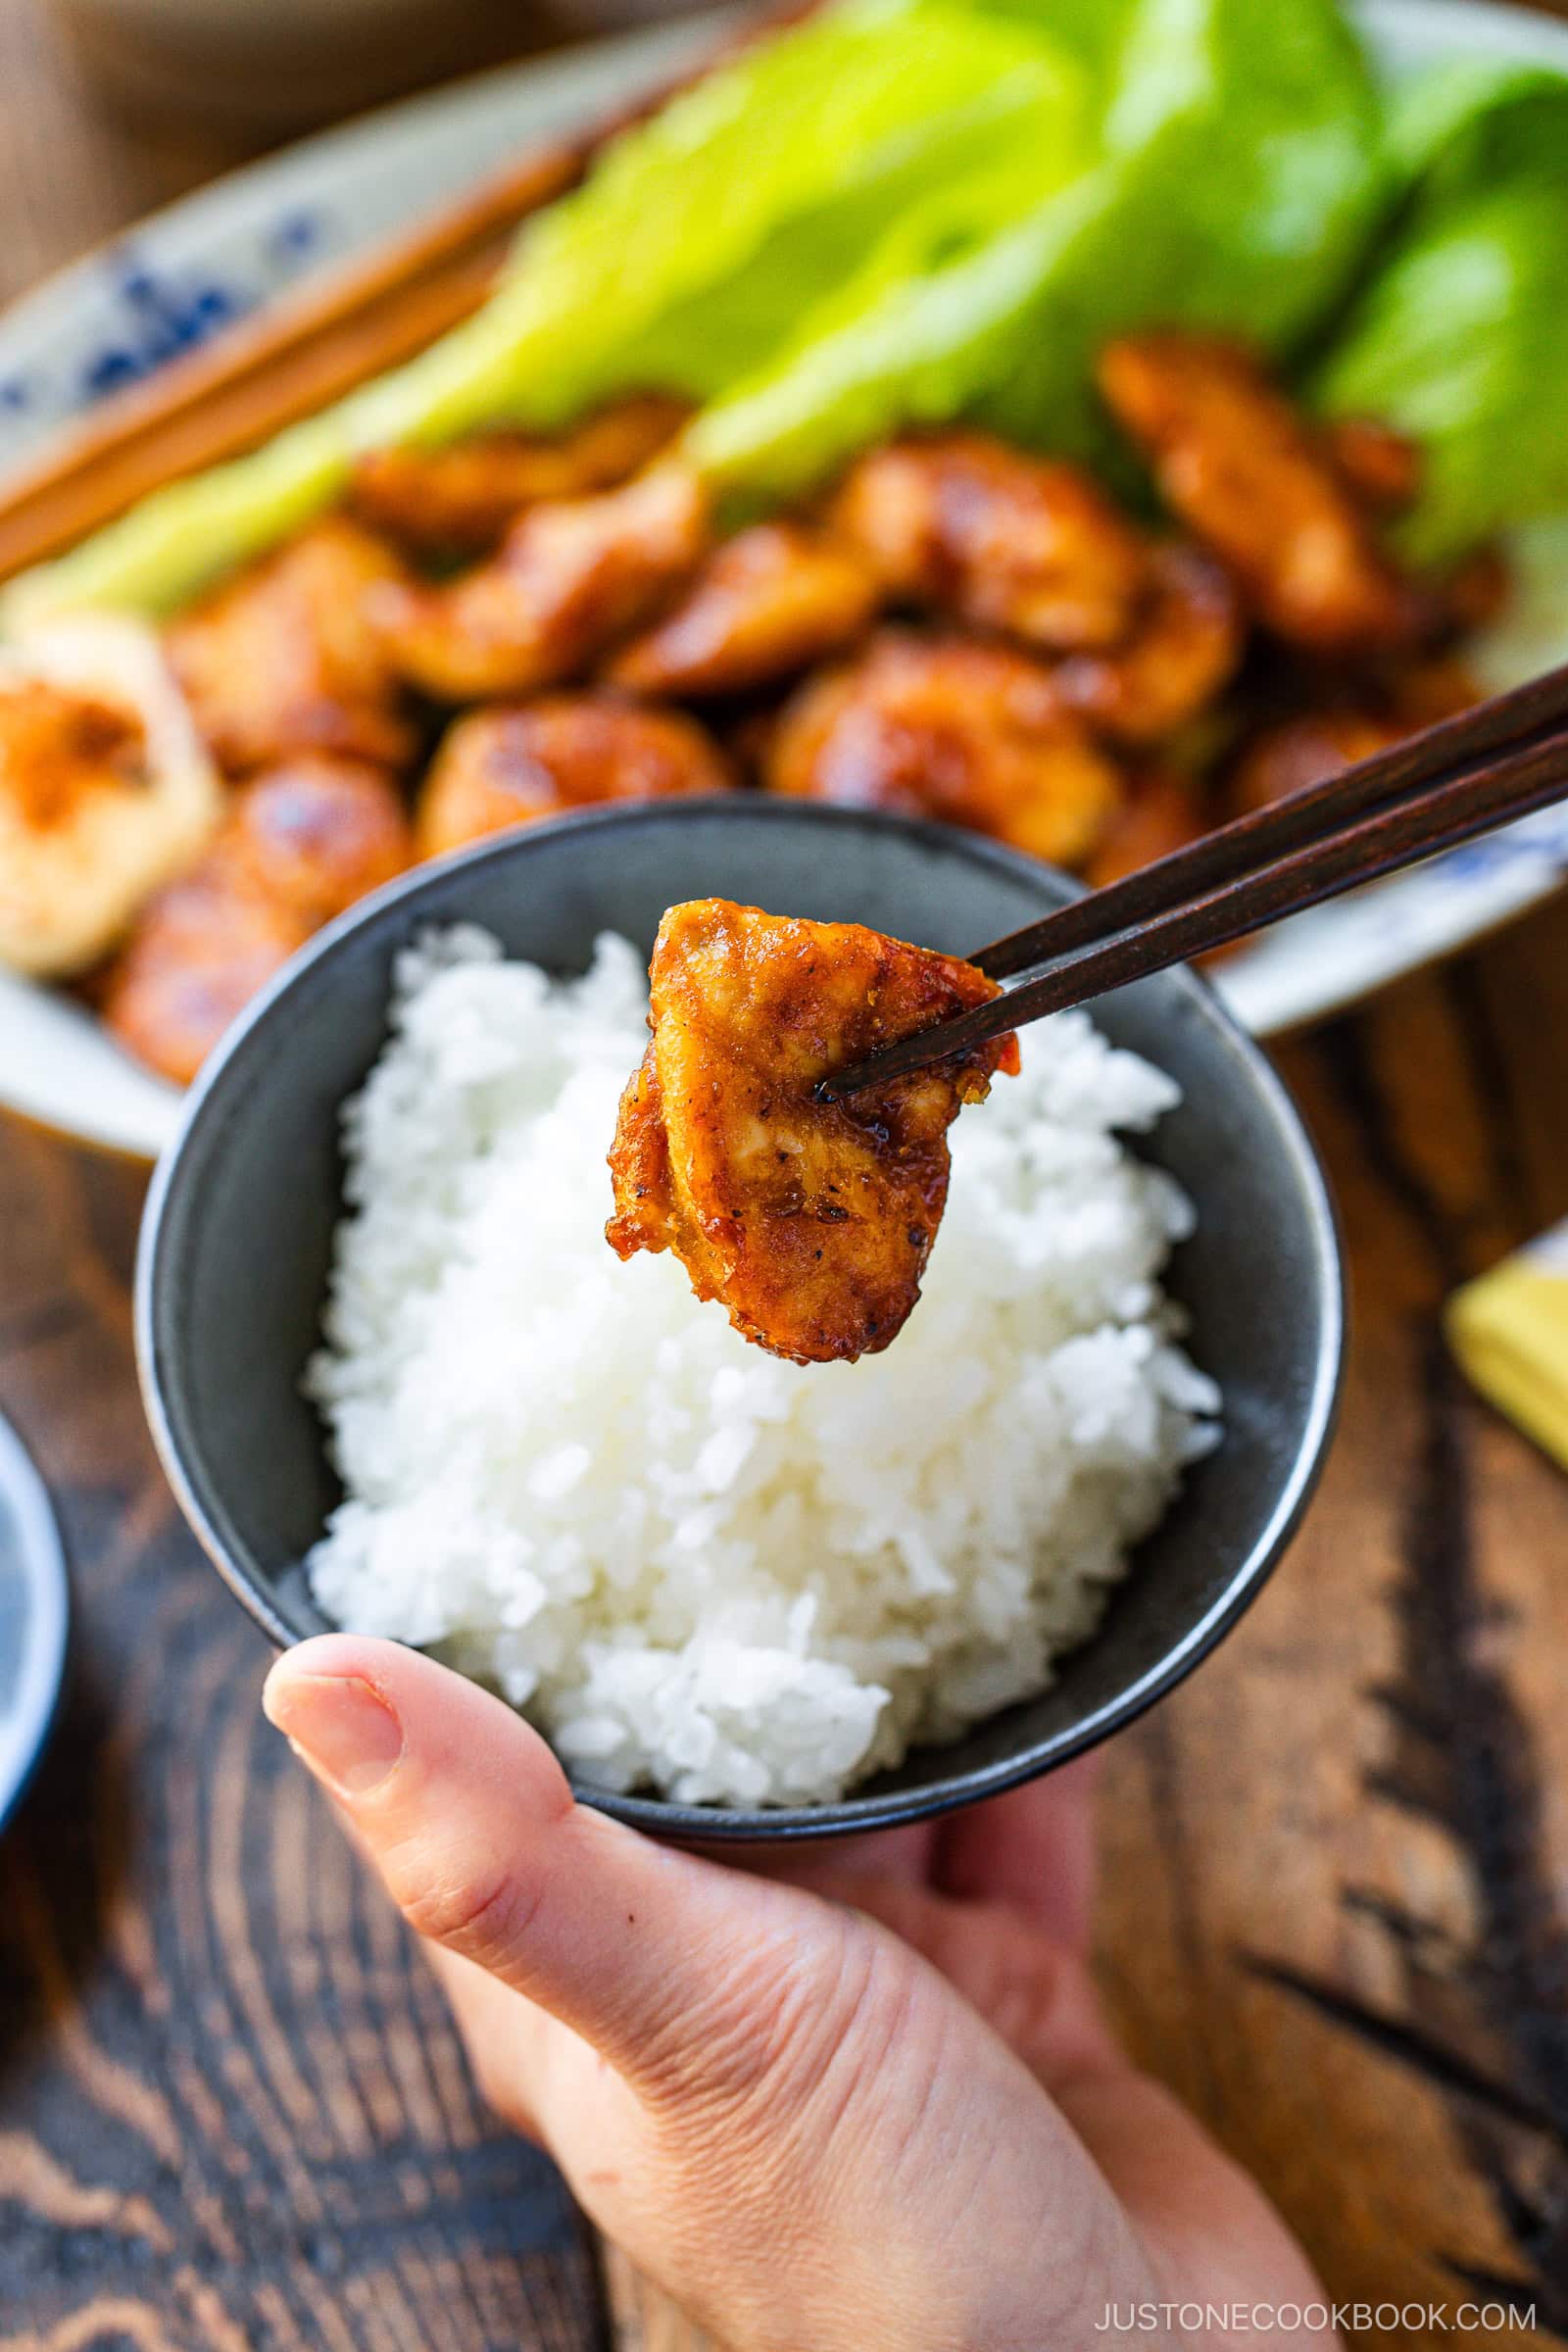
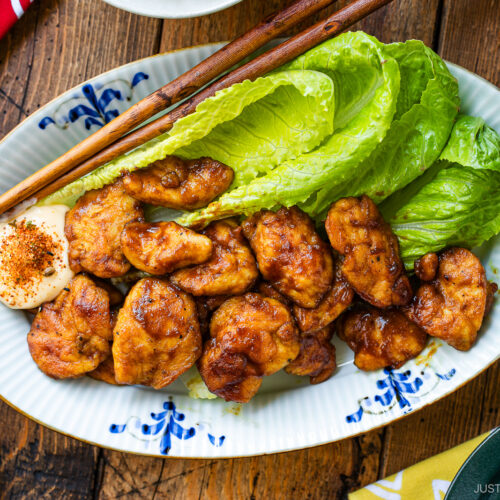
Craving the taste of Japanese curry, but not the heavy gravy? Make my simple Pan-Fried Curry Chicken recipe with a light sauce of savory, complex spices. I use convenient Japanese curry powder and chicken tenders to get it on the table in just 15 minutes.
I grew up eating Japanese curry rice, so those delicious curry spices are quite nostalgic and comforting to me. Since I try to prepare lighter meals for my family these days, I often make this quick and simple Pan-Fried Curry Chicken recipe instead. It really hits the spot when I’m in the mood for the taste of Japanese curry on a busy weeknight.
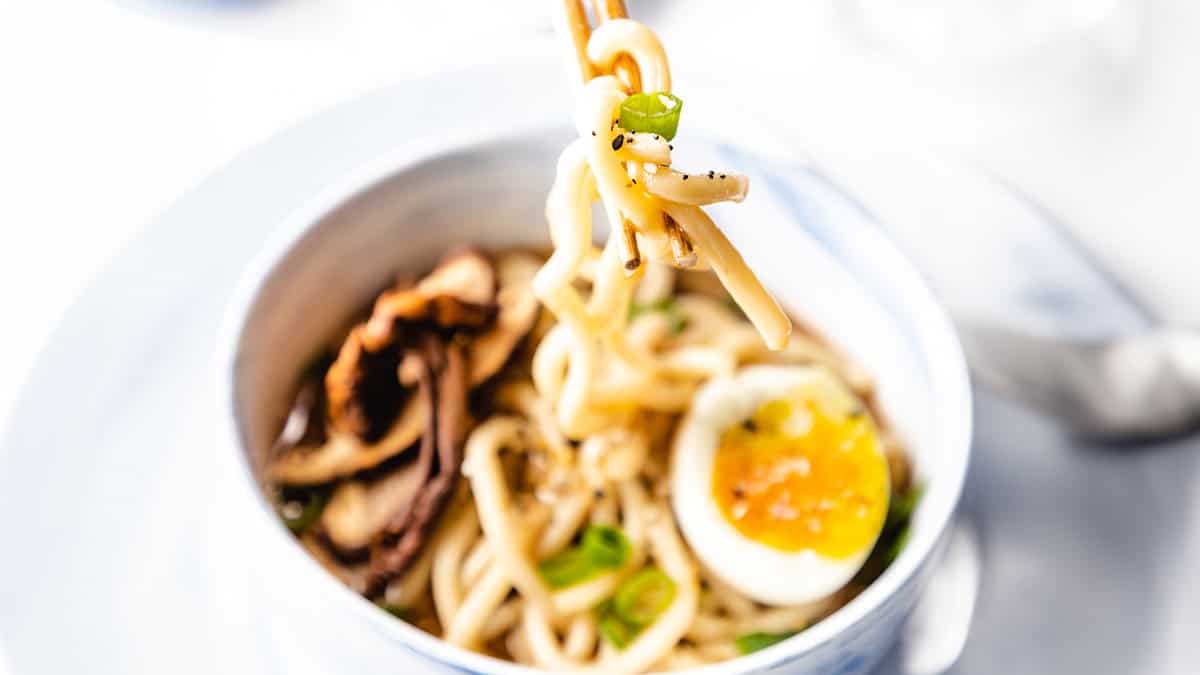
If you’re craving more curry recipes, try my Keema Curry, Curry Udon, and Japanese Chicken Curry next!
Why I Love This Recipe
- Depth of flavor – I love its warm and satisfying taste thanks to Japanese curry powder’s complex spices along with creamy Kewpie mayonnaise.
- Fast and easy – I use a pre-mixed curry blend and quick-cooking chicken tenders, so this one-pan dish is ready in just 15 minutes.
- Japanese curry taste without the richness – When I’m craving the comforting flavor of Japanese curry but don’t have a lot of time, I skip standard curry rice’s heavy gravy for this recipe’s lighter sauce.
- High in protein, low in calories – I try to cook healthy at home, and this chicken curry recipe fits the bill.
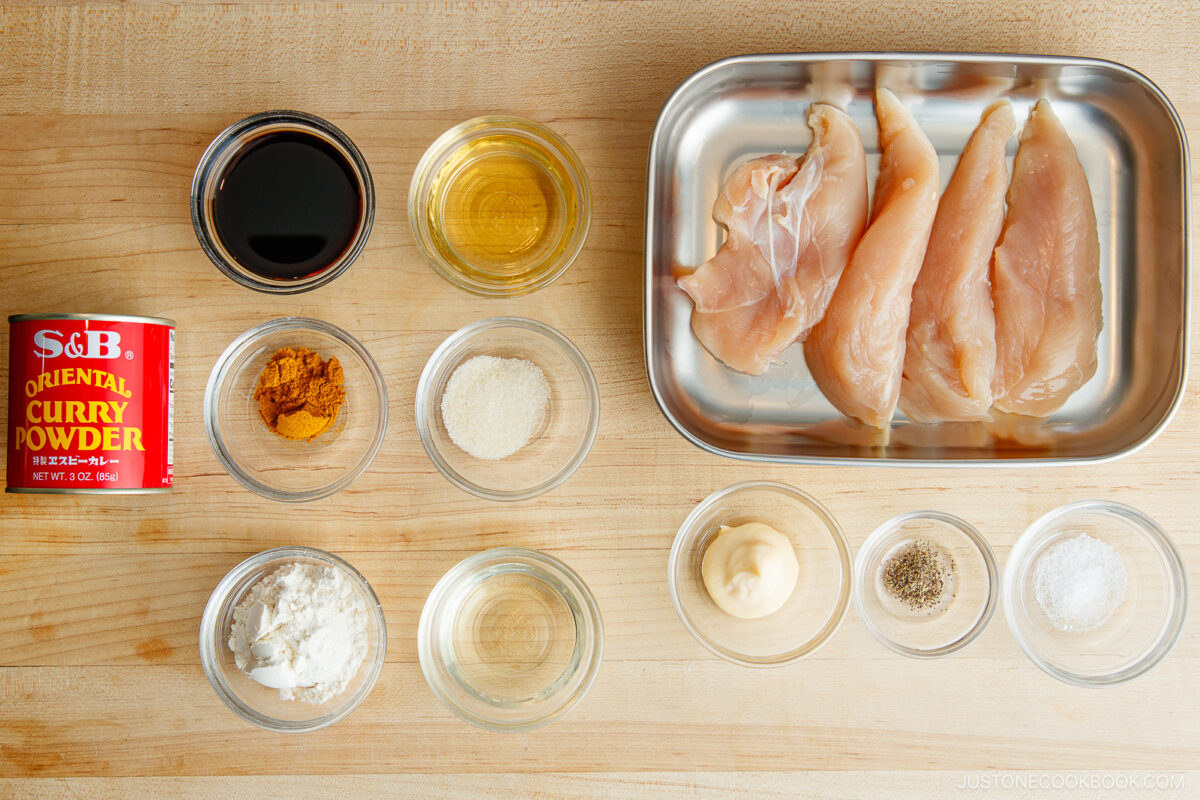
Ingredients for Pan-Fried Curry Chicken
- Chicken tenders – also called tenderloins or inner fillet
- Japanese curry powder – see below for my recommended brand
- Soy sauce
- Mirin
- Sugar
- Japanese Kewpie mayonnaise
- Kosher salt and ground black pepper
- All-purpose flour (plain flour)
- Neutral oil
Find the printable recipe with measurements below.
Substitutions
- Chicken tenders: The tender or tenderloin is the small inner fillet from the pectoralis minor muscle running along the bone of the breast. I selected these mini fillets because they’re juicier and more tender than breast meat. If you can’t find it, use skinless chicken breast cut into thin, flat squares.
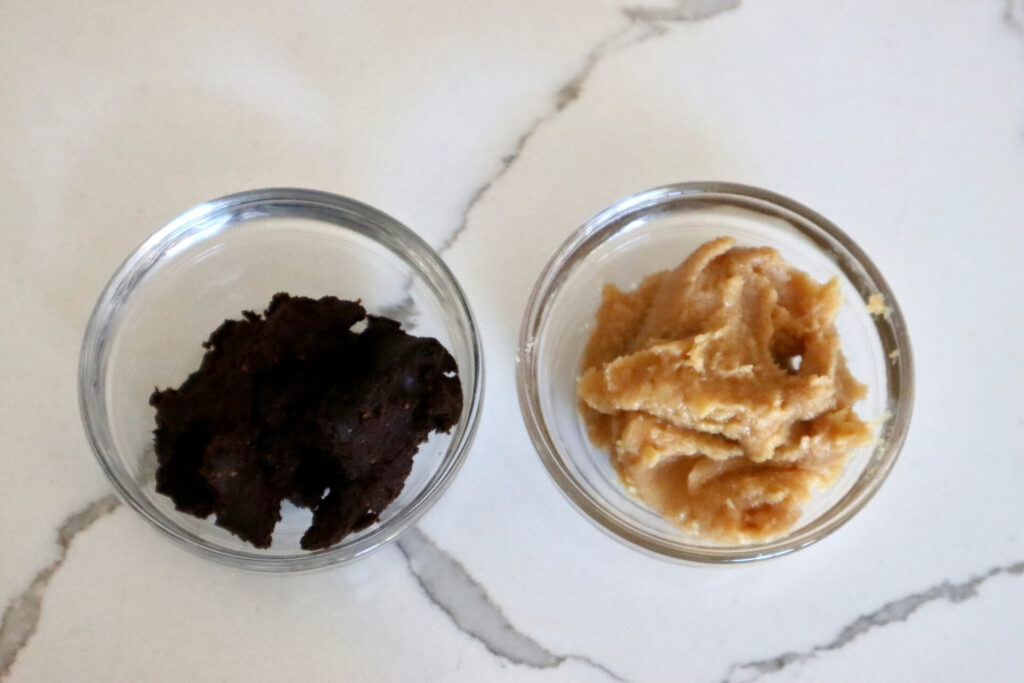
- Japanese curry powder: I use S&B curry powder for that traditional Japanese curry taste. If you can’t find it, substitute the curry powder of your choice or mix your own using my Japanese curry powder recipe.
- Japanese mayonnaise: This Kewpie mayo is made with egg yolks so it’s richer, sweeter, and creamier than regular mayonnaise. If you don’t have it, I suggest whisking 2 Tbsp rice vinegar and 1 Tbsp sugar into 1 cup of American mayonnaise (I use Best Foods/Hellmann’s brand). It won’t taste the same, but it works in a pinch.
- Mirin: If you don’t have it, try my handy substitution of 1 tablespoon sake (or water) + 1 teaspoon sugar for every 1 Tbsp of mirin. The flavor isn’t the same, but it’s close.
How to Make Pan-Fried Curry Chicken
Preparation
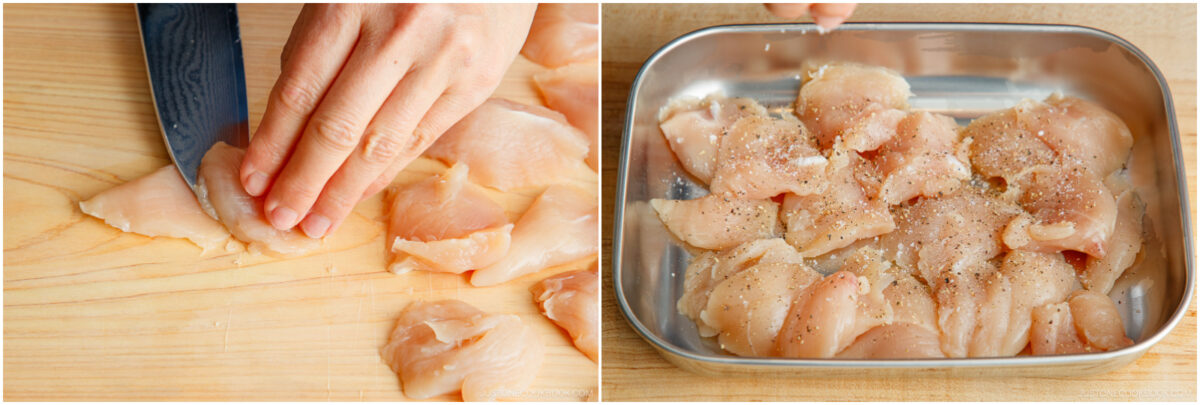
- Prep the sauce and chicken. Remove the tendon and slice the tenders into thin, flat squares.
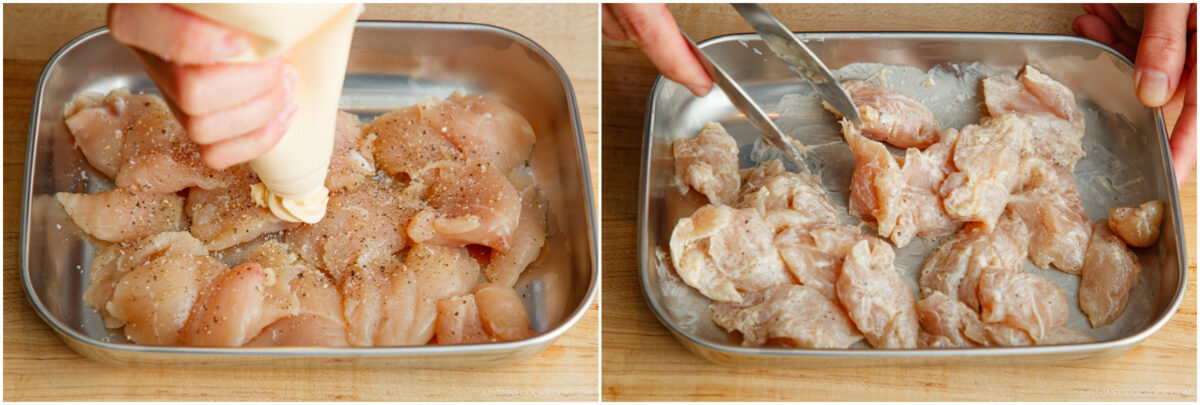
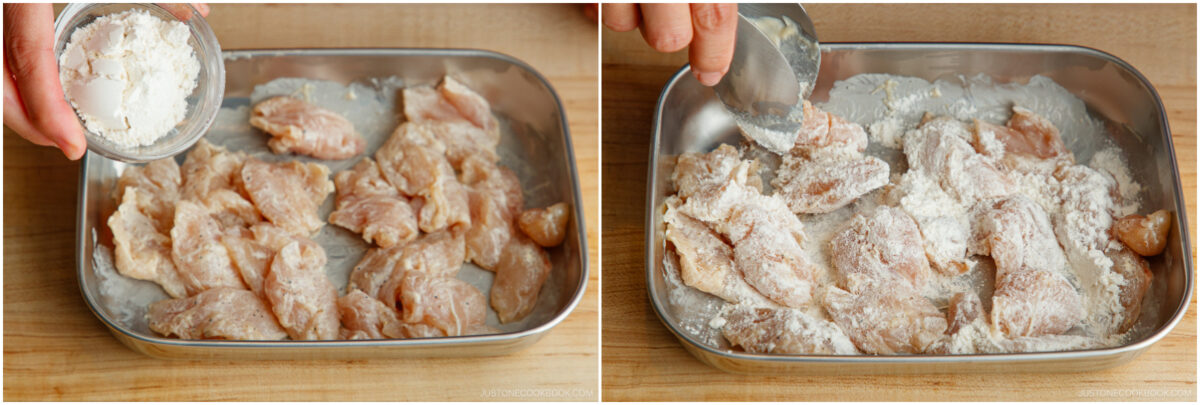
- Season and dredge. Sprinkle both sides with salt and pepper, then coat thinly in Japanese mayo. Toss in flour to coat completely.

Cooking
- Sear. Cook the chicken in two batches on medium heat. Fry until a golden brown crust forms on both sides, then remove to a tray.

- Add the sauce. Simmer the sauce until bubbling and slightly thickened. Add the chicken back to the pan and turn to coat evenly.
Assemble
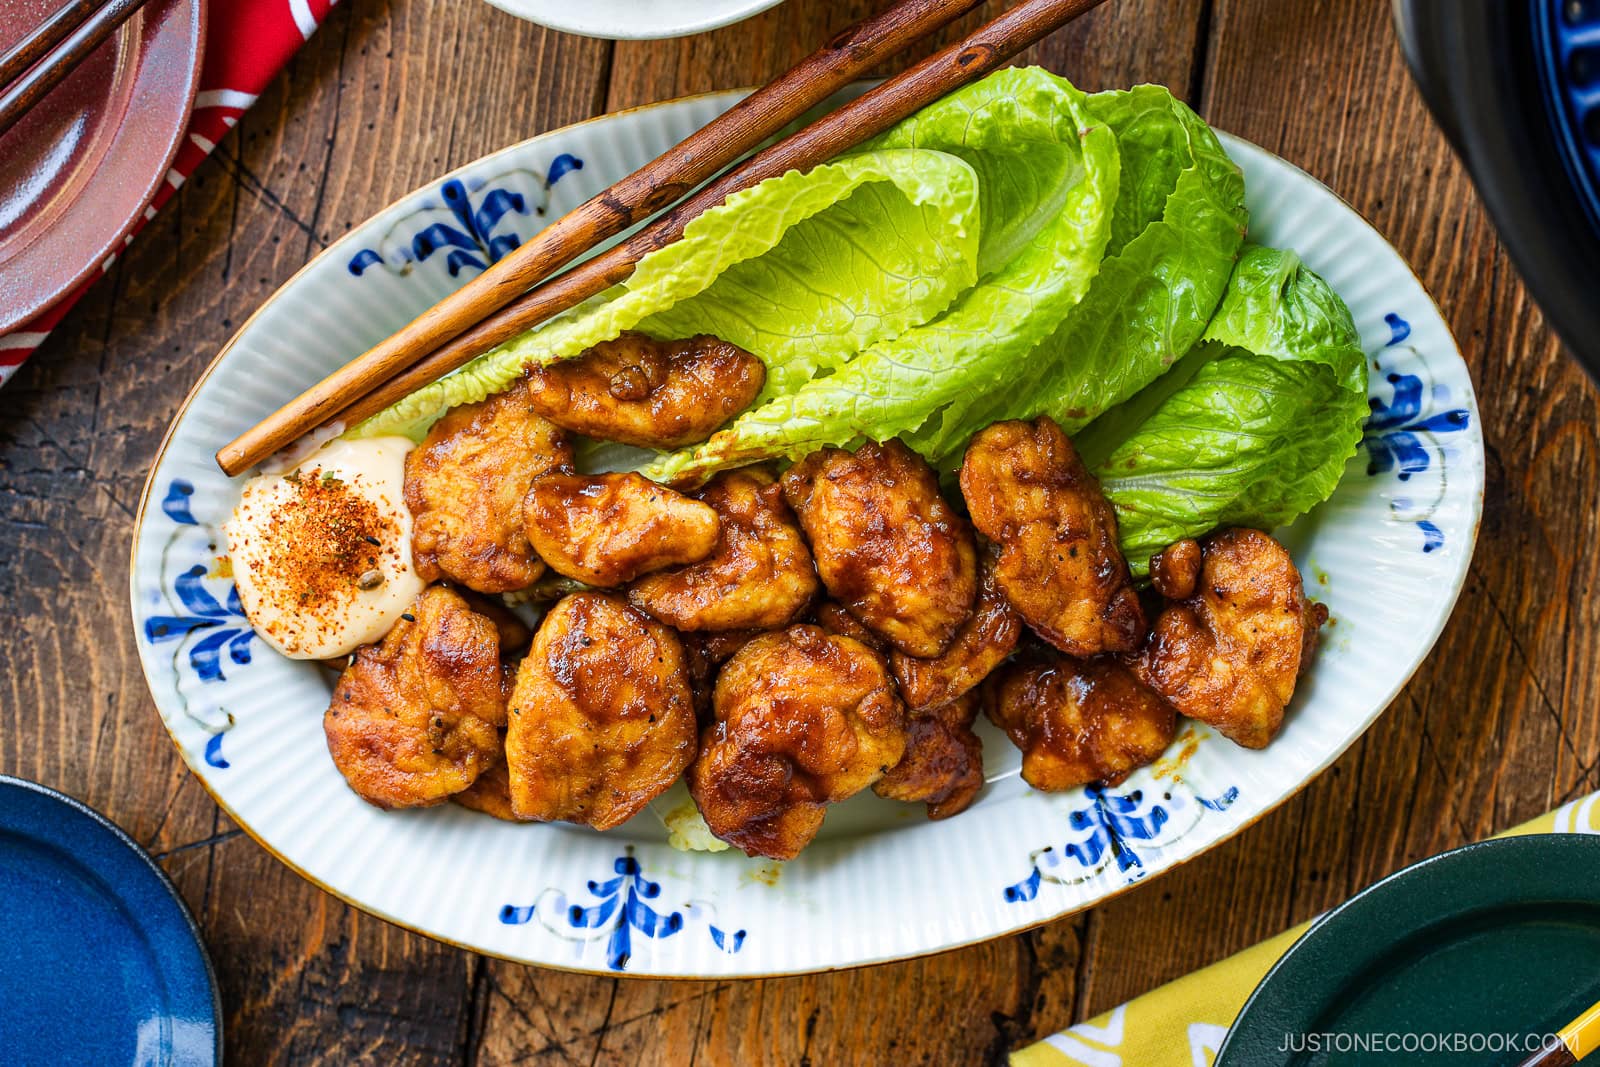
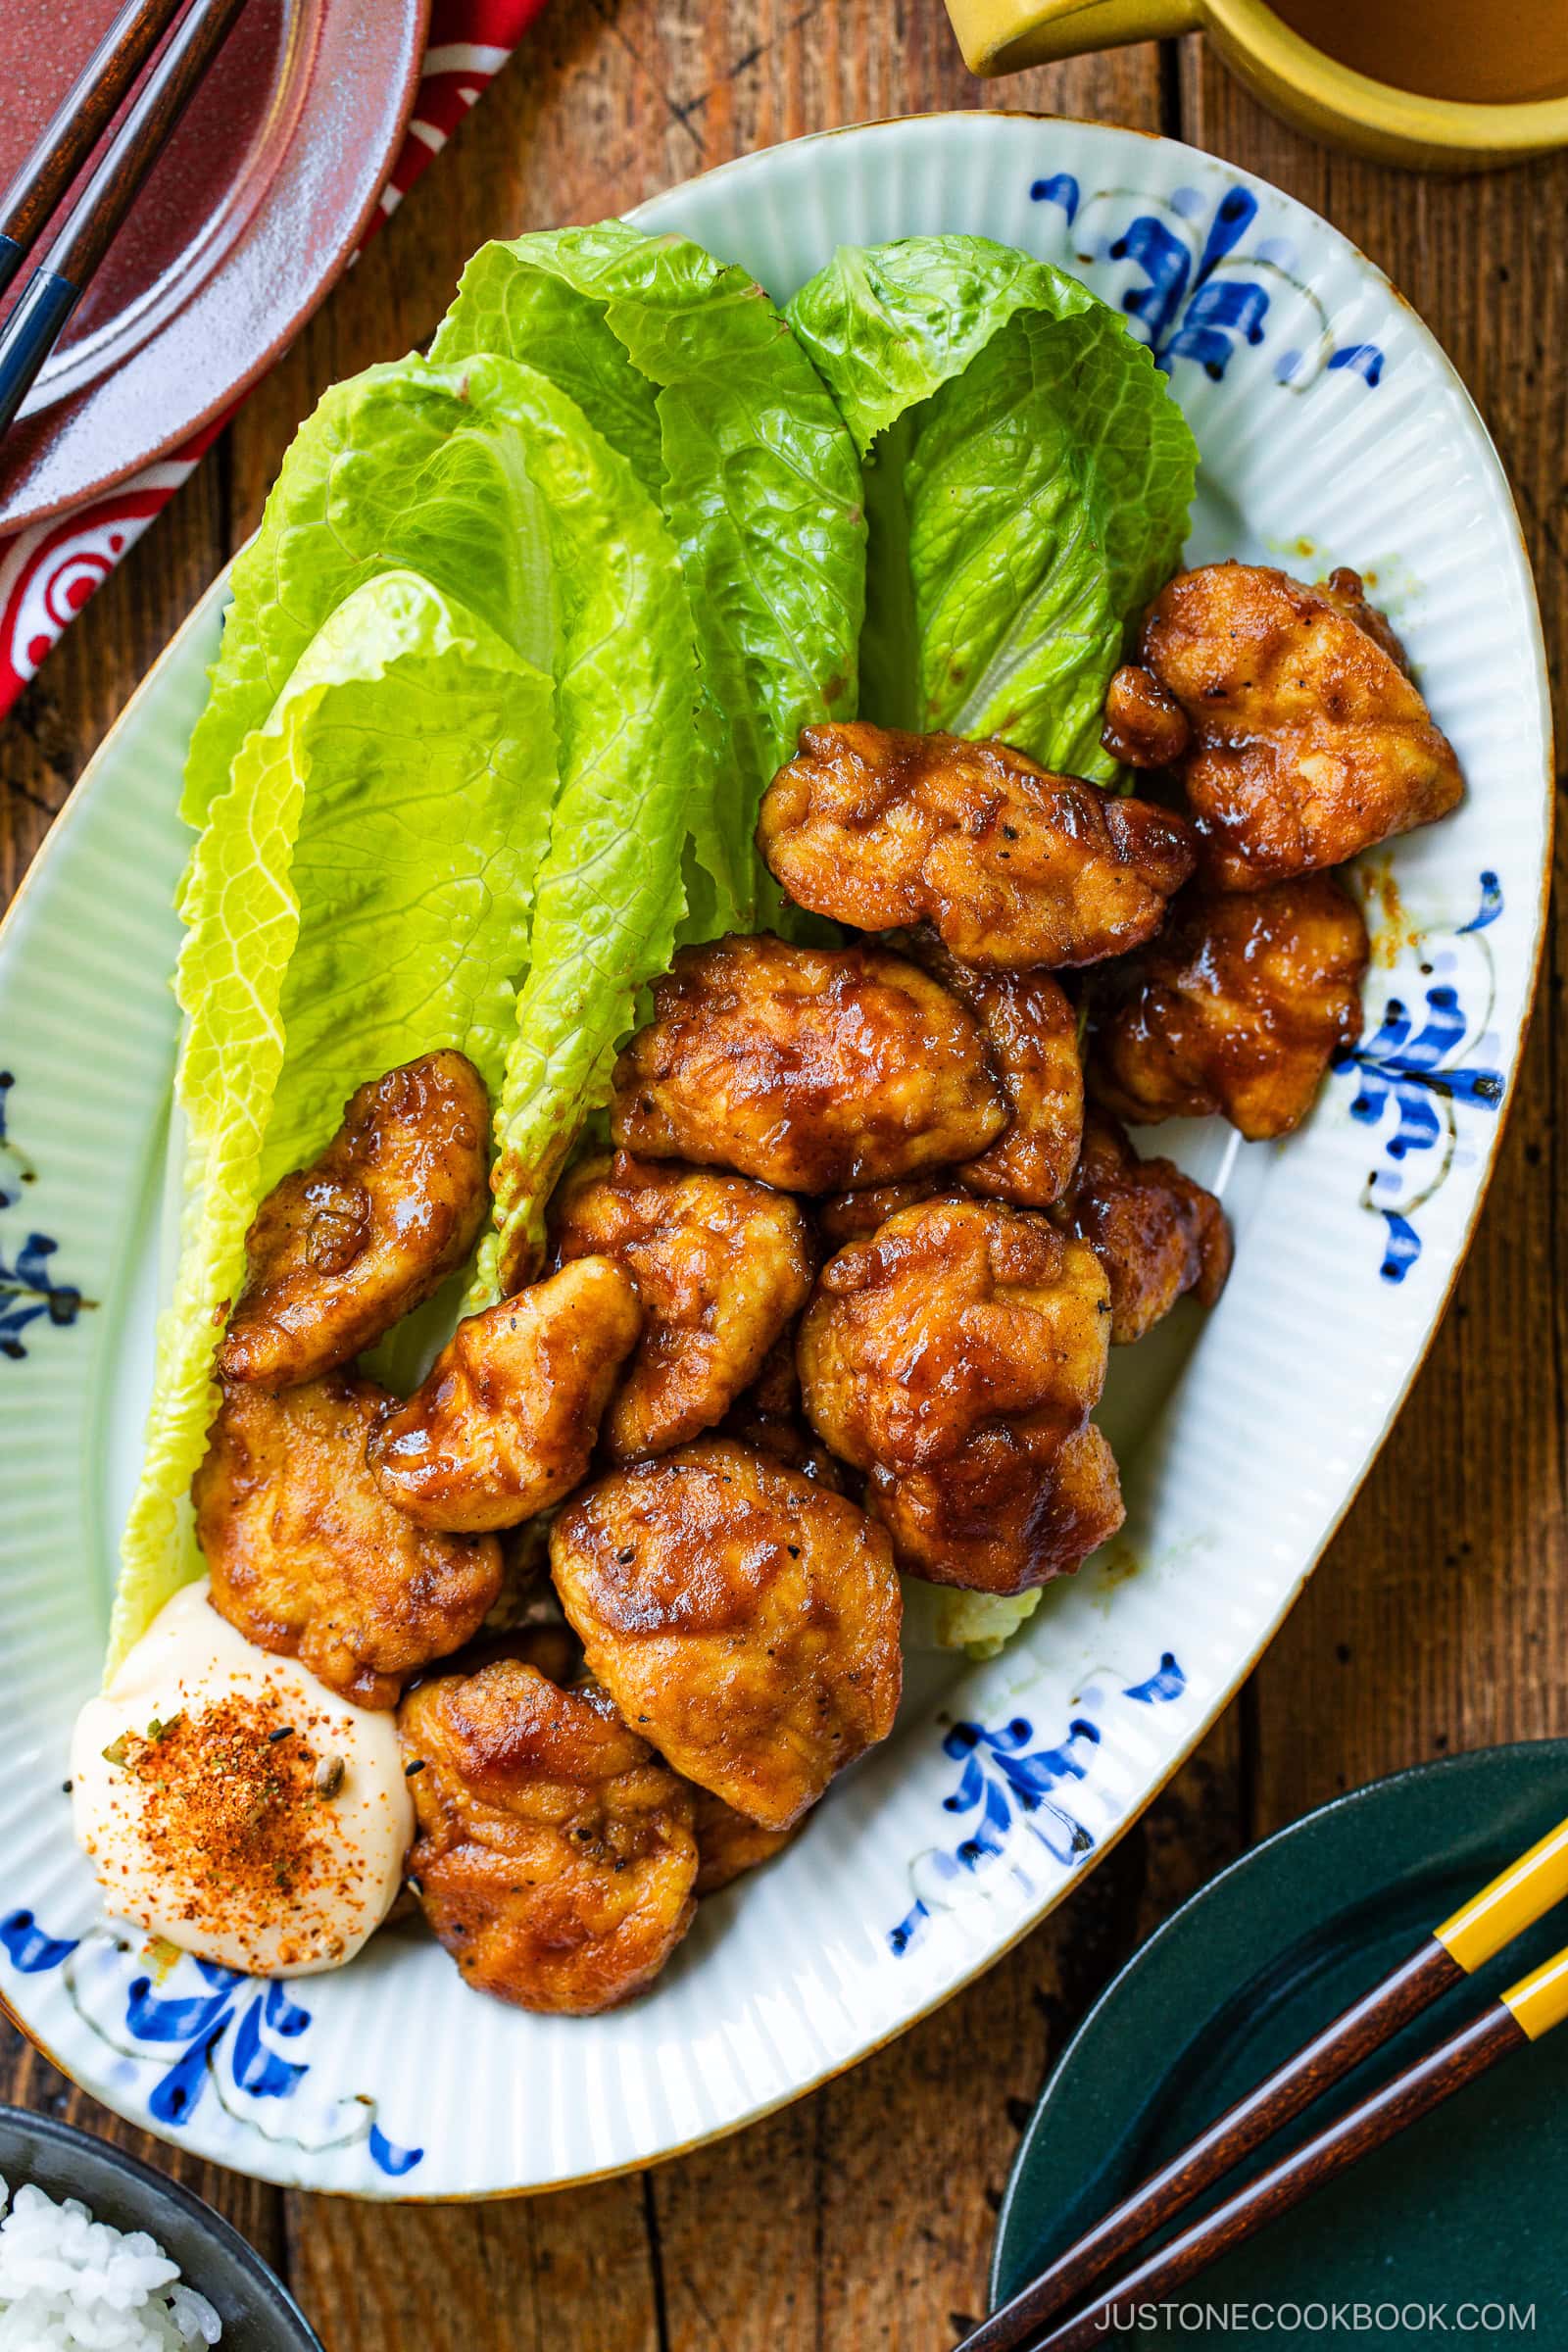
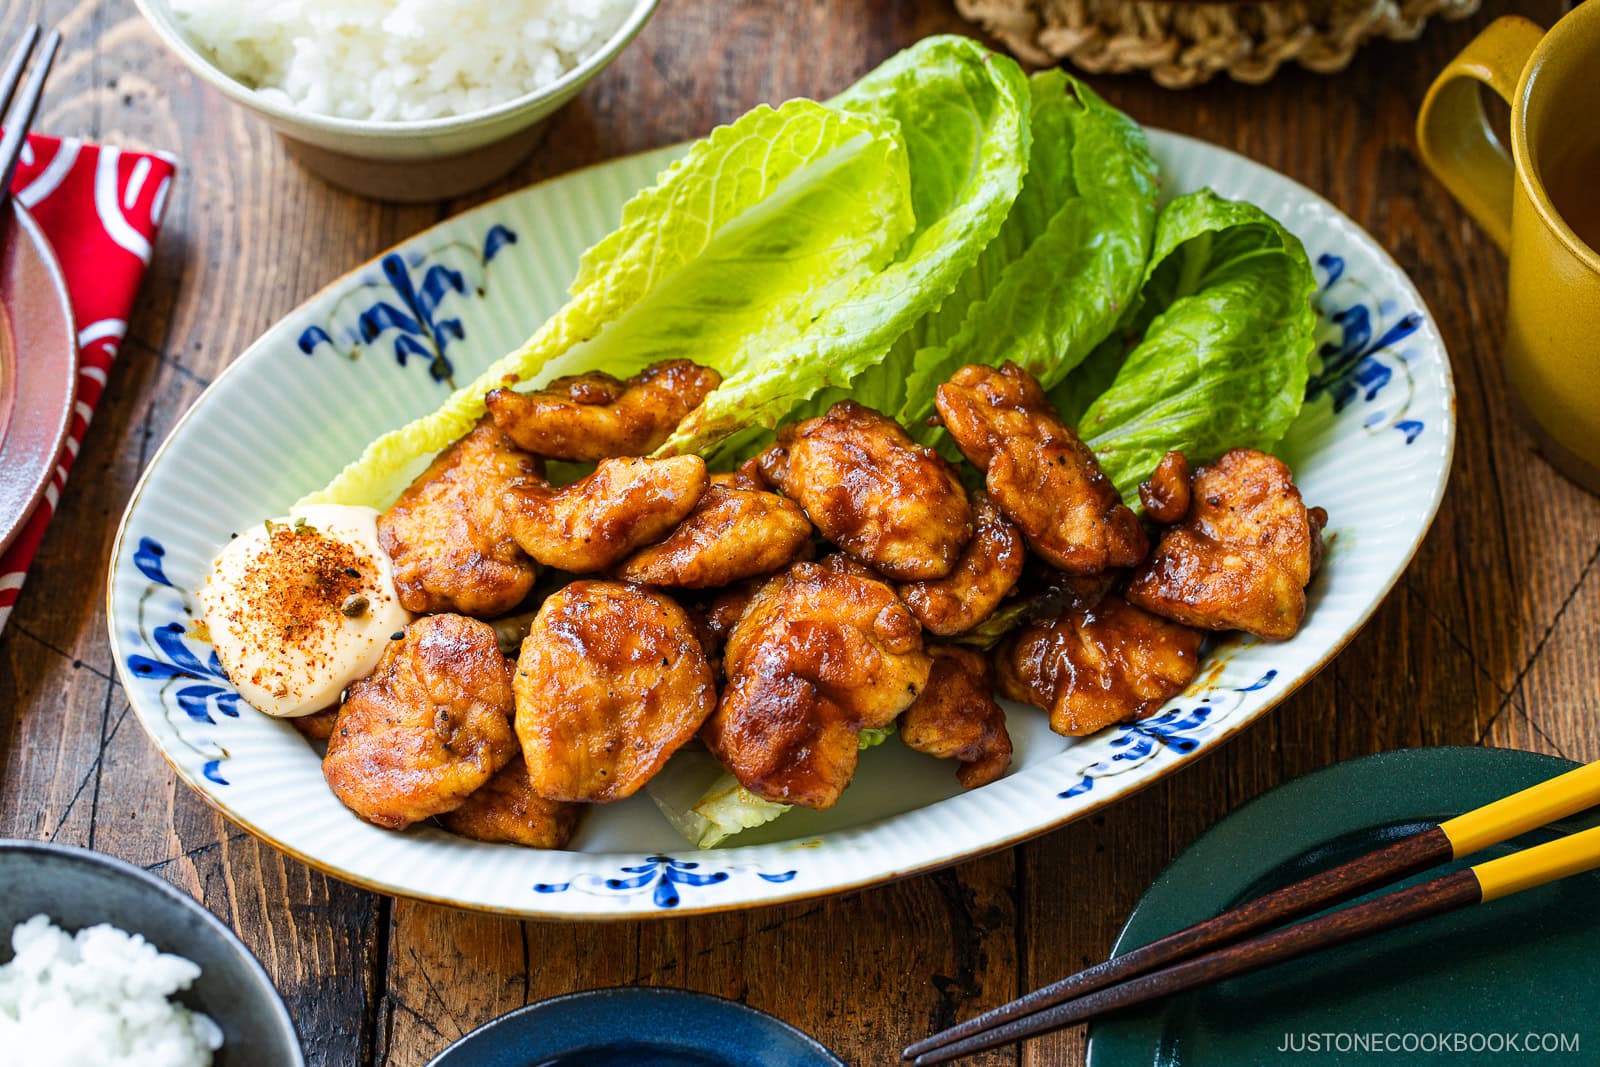
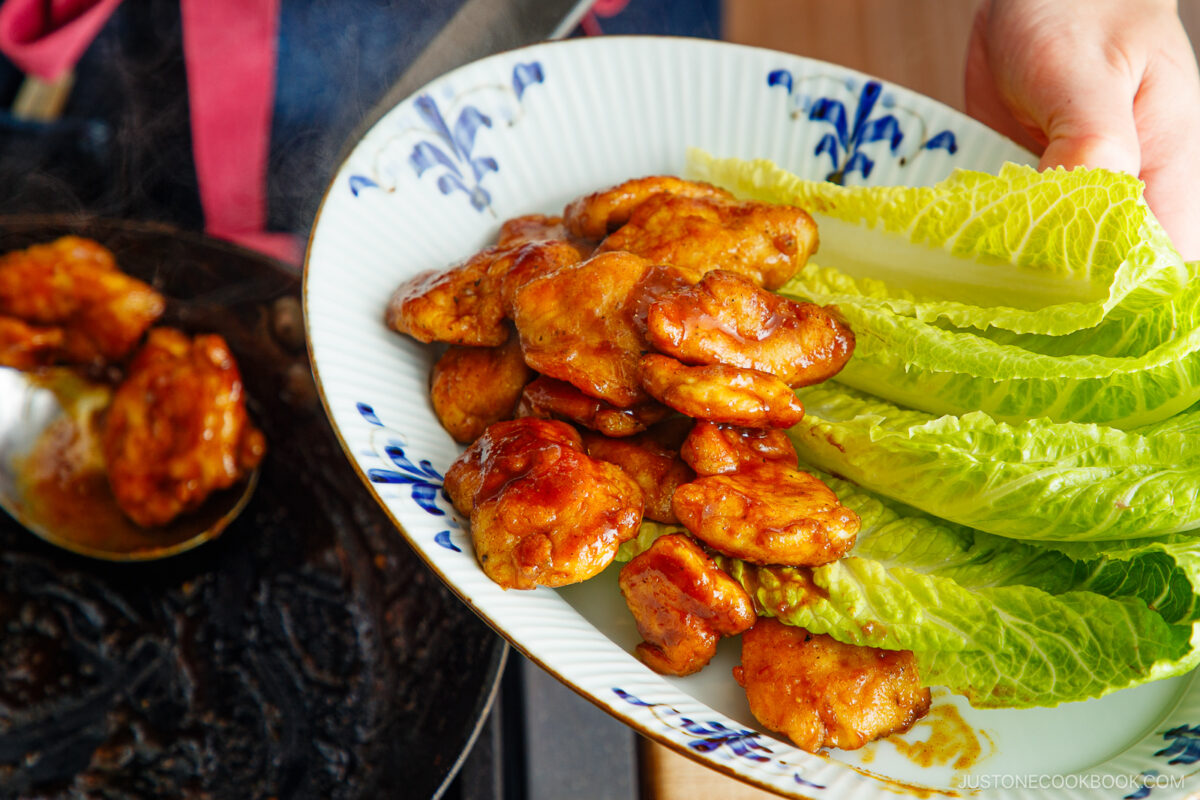
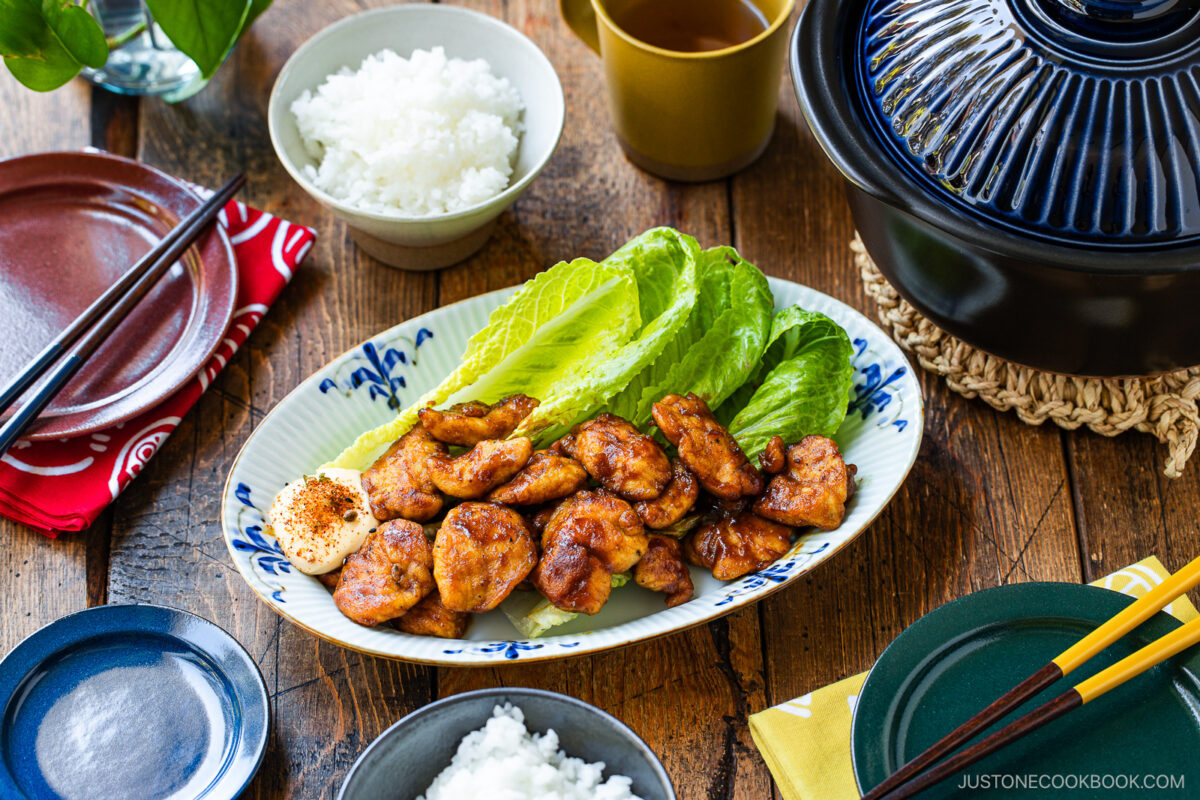
- Plate and serve. Transfer it to a serving dish (I used the Floral Leaves Ridged Oval Dinner Plate from JOC Goods). Serve with optional Japanese mayo sprinkled with shichimi togarashi (Japanese seven spice) for dipping.
Nami’s Recipe Tips
- Remove the tendon – I discard this white, stringy fiber from the chicken fillet because it gets rubbery and chewy once cooked. To remove it, I hold my kitchen knife against the chicken, grab the tendon end with my fingers, and gently pull it out. You can use a paper towel to get a better grip on the tendon. Instead of using a knife, you could use a fork and pull the tendon through the tines.
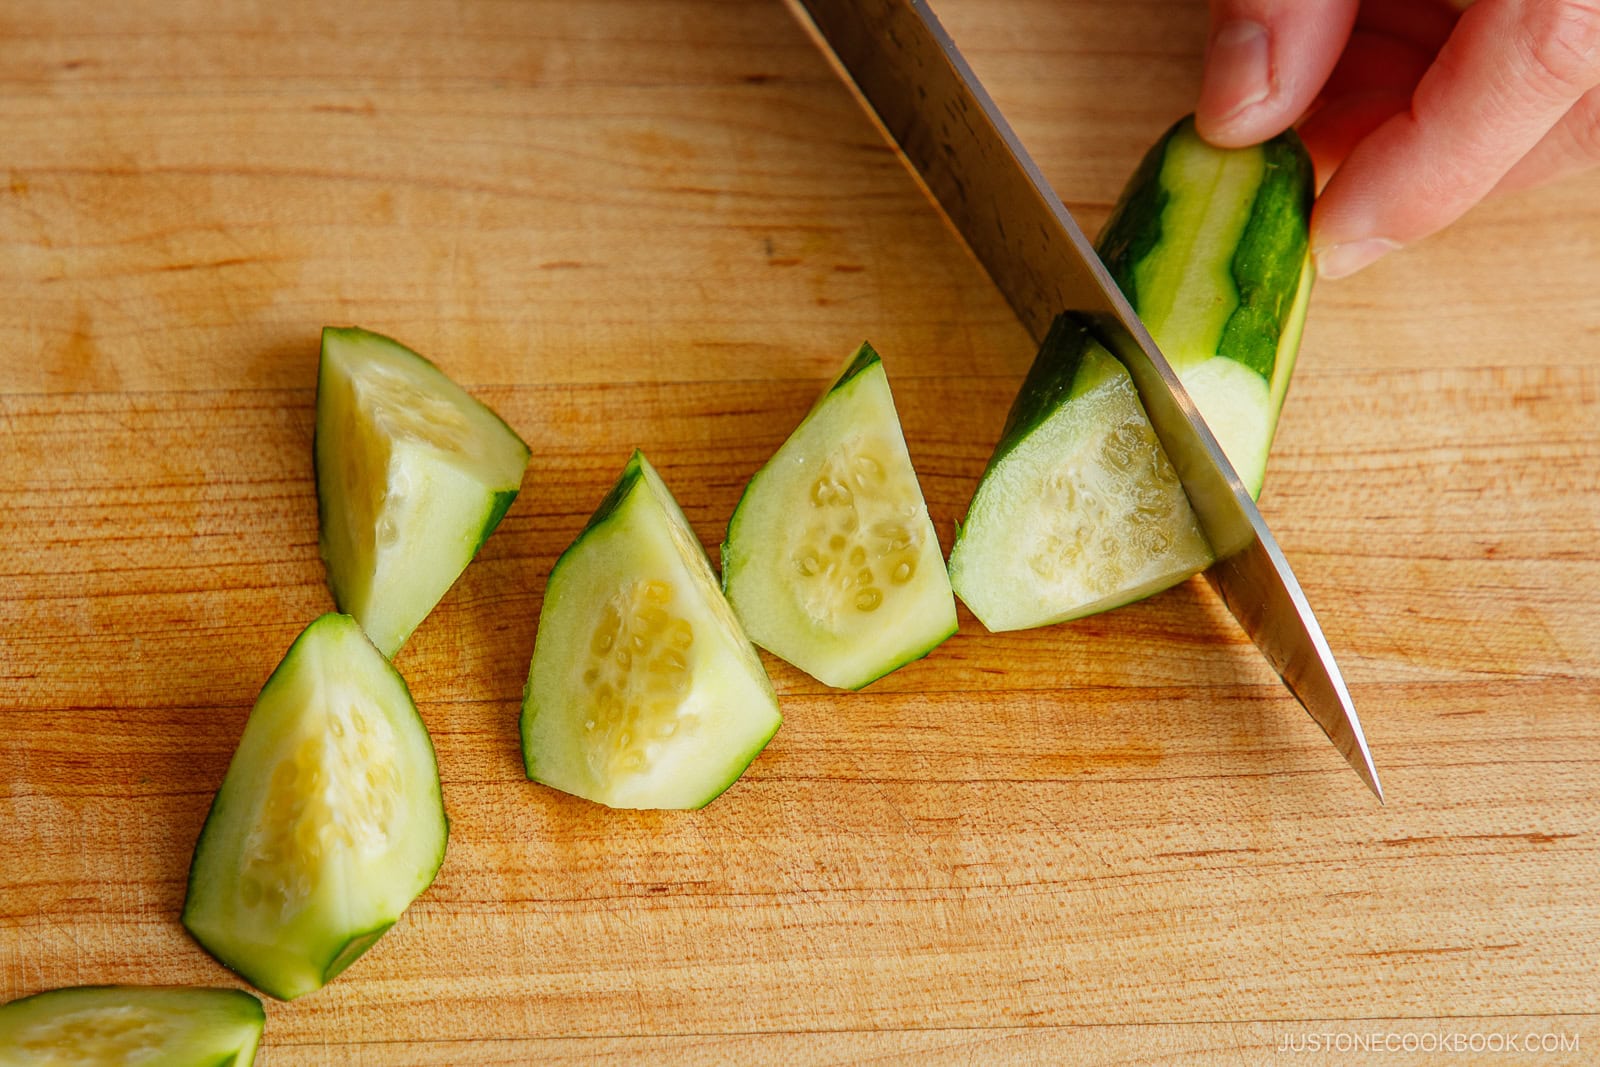
- Cut thin and flat chicken pieces – I tilt my knife back and slice the chicken at an angle. This sogigiri Japanese cutting technique creates thinner, flatter pieces with an open surface area so the chicken cooks evenly and at the same rate.
- Coat the chicken with Kewpie mayo – I love the balance of warm curry spice and creamy Japanese mayo. It adds so much flavor, keeps the chicken nice and juicy, and helps the flour stick for that perfect golden crust.
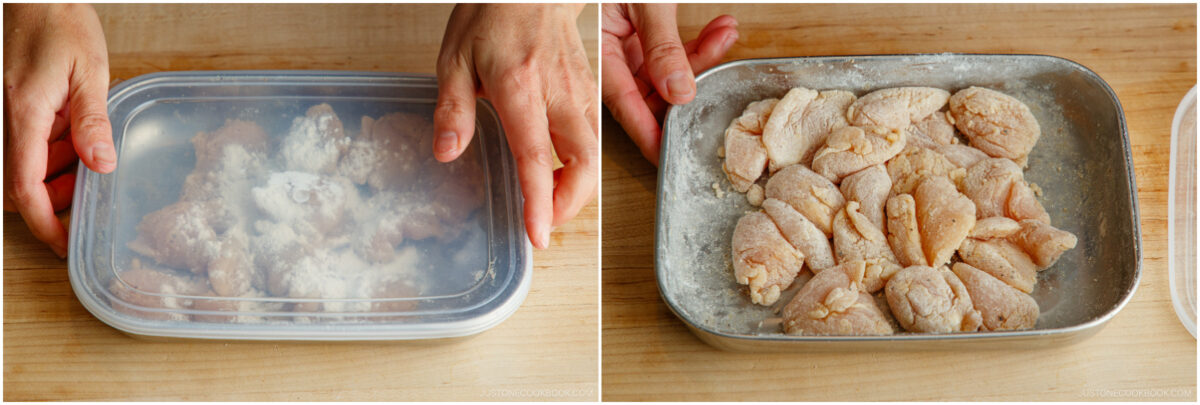
- Dust the flour in two stages – Since the chicken is wet from the mayo, I dredge it first in half of the flour to help distribute it more evenly, especially on the bottom. This also keeps the flour from clumping in one spot. After this initial dusting, I shake the chicken with the remaining flour for the perfect light coating in my favorite stainless prep tray.
- Cook in batches – I cook the chicken in two batches to avoid overcrowding the pan. This helps the chicken sear evenly and develop a nice crust.
- Wipe the pan after searing – I like to clean off the food particles and grease with a paper towel before adding the sauce. This helps to keep it smooth and glossy.
- Loosen the sauce with water – The sauce can stick to the skillet (unless your pan is nonstick). If this happens, I pour a splash of water to loosen it.
Variations and Customizations
- Switch the protein. Try this light curry seasoning on shrimp, thin-sliced pork, or tender beef.
- Add vegetables. This stir-fried chicken makes the perfect base for adding your favorite veggies like sliced mushrooms, eggplant, zuchhini, green or red bell peppers, carrots, or green cabbage.
- Use more aromatics. I also like to add sliced onion, green onions/scallions, or garlic chives (nira in Japanese). Grated or sliced fresh ginger is another a delicious addition.
- Adjust the spices. While S&B-brand curry powder is the perfect balance of spices for my taste, you can certainly add more of your favorite flavors to taste like ground coriander, turmeric, cumin, chili pepper, or garam masala.
- Make it vegetarian. For a plant-based version, use cubes of firm tofu or a variety of mushrooms.
What to Serve with Pan-Fried Curry Chicken
This is versatile, high-protein recipe goes well with many types of dishes. Below are some of my favorites to serve with it.
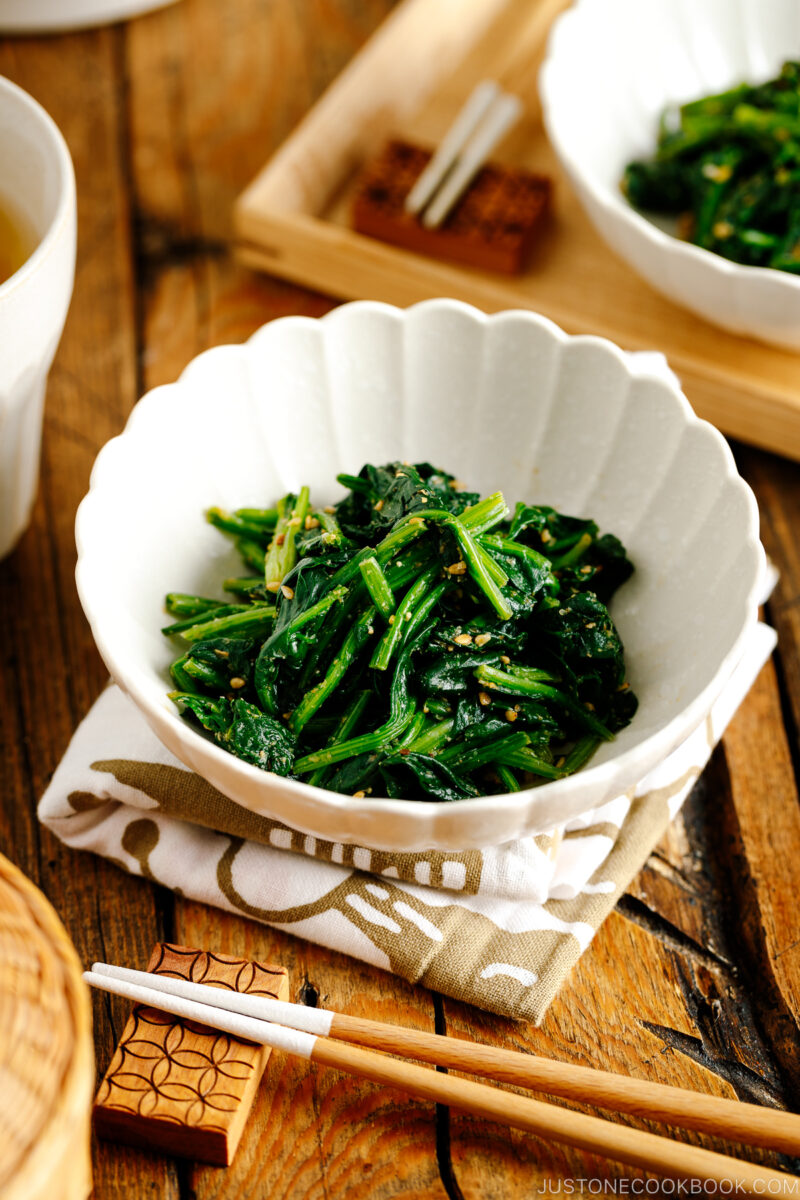
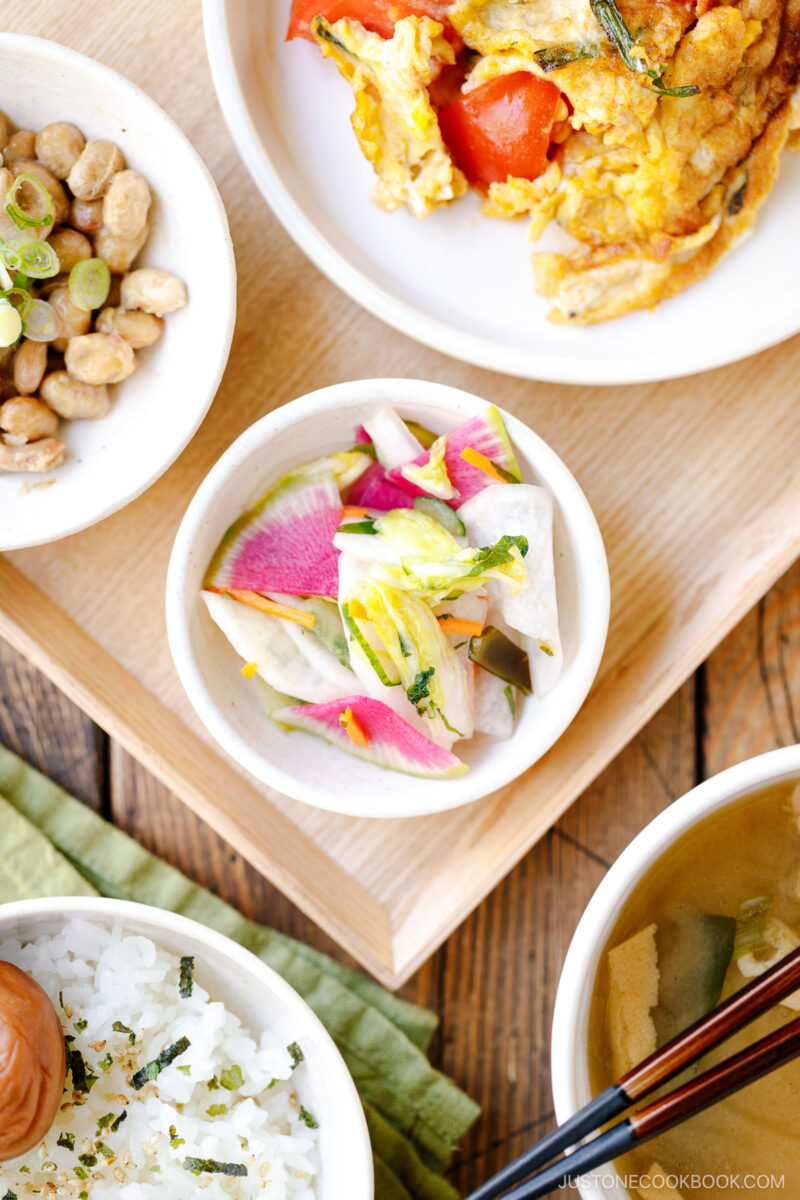
- With vegetable sides – I love serving a refreshing veggie side dish like Japanese Spinach Salad with Sesame Sauce.
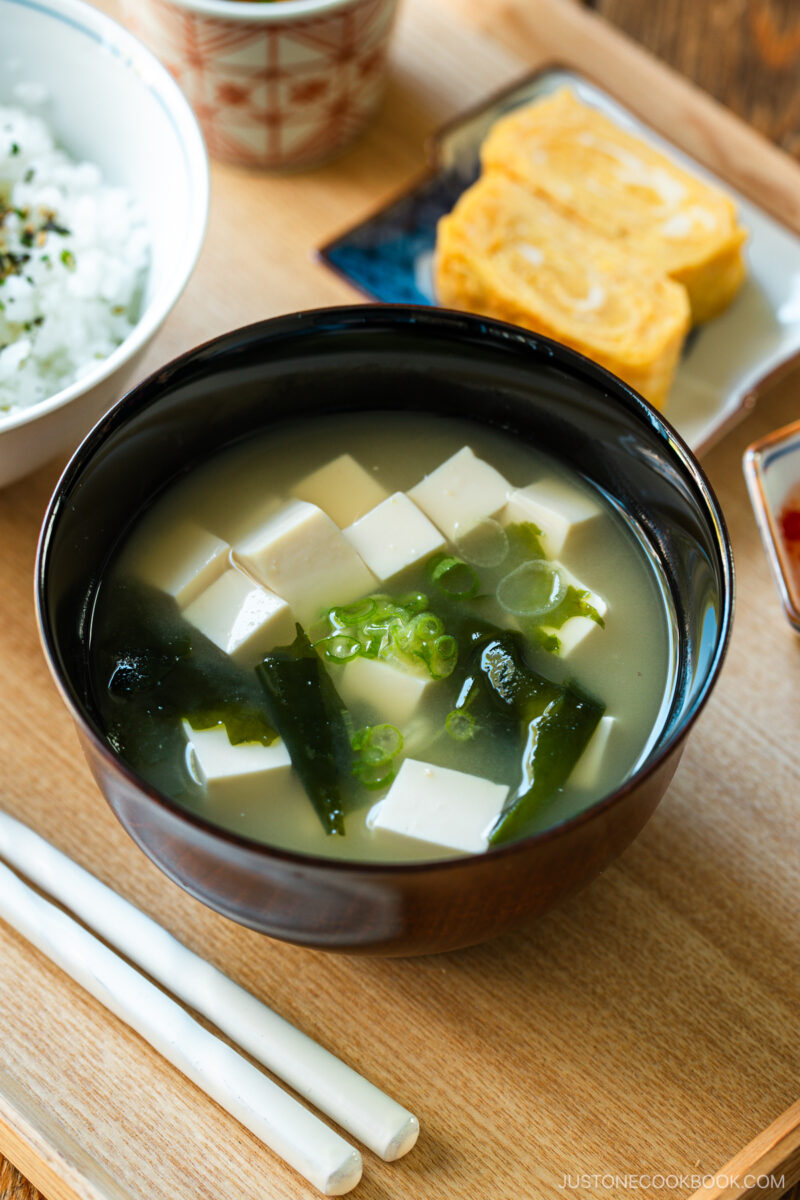
- With soup – Make my delicious Easy Miso Soup on any weeknight.
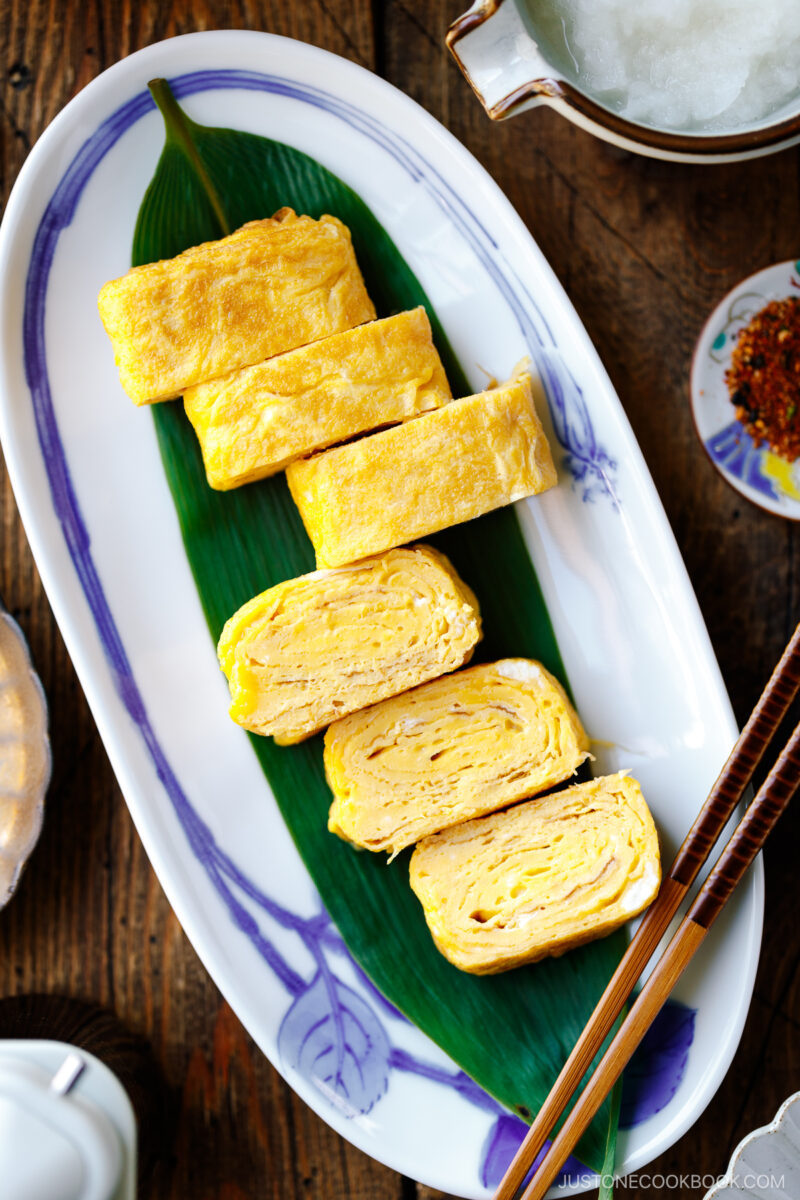
- With a side dish – I like to whip up my quick 3-Ingredient Simple Tamagoyaki for added protein.
- With pickles – Try a small side of store-bought or Asazuke (Japanese Lightly Pickled Vegetables).
Storage and Reheating Tips
To store: I recommend transferring the leftovers to an airtight container. You can store it in the fridge for up to 3 days or in the freezer for a month.
Frequently Asked Questions
Can I use other cuts of chicken in this recipe?
You could use this curry sauce on other cuts, but they will take longer to cook. Whatever cut you use, make sure to cook it all the way through before you season it with the sauce. Remember, chicken thighs and bone-in chicken take longer to cook than chicken tenders or chicken breast, so adjust your cooking time accordingly.
Prep Time: 10 minutes
Cook Time: 10 minutes
Total Time: 20 minutes
Japanese Ingredient Substitution: If you want substitutes for Japanese condiments and ingredients, click here.
Gather all the ingredients.
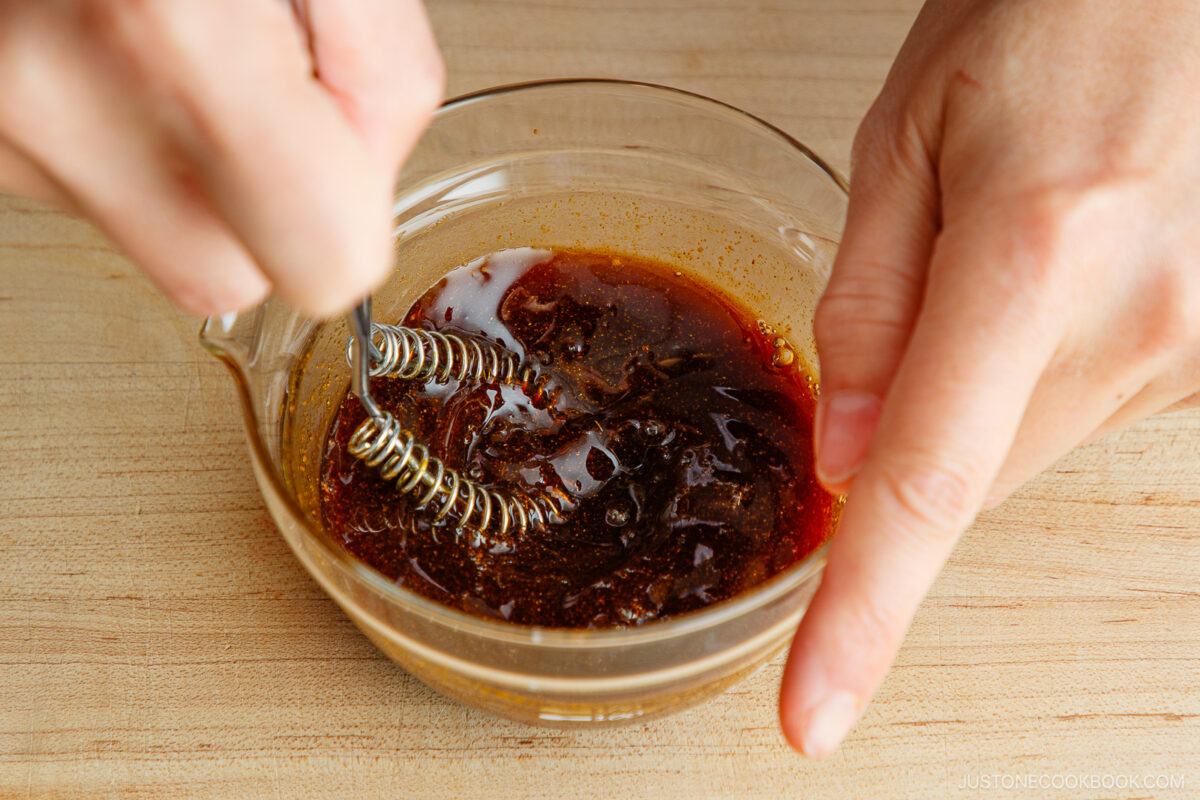
Combine the sauce by mixing 2 Tbsp soy sauce, 2 Tbsp mirin, 1 tsp Japanese curry powder, and 1 tsp sugar in a small bowl. Whisk until the sugar dissolves. Set aside.

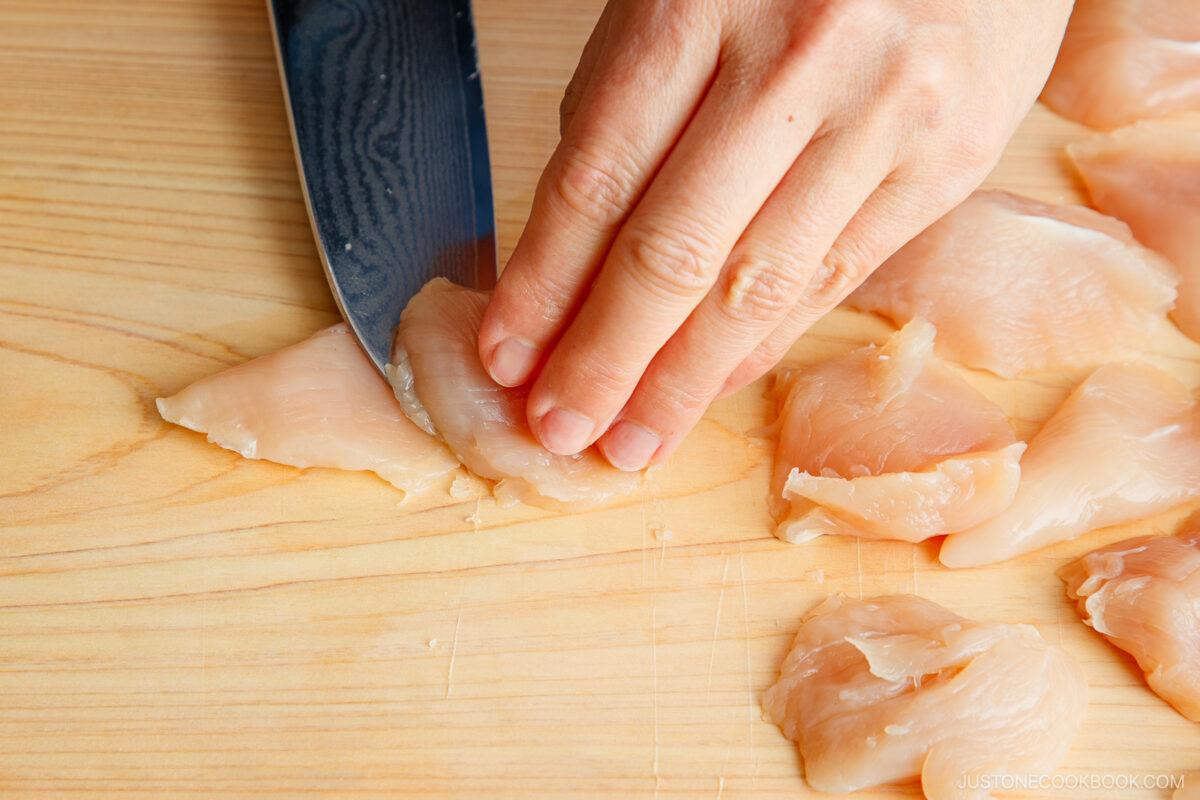
Remove the white, stringy tendons from ½ lb chicken tenders: I hold back the meat with my knife tip, grab the tendon end with my fingers (you can use a paper towel for better grip), and gently pull it out. Next, slice the chicken into thin, 1½-inch (4 cm) squares of equal thickness. Nami's Tip: I tilt my knife back and slice the chicken at an angle using the sogigiri Japanese cutting technique.
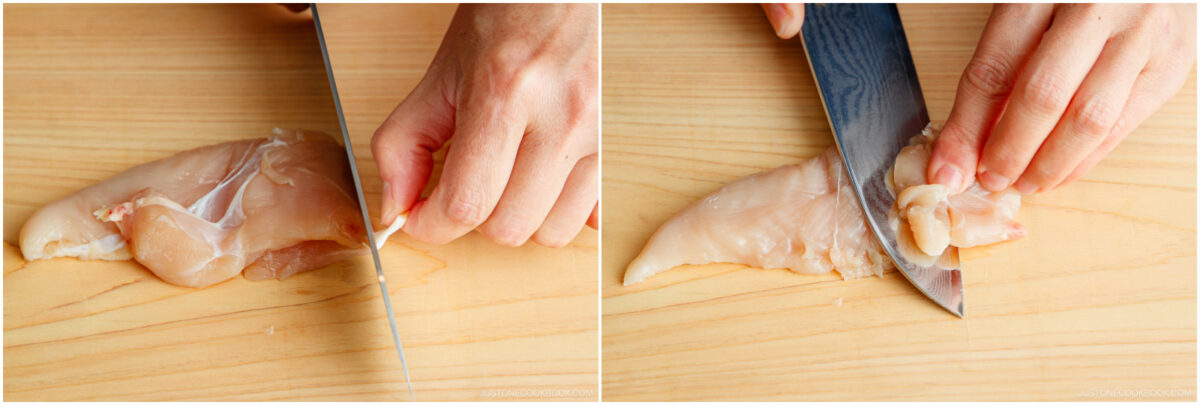
Sogigiri creates flatter pieces with an open surface area so the chicken cooks evenly and at the same rate. Once you finish slicing the chicken pieces, place them in a shallow tray (I used my favorite stainless prep tray from JOC Goods). Season with ¼ tsp Diamond Crystal kosher salt and ⅛ tsp freshly ground black pepper on both sides.
To Coat the Chicken
Add 1 Tbsp Japanese Kewpie mayonnaise and coat the chicken well. (I love using these handy and small tongs to keep my hands clean).
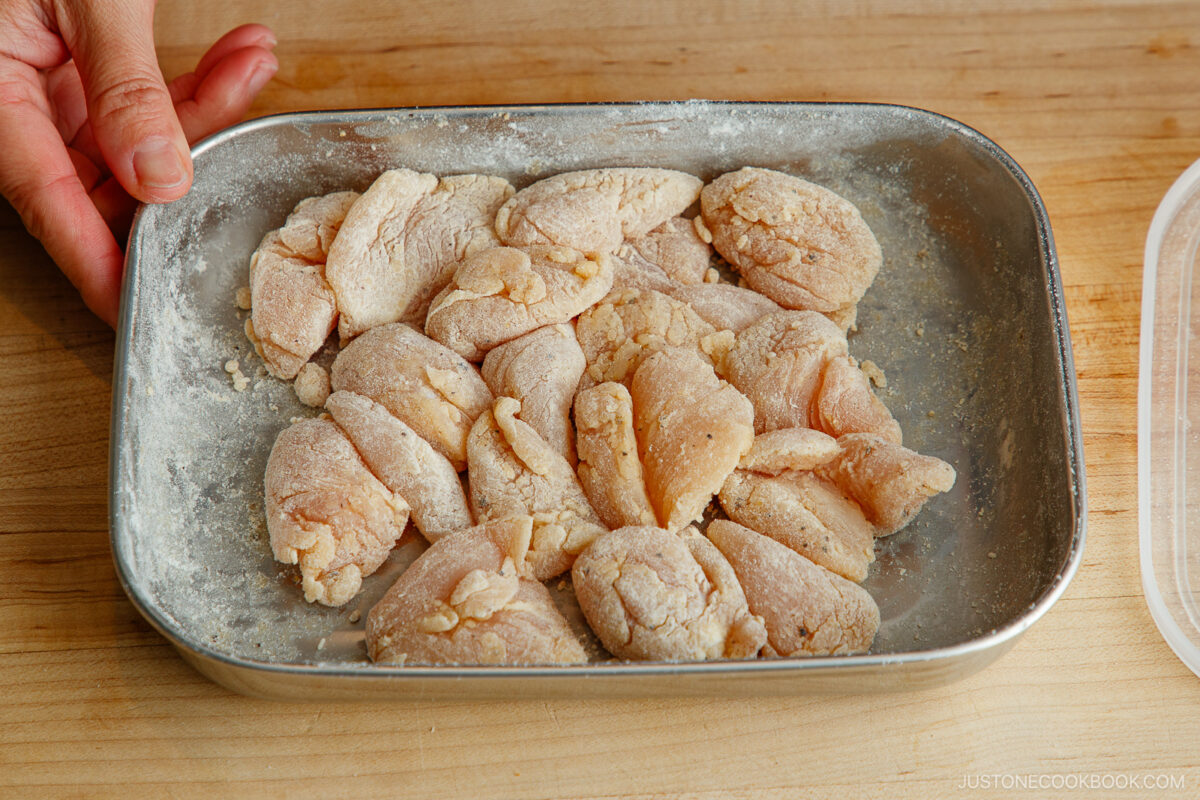
Next, we'll dust the pieces with flour in two stages. First, sprinkle 1 Tbsp all-purpose flour on the chicken and toss them together with tongs. Nami's Tip: Since the chicken is wet with the mayo coating, I first dredge the pieces in half of the flour to help distribute it more evenly and keep it from clumping in one spot.
Next, sprinkle the remaining 1 Tbsp flour on top and dust the chicken all over. If your tray has a lid like mine does, close the lid and shake everything together for the perfect light coating.
To Cook
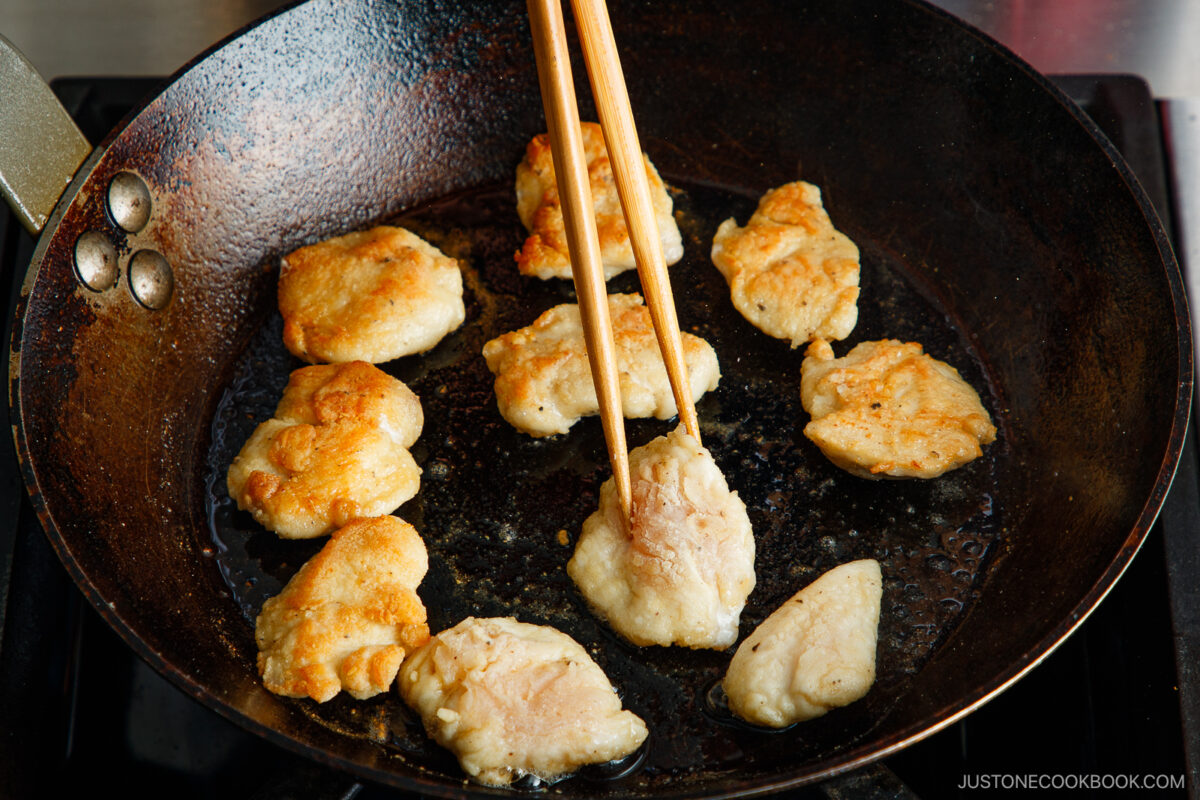
Preheat a wok, frying pan, or saucepan (I used a 10¼" carbon steel pan) over medium heat. When it's hot, add 1 Tbsp neutral oil. Once the oil is hot, add half the chicken in a single layer, leaving space between each piece. Nami's Tip: I cook in two batches to avoid overcrowding the pan. This helps the chicken sear evenly and develop a nice crust.
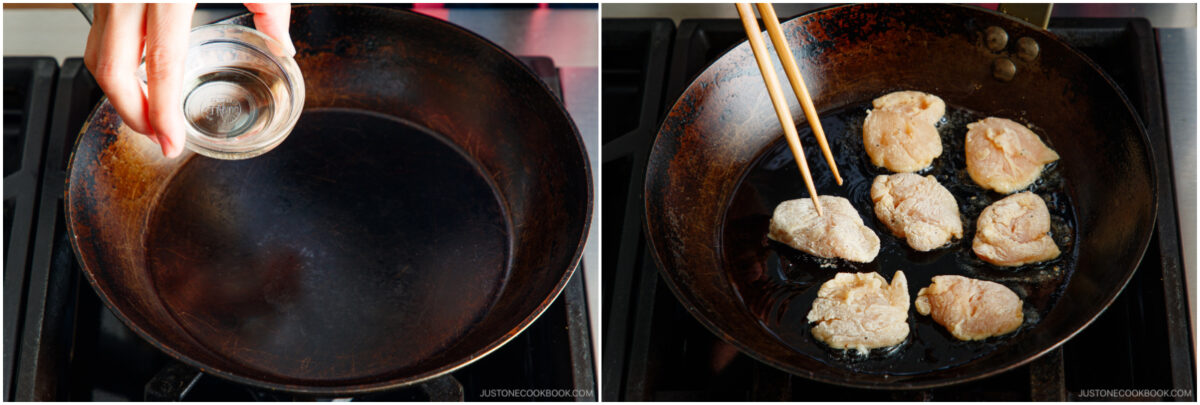
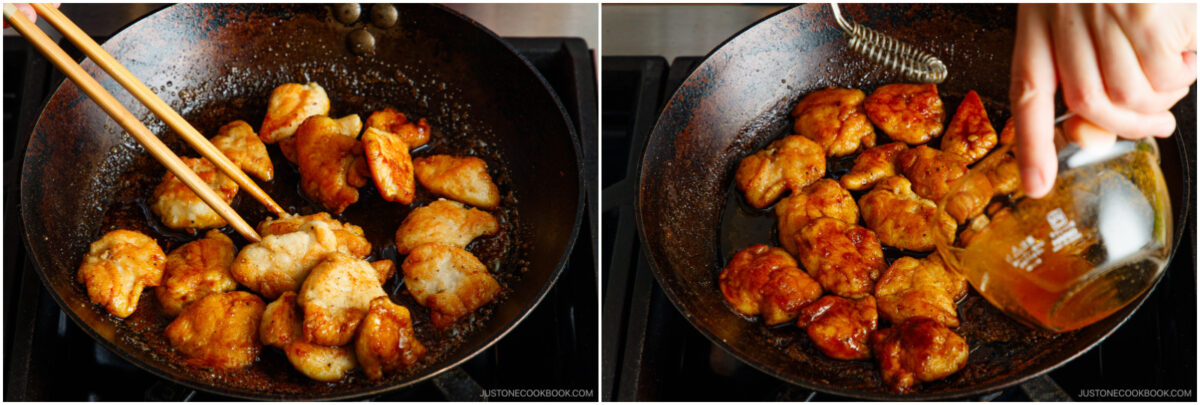
Sear the first side for about 3 minutes until a golden crust forms. Then, flip it over and sear the other side for 2 minutes. Transfer to a plate or tray.
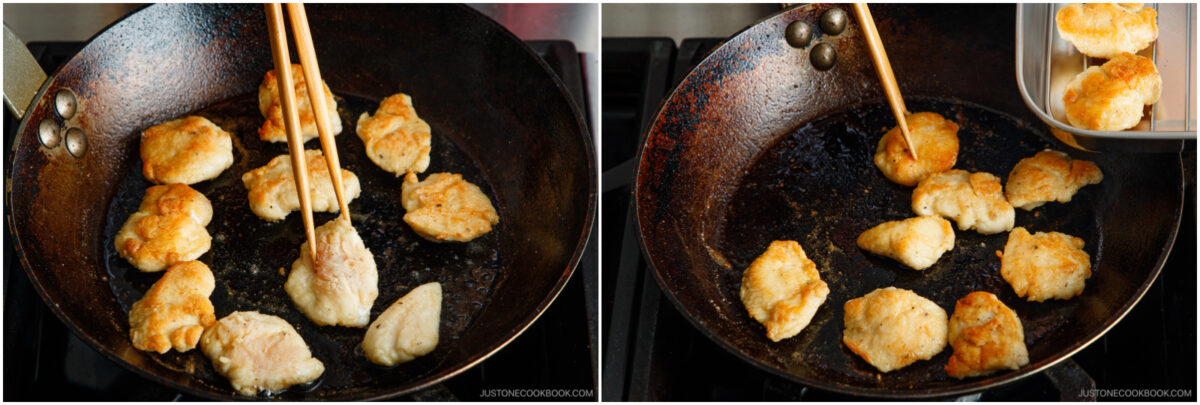
Cook the next batch. You don't need to add more oil, as there should be enough remaining in the pan. Sear on both sides, then remove the chicken to the tray.

To Combine the Sauce and Chicken
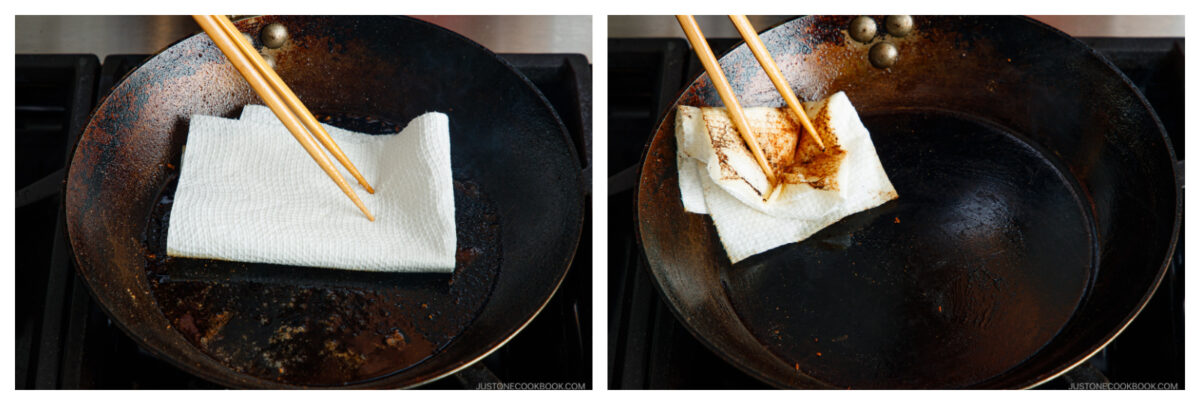
Wipe the frying pan clean with a paper towel to remove the charred food particles and excess grease.
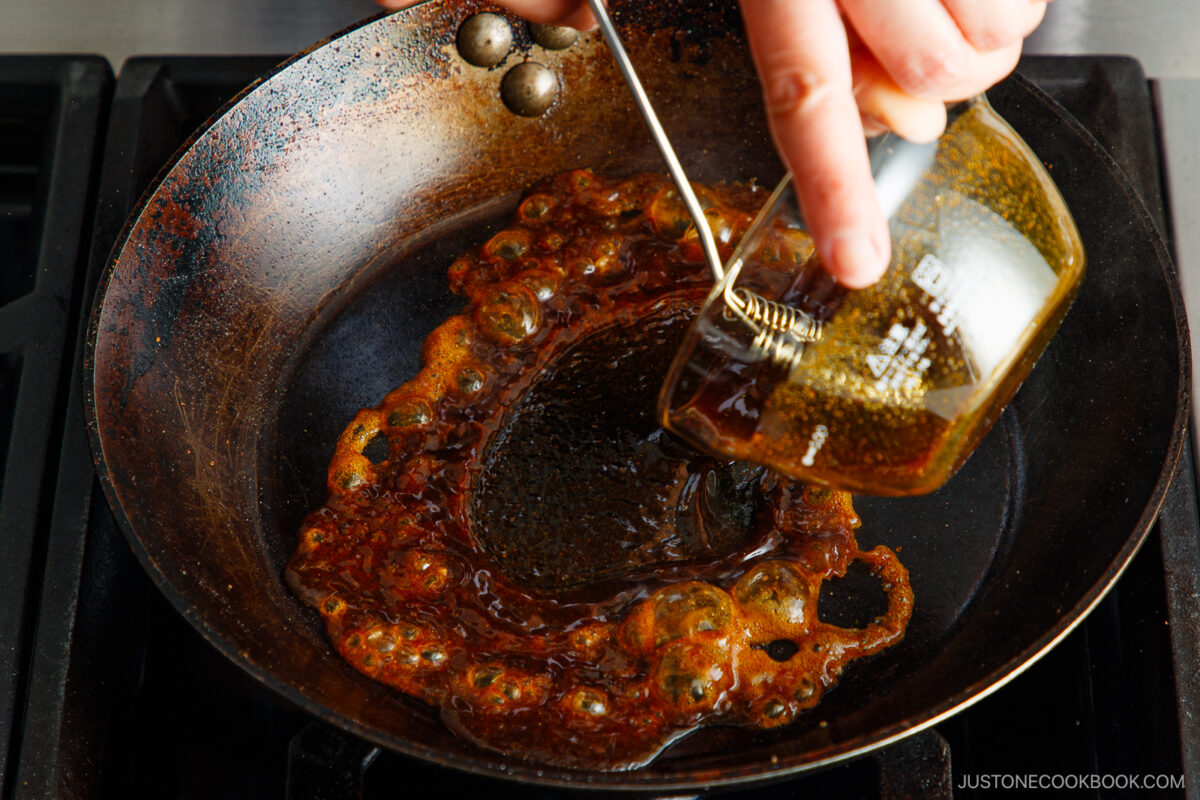
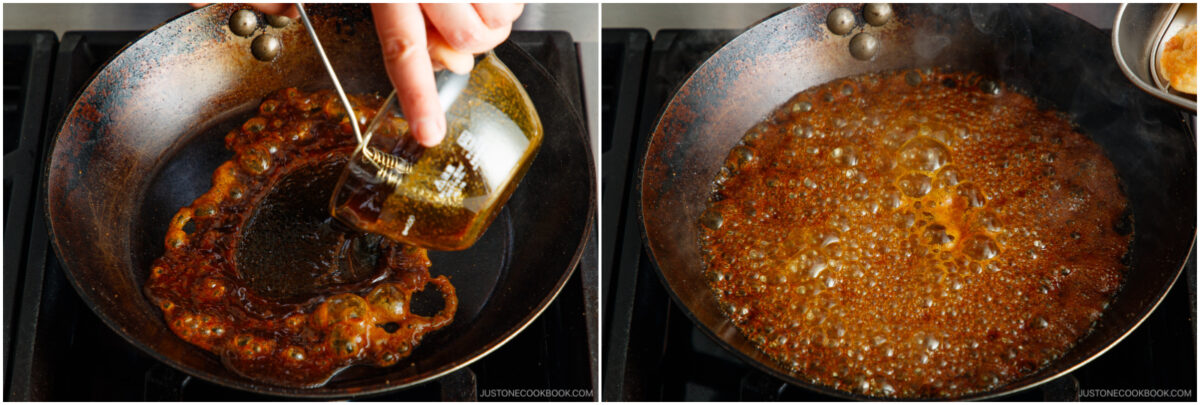
Give the sauce a final stir, then add it to the hot pan. Heat the sauce until it simmers and bubbles. Nami's Tip: The sauce may splatter if your frying pan remains very hot, so be careful. Alternatively, you could cool down the pan for a few minutes. In that case, be sure to bring the sauce to a simmer.
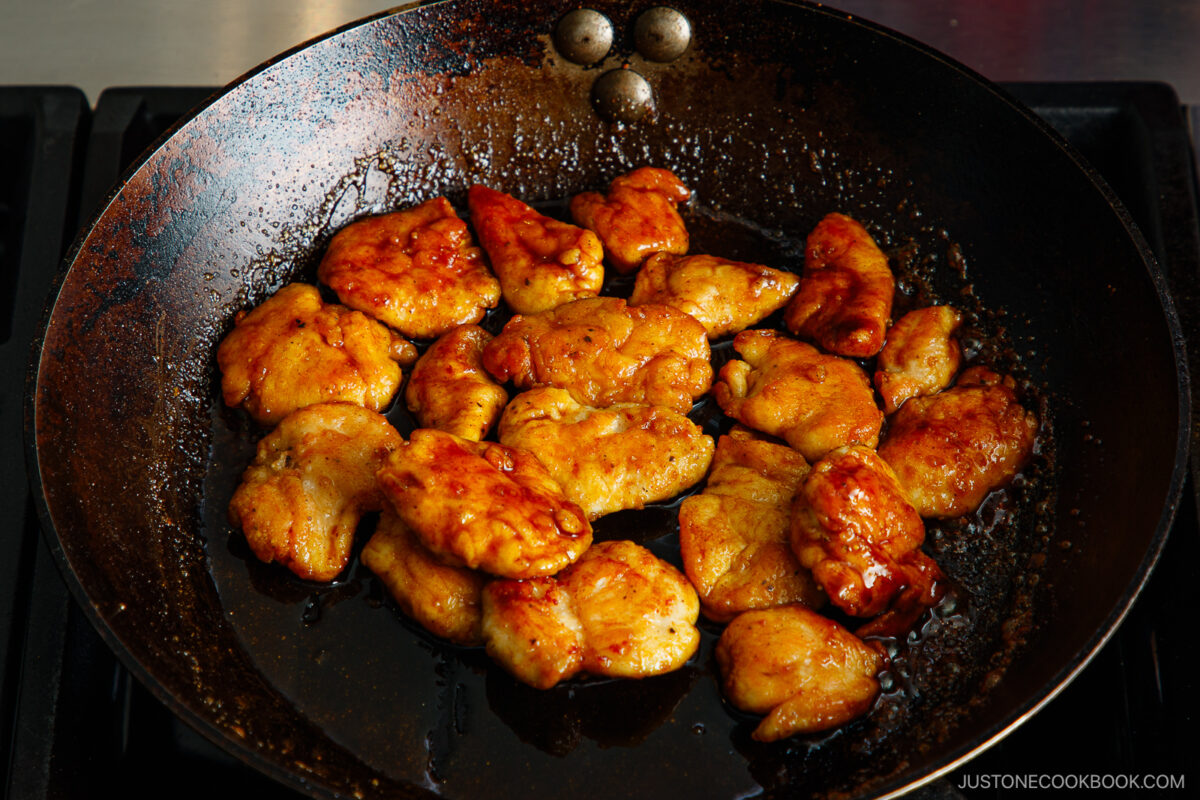
Add the chicken back to the pan with the sauce and toss to coat well. Nami's Tip: If you're using a carbon steel pan like me, keep 2–4 Tbsp water handy to loosen the sauce if it sticks to the pan, as needed. If you're using a nonstick pan, you probably won't need it.
To Store
I recommend transferring the leftovers to an airtight container. You can store it in the fridge for up to 3 days or in the freezer for a month.
Author: Namiko Hirasawa Chen
Course: Main Course
Cuisine: Japanese
Keyword: chicken
©JustOneCookbook.com Content and photographs are copyright protected. Sharing of this recipe is both encouraged and appreciated. Copying and/or pasting full recipes to any website or social media is strictly prohibited. Please view my photo use policy here.
If you made this recipe, snap a pic and hashtag it #justonecookbook! We love to see your creations on Instagram @justonecookbook!


 English (US) ·