This website may contain affiliate links and advertising so that we can provide recipes to you. Read my disclosure policy.
Corn pudding is creamy, slightly sweet, with a hint of savory! It’s packed with cream, butter, sweet and juicy corn kernels, all baked to perfection. It will be an awesome addition to your Thanksgiving spread, or make it for any weeknight.

Reasons You’ll Love This Recipe
- Easy to Make: This corn pudding recipe only takes 15 minutes of prep and 45 minutes to cook! It’s so good and so easy!
- Crowd Pleaser: It’s hard to make everyone happy when it comes to food, but not with this dish. Kids and adults both love this sweet and savory corn pudding.
- Versatile: This dish goes well with everything! It’s great with all the Thanksgiving items like turkey, green bean casserole, rolls, and stuffing.
Ingredients for Corn Pudding
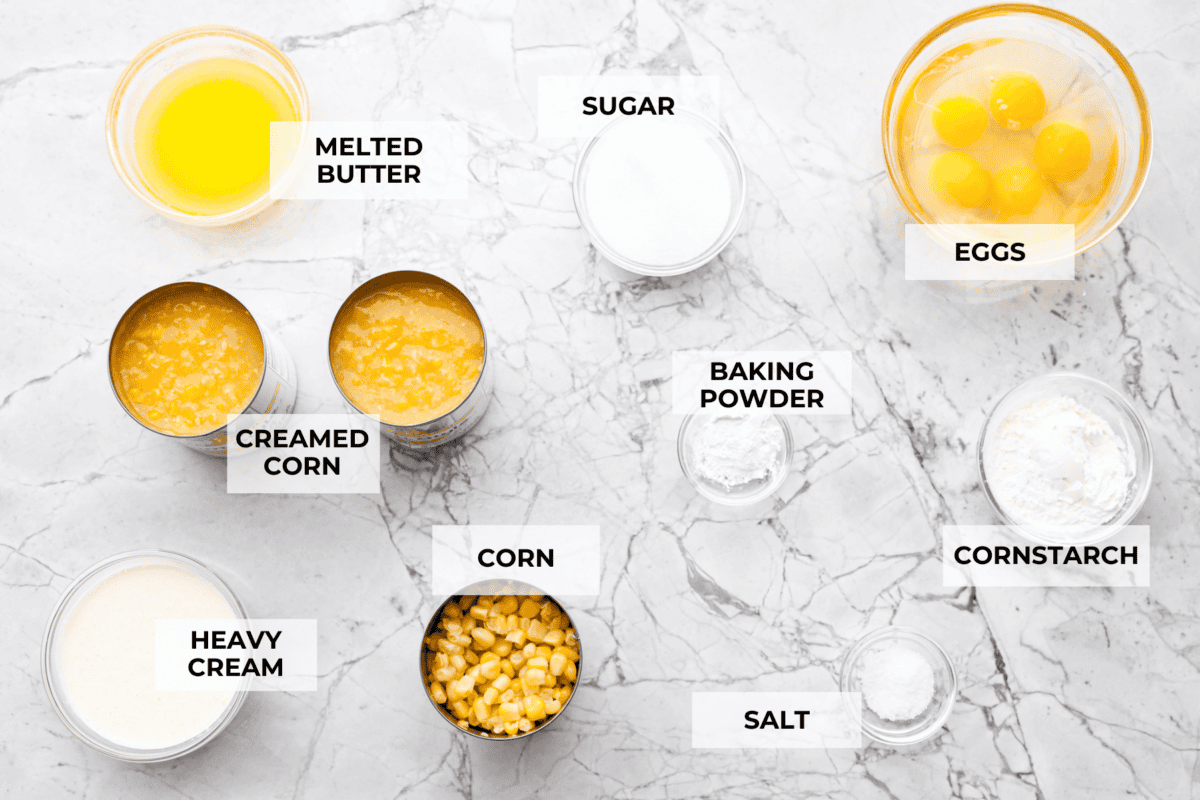
This ingredient list is pretty simple! In fact, once you have your corn, you probably already have everything else in your kitchen! See the recipe card below for a list of exact ingredient measurements.
- Butter: Helps make the pudding rich, with a smooth texture and a depth of flavor.
- Room Temperature Heavy Cream: Gives the dish a smooth, creamy texture and flavor.
- Room Temperature Large Eggs: Makes everything stick together and creates a custard like texture.
- Granulated Sugar: Enhances the sweetness of the corn.
- Cornstarch: Helps to thicken the mixture, giving it a custard creamy texture.
- Baking Powder: Helps the pudding rise and become more fluffy and light.
- Salt: Enhances the overall flavor of the dish.
- Can Whole Kernel Corn: The main reason for making this dish, sweet CORN! I love how juicy and sweet it is.
- Cans Cream-Style Corn: Adds to the yummy texture and flavor.
Let’s Make Some Corn Pudding!
This corn pudding is delicious and super easy to make! Plus, it only takes about 45 minutes… and that includes baking time!
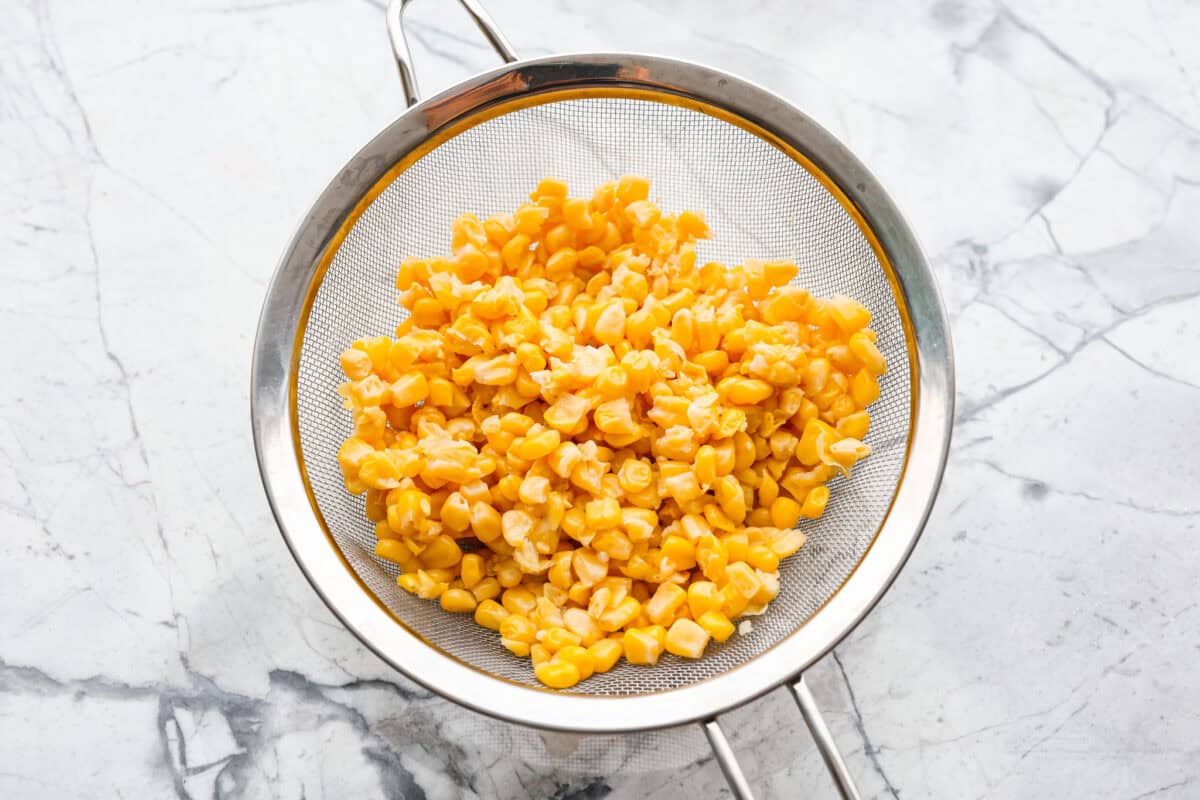
- Prep: Preheat the oven to 400 degrees. Spray a 2-quart baking dish with non-stick cooking spray. Drain the can of whole-kernel corn well to remove any excess liquid.
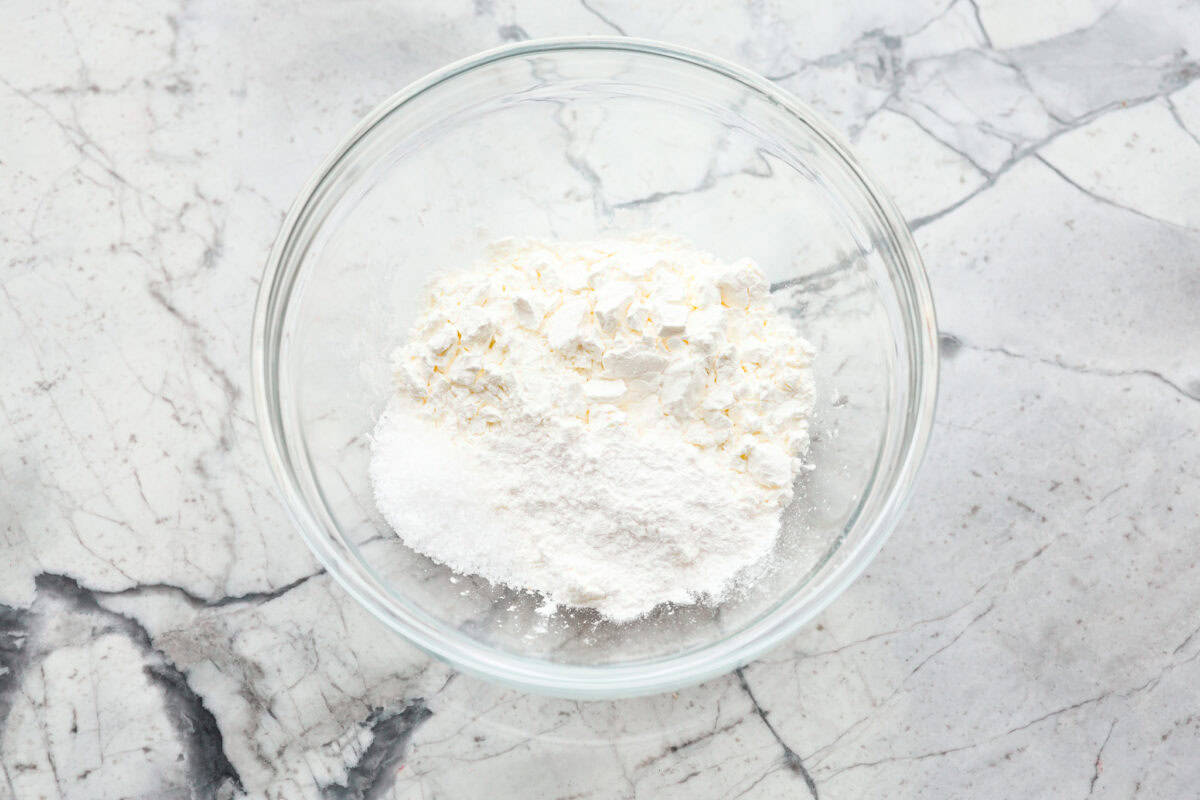
- Dry Ingredients: In a small bowl, whisk together the cornstarch, baking powder, and salt, then set aside.
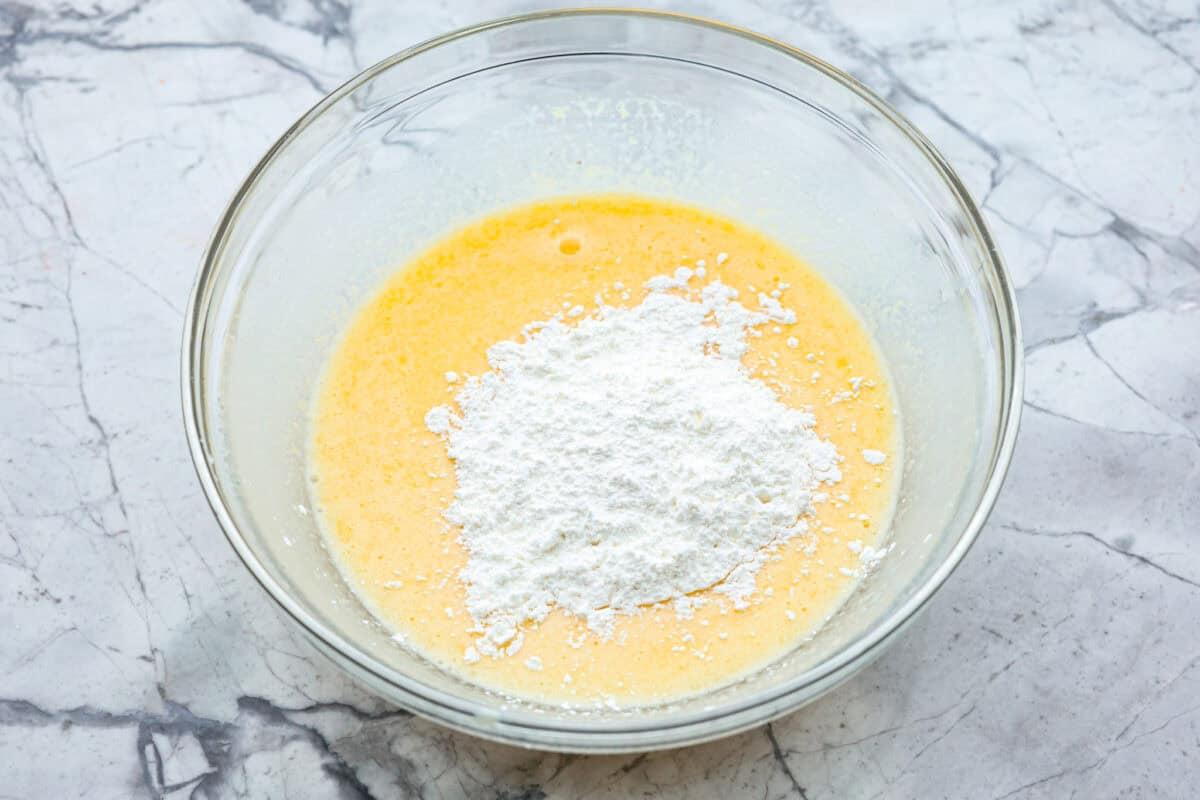
- Combine: In a large bowl, whisk the eggs until combined. Add the cornstarch mixture and stir until combined.
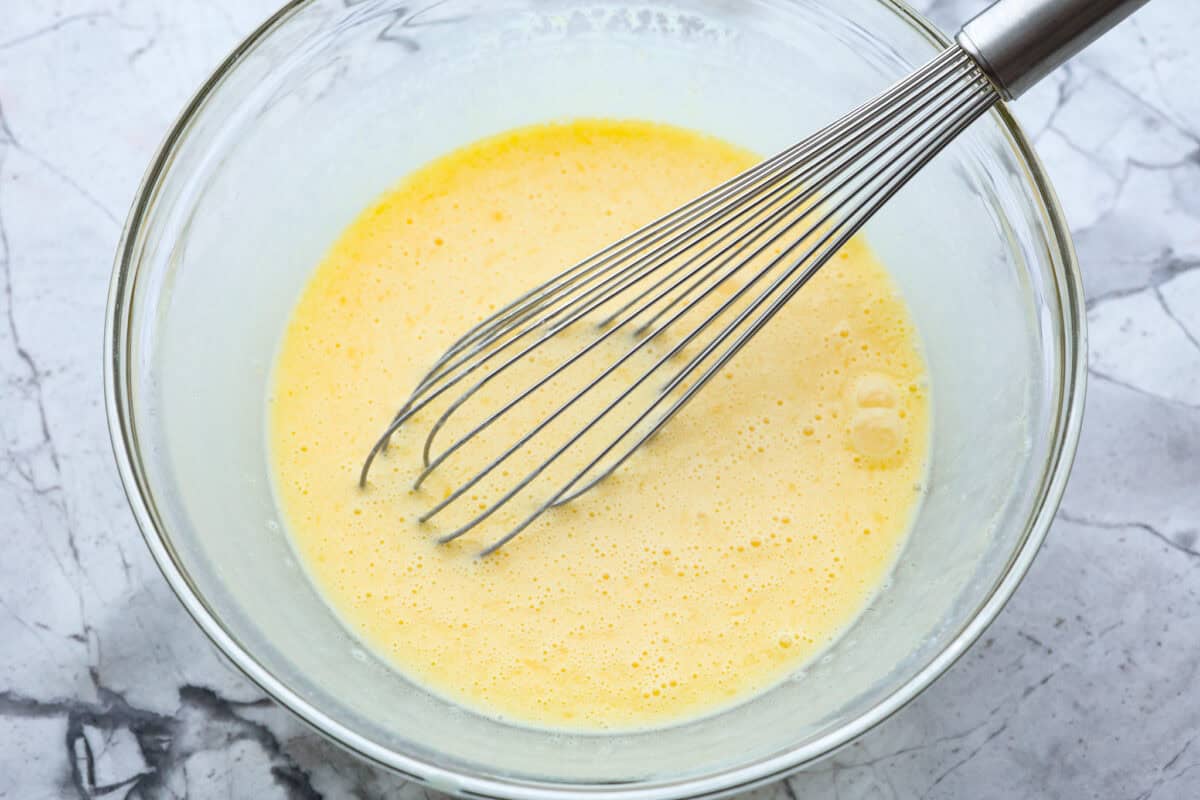
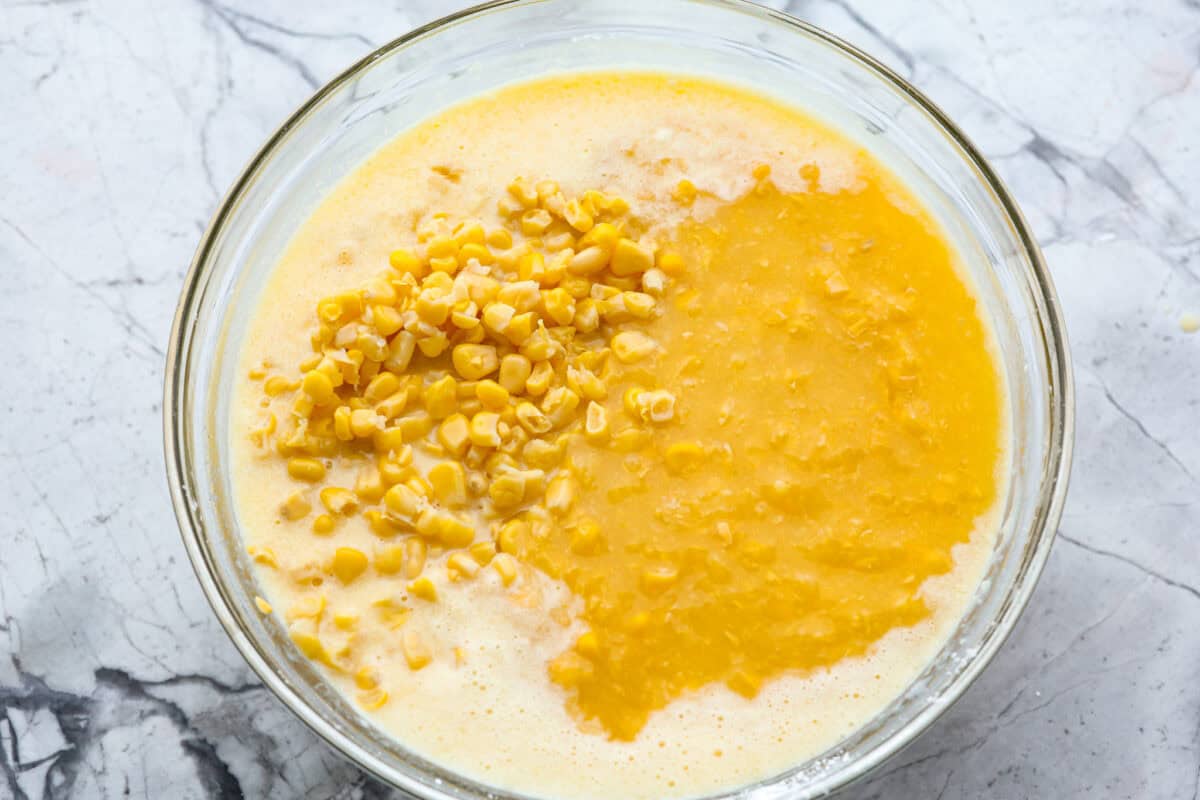
- Whisk: Whisk in the butter, heavy cream, creamed corn, and drained corn until fully combined.
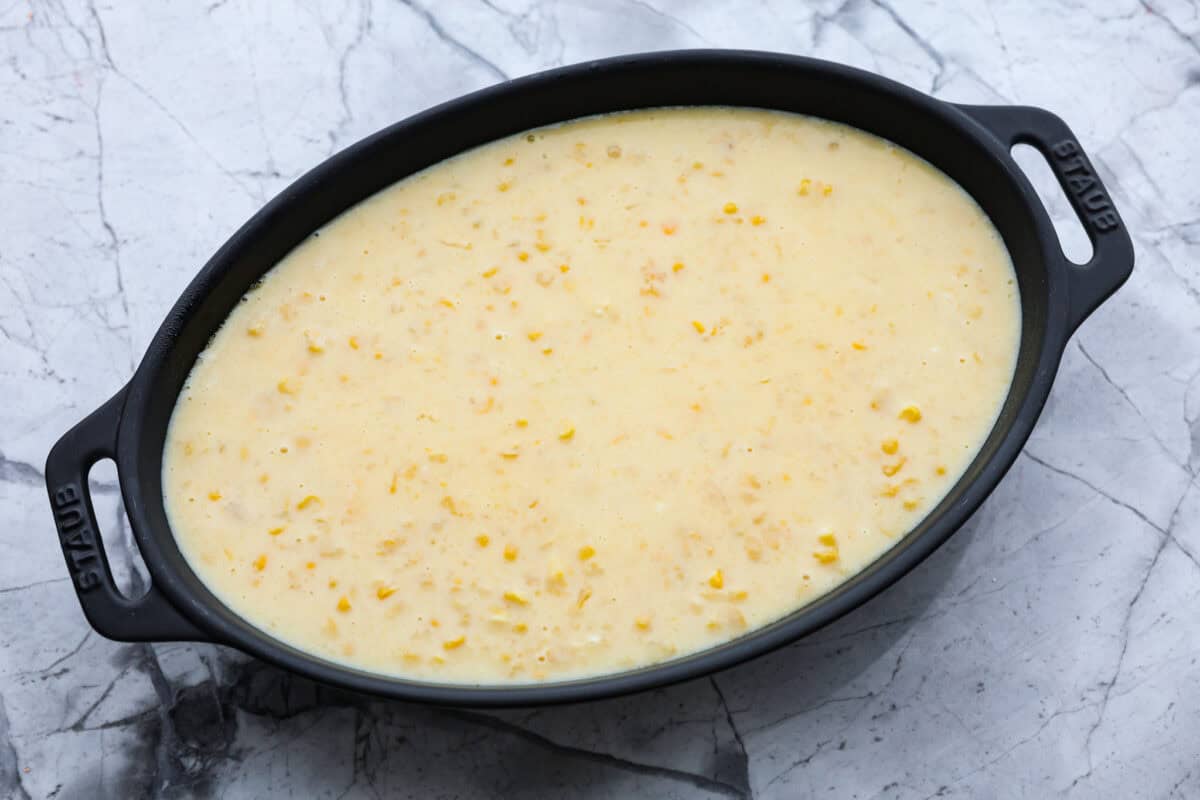
- Bake: Pour the batter into the prepared casserole dish and bake until golden brown, about 45 minutes. The center should be slightly jiggly.
- Rest and Serve: Let the corn pudding rest for 5 minutes before serving.
Temperature Tip
*** Be careful not to overbake or underbake the corn pudding! It’s VERY helpful to use a thermometer to test the internal temperature of the corn pudding to read 180 degrees Fahrenheit. This temperature achieves the perfect texture.***
Corn Pudding Tips, Tricks and Variations
- Butter: Make sure the melted butter is cooled before adding it to the batter.
- Heavy Cream: Adds rich creaminess to the pudding. Bring it to room temperature before using because cold cream can cause lumps. Room temperature cream blends easier and creates a smoother batter.
- Corn: Use two ears of fresh corn husked instead of canned corn!
- Sugar: Use ¼ cup of sugar if you prefer your corn pudding less sweet!
- Texture: Corn pudding should have a soft texture, much like custard. It isn’t like a typical cornbread casserole.
- Flavor Add-ins: Add crispy bacon bits, green chiles, or chopped jalapeño pepper for a tasty flavor addition and texture.

Storage and Make Ahead Instructions
- Refrigerator: Store cooled leftovers in an airtight container and then place them in the fridge for up to 4 days.
- Make ahead: Prepare the corn pudding as directed. Cover and refrigerate for up to 2 days. Great for Thanksgiving prep! When ready to bake, let it rest on the counter for 1 hour before following the baking instructions.
- To Reheat: To reheat, microwave portions of the corn pudding until warmed through.

More Corn-Inspired Dishes
Pin this now to find it later
Preheat the oven to 400 degrees. Spray a 2-quart baking dish with non-stick cooking spray. Drain the can of whole-kernel corn really well to remove any excess liquid.
In a small bowl, whisk together the cornstarch, baking powder, and salt. Set aside.
In a large bowl, whisk the eggs until combined. Add the cornstarch mixture and stir until combined.
Whisk in the butter, heavy cream, creamed corn, and drained corn until fully combined.
Pour the batter into the prepared casserole dish and bake until golden brown, about 45 minutes. The center should be slightly jiggly.
Let the corn pudding rest for 5 minutes before serving.
Serving: 1servingCalories: 198kcalCarbohydrates: 13gProtein: 3gFat: 15gSaturated Fat: 9gPolyunsaturated Fat: 1gMonounsaturated Fat: 4gTrans Fat: 0.3gCholesterol: 119mgSodium: 389mgPotassium: 98mgFiber: 0.1gSugar: 9gVitamin A: 574IUVitamin C: 0.1mgCalcium: 46mgIron: 0.5mg
Nutrition information is automatically calculated, so should only be used as an approximation.
About Alyssa Rivers
Alyssa Rivers is the author of 'The Tried and True Cookbook', a professional food photographer and experienced recipe-developer. Having a passion for cooking, her tried and true recipes have been featured on Good Morning America, Today Food, Buzzfeed and more.














 English (US) ·