 1 month ago
47
1 month ago
47
Recipe Highlights
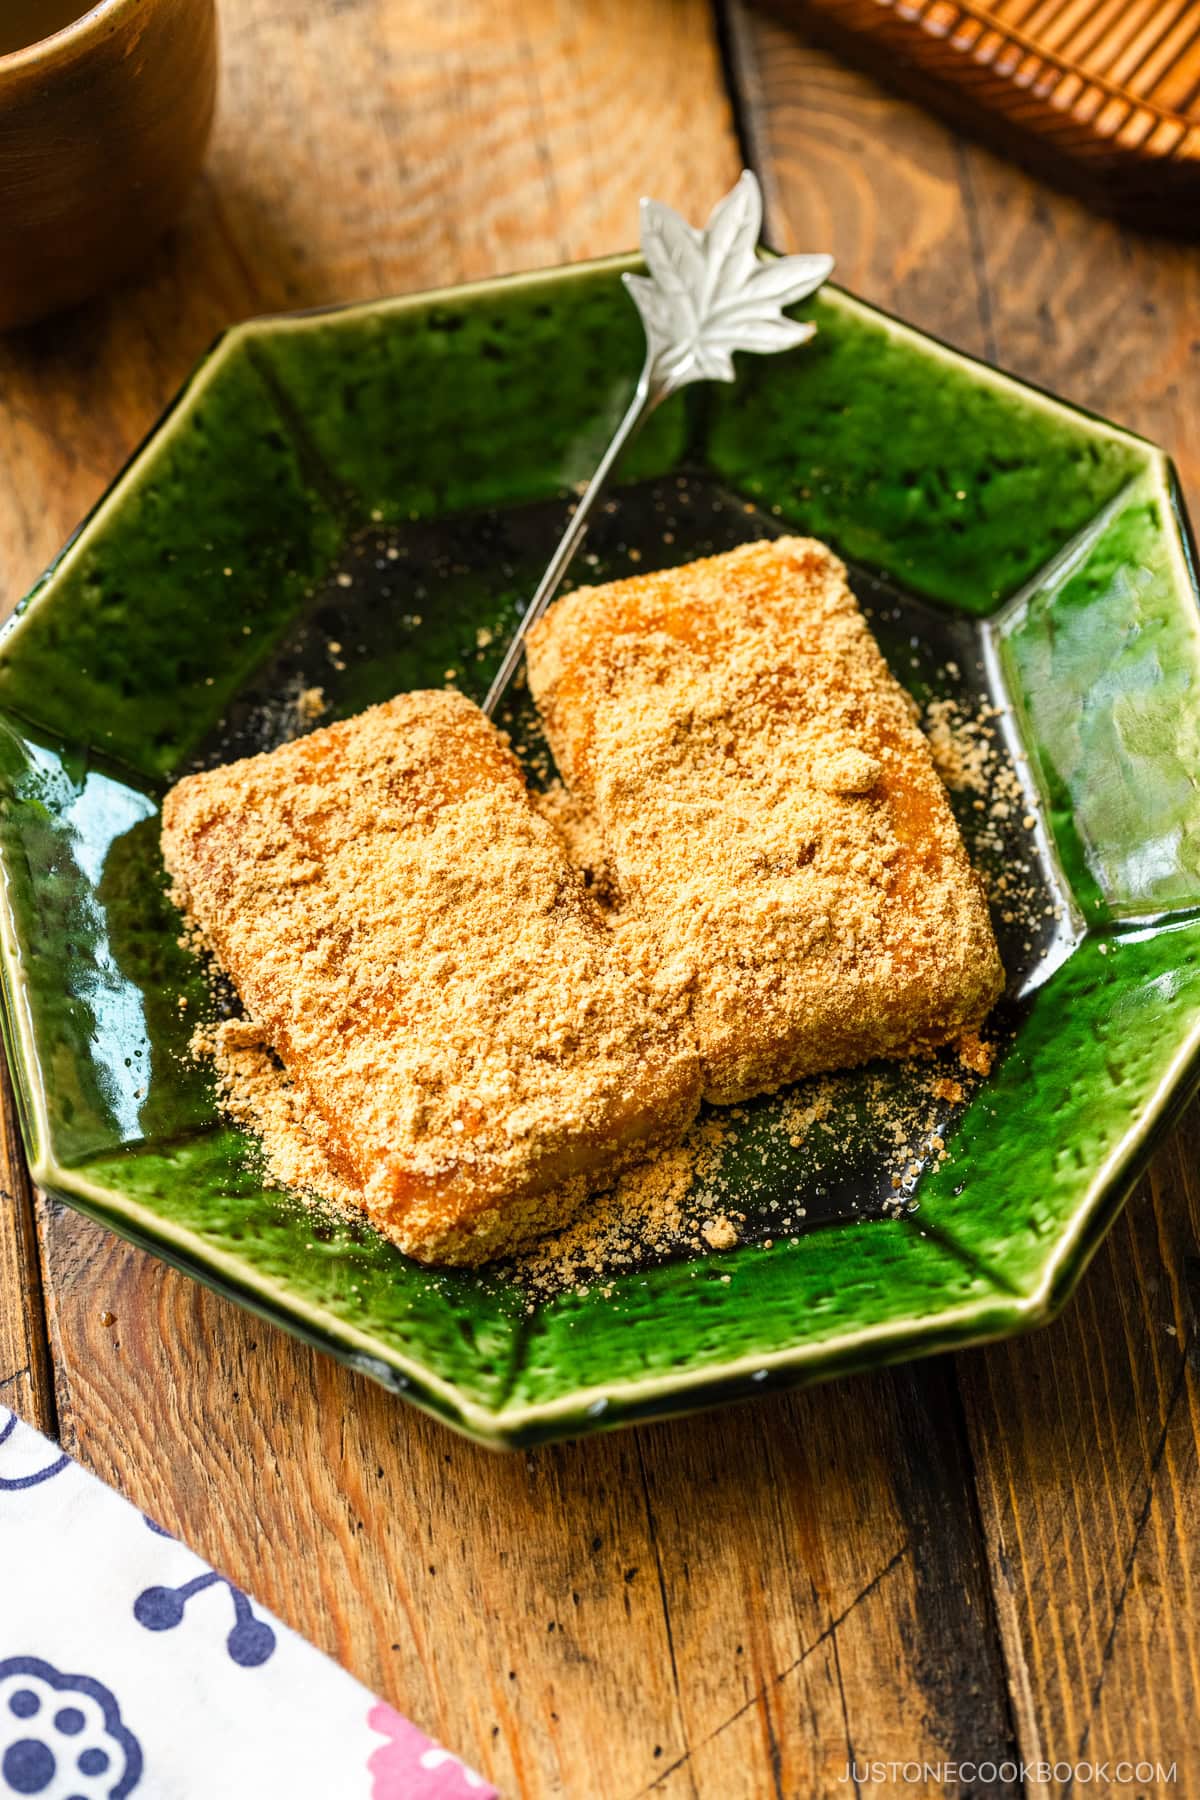
Kinako Mochi (Rice Cake with Soybean Flour) is one of the most beloved mochi treats in Japan. Growing up, I always looked forward to eating plain rice cakes during the colder months, especially around Japanese New Year. This recipe shows you how to use dried, pantry-friendly kiri mochi to make this hot, chewy snack in minutes. It is simple, cozy, and tastes just like home.
- Just 3 ingredients. You only need mochi, kinako, and sugar for a satisfying treat.
- Quick and easy. From start to finish, this snack comes together in just minutes.
- Pantry-friendly. Dried kiri mochi keeps well. It’s the next best thing to fresh and so easy to use!
If you love plain rice cakes, try my Isobeyaki Mochi, Zunda Mochi, and Zenzai (Sweet Red Bean Soup with Mochi) recipes next!
Table of Contents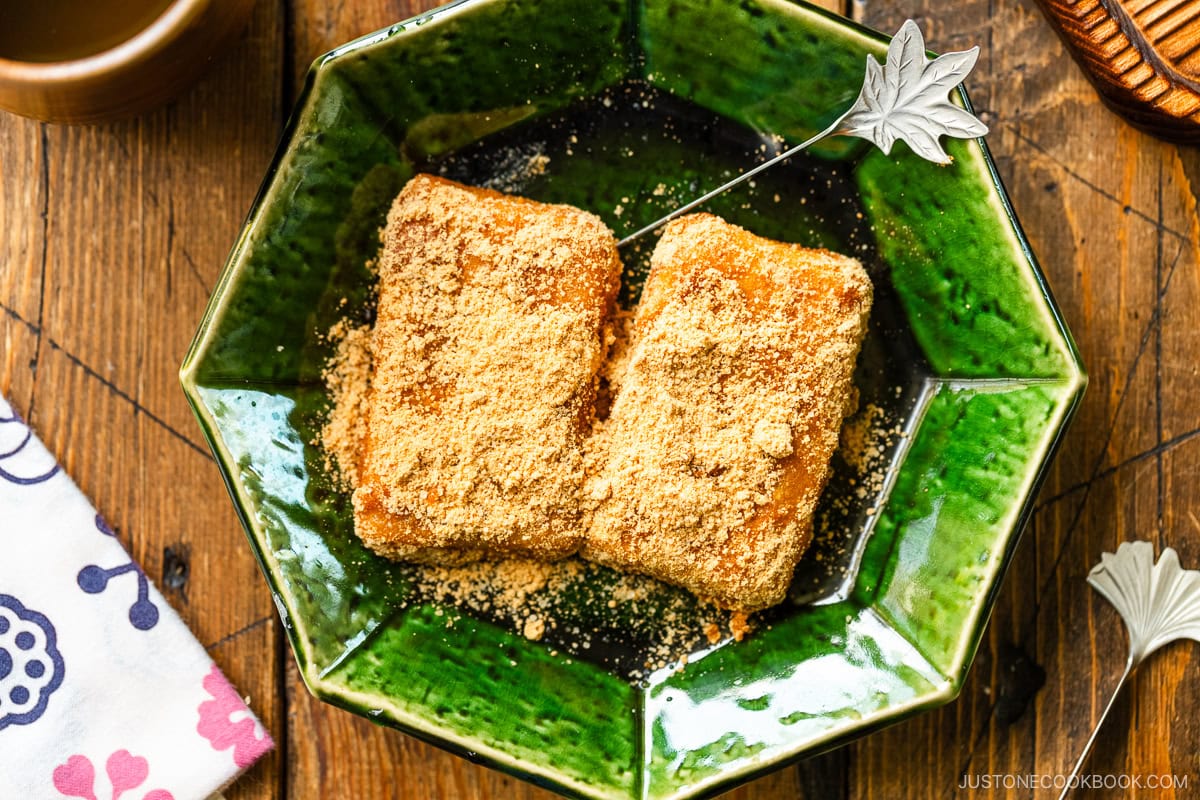
What is Kinako Mochi?
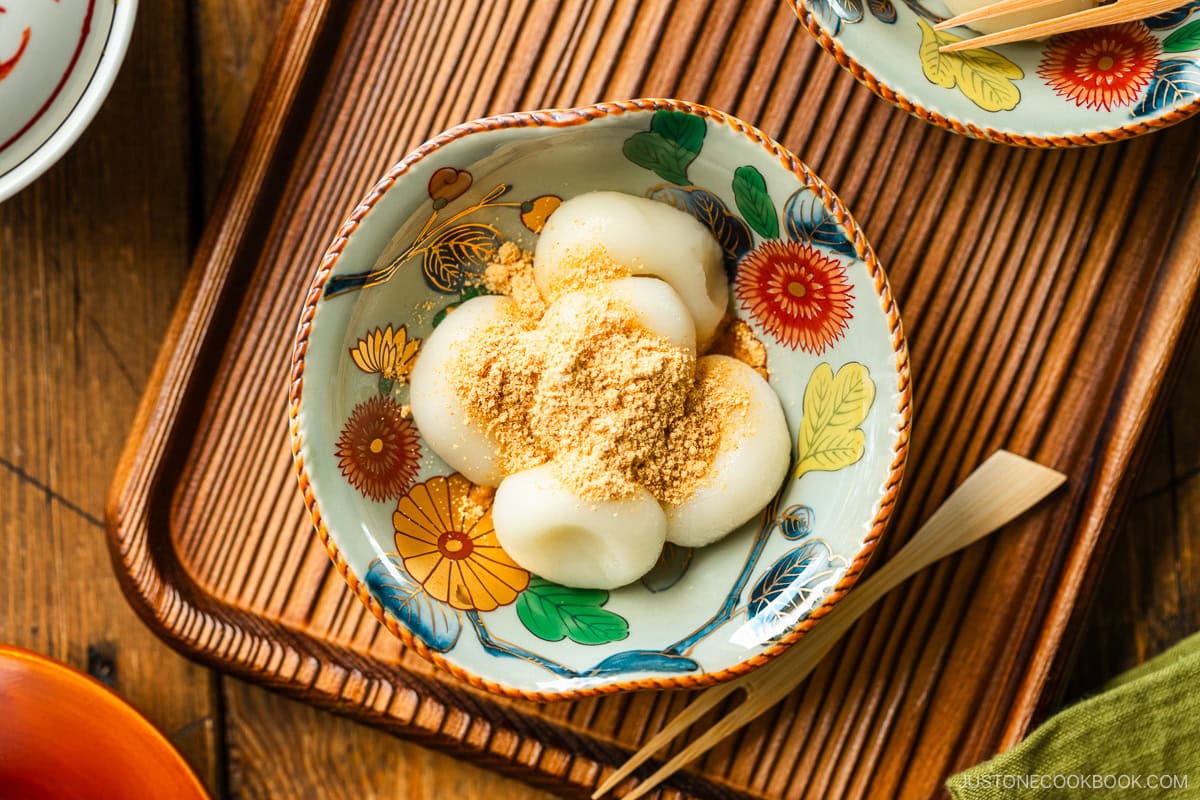
Kinako mochi (きな粉餅) is a traditional Japanese snack of hot and plain glutinous rice cakes dredged in sweetened kinako, a roasted soybean flour. Literally “yellow flour,” kinako powder is fine and nutty with a flavor similar to roasted peanuts. This simple preparation highlights the chewy, sticky texture of Japanese mochi and is especially popular during Japanese New Year.
Ingredients for Kinako Mochi
- kiri mochi (切り餅, dried and packaged plain rice cakes) – Shelf stable and readily available year-round at Japanese grocery stores or on Amazon
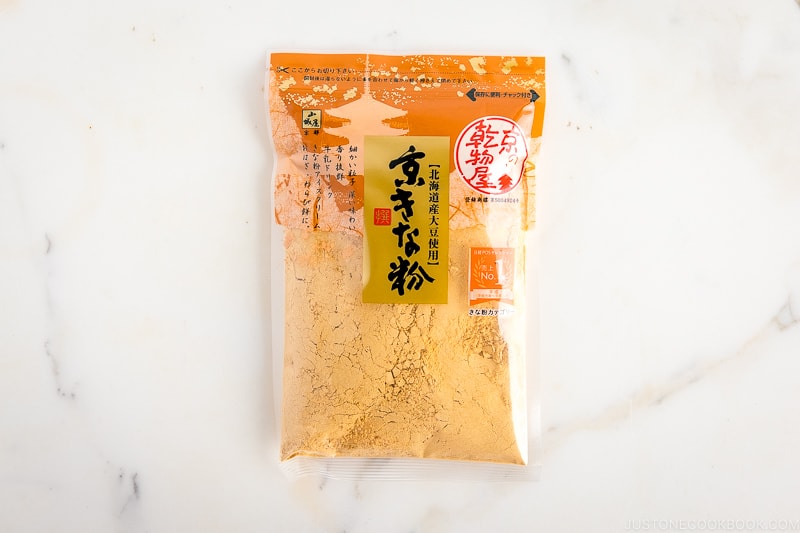
- kinako (roasted soybean flour or powder)
- sugar
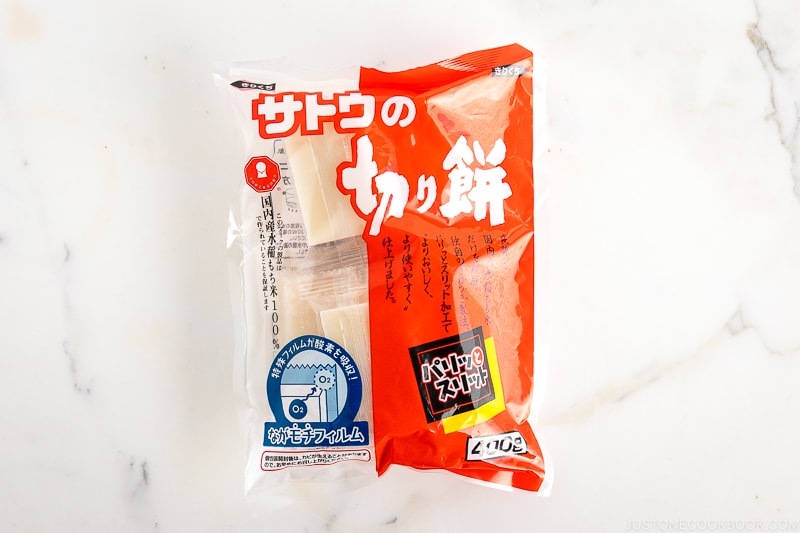
Find the printable recipe with measurements below.
Jump to RecipeHow to Make Kinako Mochi
- Grill/Broil or Boil the mochi. Grill it in a frying pan with lid, broil in the oven, or simmer gently in boiling water over medium heat. Cook just until the mochi is soft in the center.

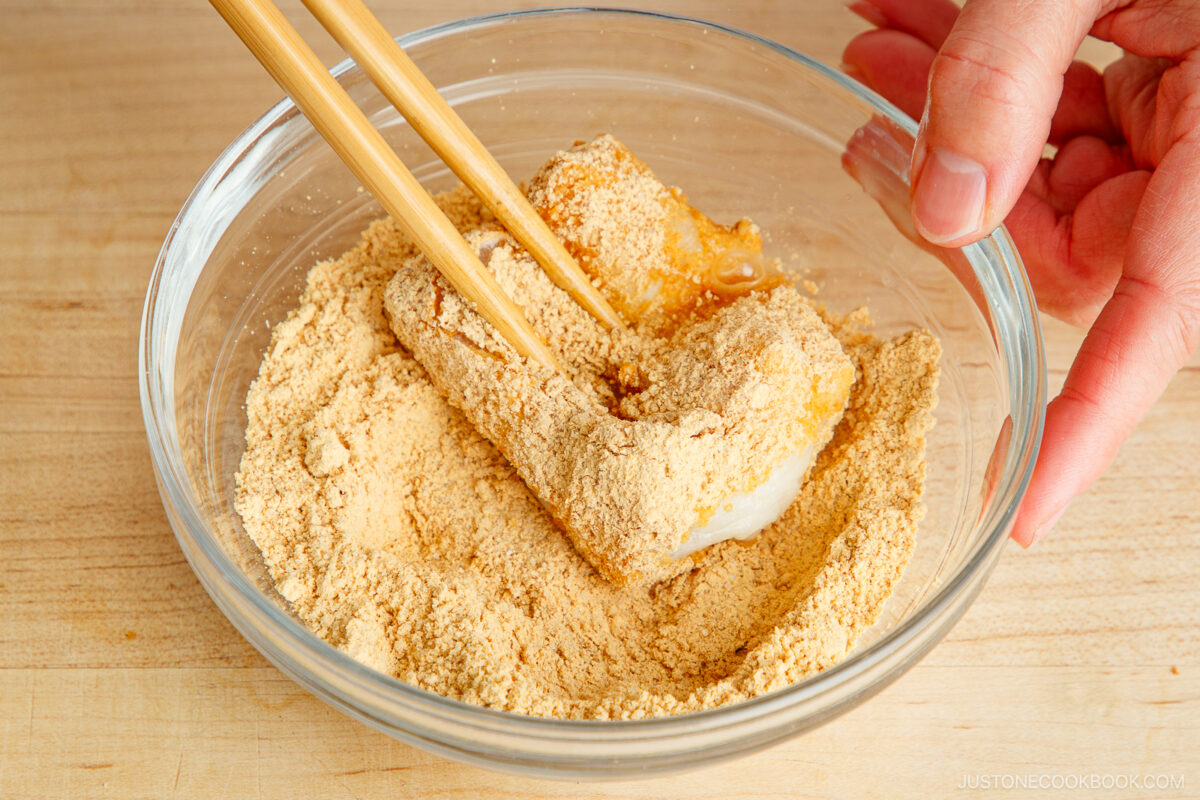
- Coat the mochi with kinako sugar mixture. Mix the roasted soybean flour and sugar in a bowl. Briefly dip it in a bowl of hot water so the sweetened kinako sticks well. (Skip if you boil the mochi.) Dredge the hot mochi thoroughly in the sweetened kinako.
- Serve immediately. Transfer to individual plates while still hot. Enjoy right away for the best chewy texture and nutty flavor.

Nami’s Recipe Tips
These simple tips will help you make Kinako Mochi every time.
- Watch for bursting – If grilled or broiled too long, molten mochi can burst and overflow.
- Avoid boiling too long – Overboiled mochi can lose its shape and turn gooey or pasty.
- Use fresh kinako – Fresh soybean powder has the best aroma and flavor. Always check the expiration date.
- Serve while hot – Mochi hardens as it cools, so kinako mochi tastes best right after coating.
Variations and Customizations
Looking to change things up? Try these easy and tasty ideas!
- Try black soybean kinako. Kuromame kinako (黒豆きな粉) has a richer, slightly sweeter flavor than the regular kind.
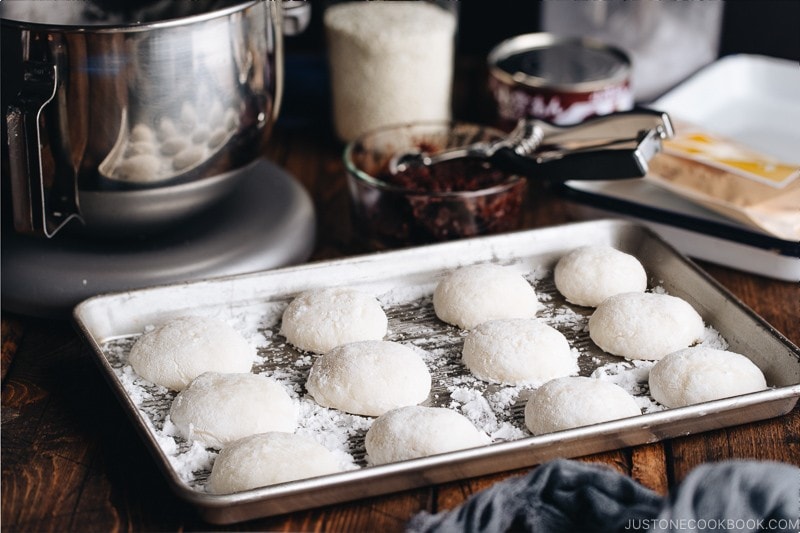
- Use freshly pounded mochi. Fresh plain mochi has a wonderful soft texture and is especially enjoyed during Japanese New Year. Make it homemade with my recipe How to Make Mochi with a Stand Mixer.
- Make it with Shiratama Dango. These soft, bouncy rice flour dumplings pair beautifully with sweetened kinako.
What to Serve with Kinako Mochi
Kinako mochi is great year-round, and you can enjoy it as a snack or light dessert. Here are my favorite pairings.
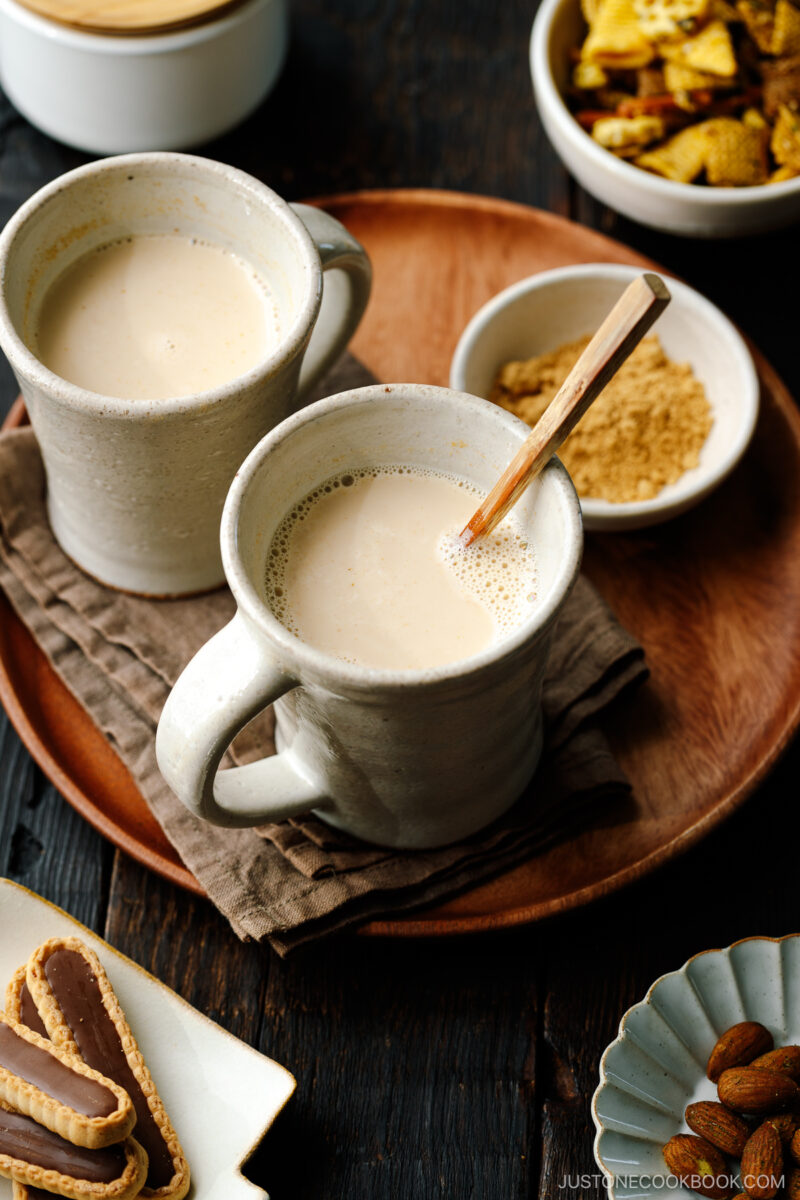
- With a hot drink. Learn How to Make Japanese Green Tea or make my Kinako Milk and for a cozy combination.
- With other mochi flavors. Enjoy alongside savory Isobeyaki Mochi and toasted mochi stuffed with anko (sweet red bean paste). I enjoyed these three flavors on New Year’s Day growing up!

Storage Tips
To store: Kinako mochi is best eaten right after cooking. As it cools, the mochi hardens and the kinako coating loses its powdery texture. I recommend making only as much as you plan to eat right away.
FAQs
I do not like mochi. Can I use something else?
Yes. Shiratama Dango are a great alternative. These small rice flour dumplings are lighter and springier than mochi. They are easy to make at home and taste wonderful when generously coated with sweetened kinako.
Why did my mochi turn gooey?
This usually means the mochi was boiled too long. Simmer gently and turn it occasionally. Remove it as soon as the center becomes soft to keep its shape.
Can I reduce the sugar?
I use one part sugar to two parts kinako for a classic balance. You can reduce the sugar to your preference, but keep in mind that sweetness balances the nutty soybean flavor.
Is kinako mochi only eaten during Japanese New Year?
No. While it is especially popular during New Year, kinako mochi is enjoyed year-round as a quick snack or dessert.
I’d love to hear how yours turned out! 💛 Please leave a star rating and comment below to share your experience. Your feedback not only supports Just One Cookbook but also helps other home cooks discover recipes they can trust.
Gather all the ingredients. Choose one of three methods below to cook kiri mochi: Using an oven broiler, a frying pan on the stovetop, or a pot on the stovetop.

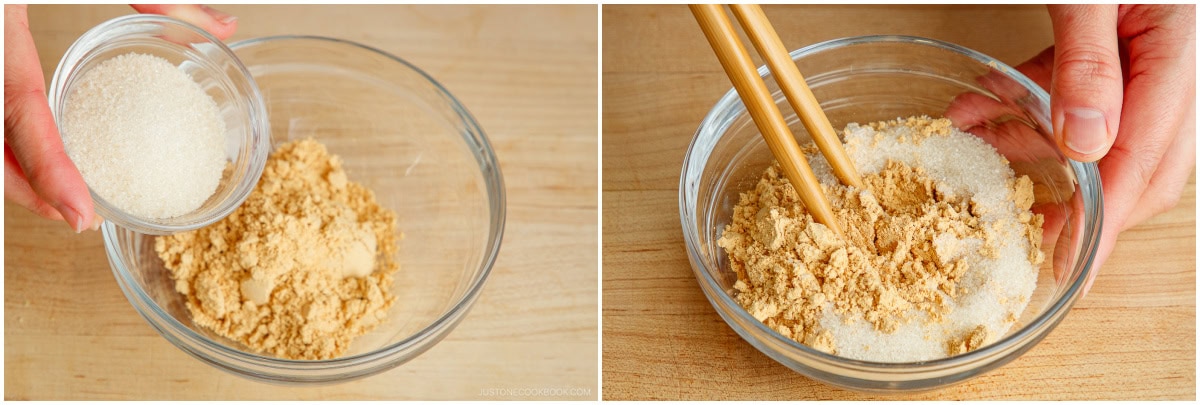
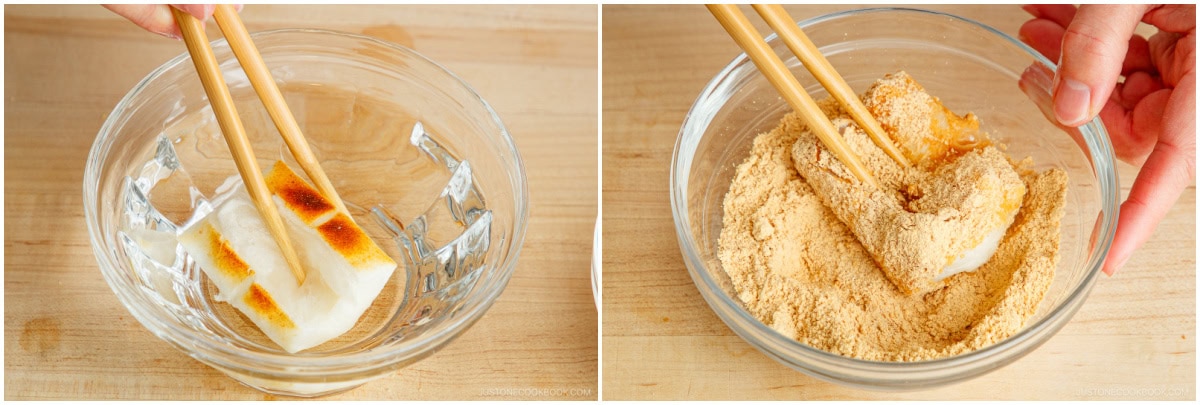
To Make the Kinako Mixture
Mix together 4 Tbsp kinako (roasted soybean flour) and 2 Tbsp sugar in a bowl and set aside.
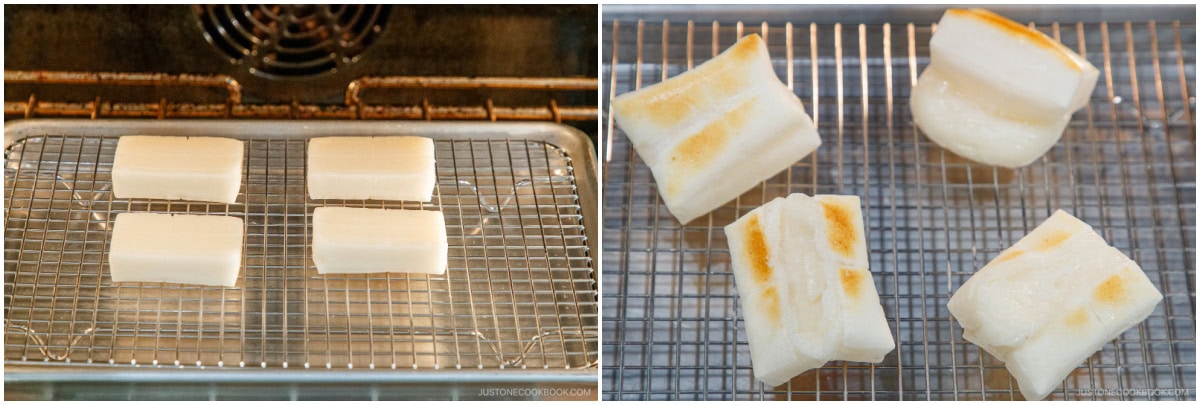
1. Oven Method (Broiling)
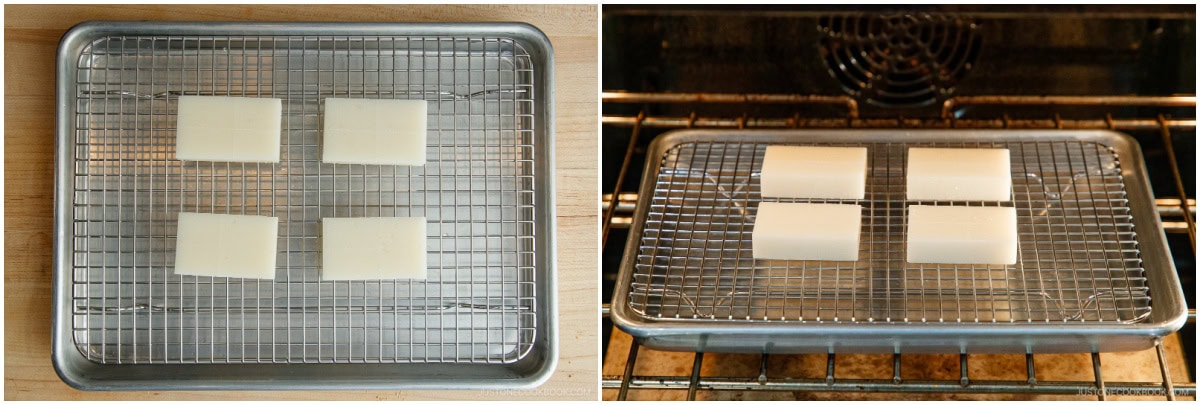
Preheat: Place the oven rack in the middle position and preheat the broiler on High for 3 minutes. You can also preheat a toaster oven at 400ºF (200ºC).
Place the mochi on top of an ungreased oven-safe wire rack set in a baking sheet.
Broil: Put them in the oven. Set the timer for 3 minutes.
After 3 minutes, flip the mochi. The top should be light golden and slightly puffed.

Grill the other side until the top is golden brown, about 3 minutes. When puffed, the mochi should be soft inside.
Quickly dip the mochi in a bowl of hot water, then coat it generously on all sides with sweetened kinako.
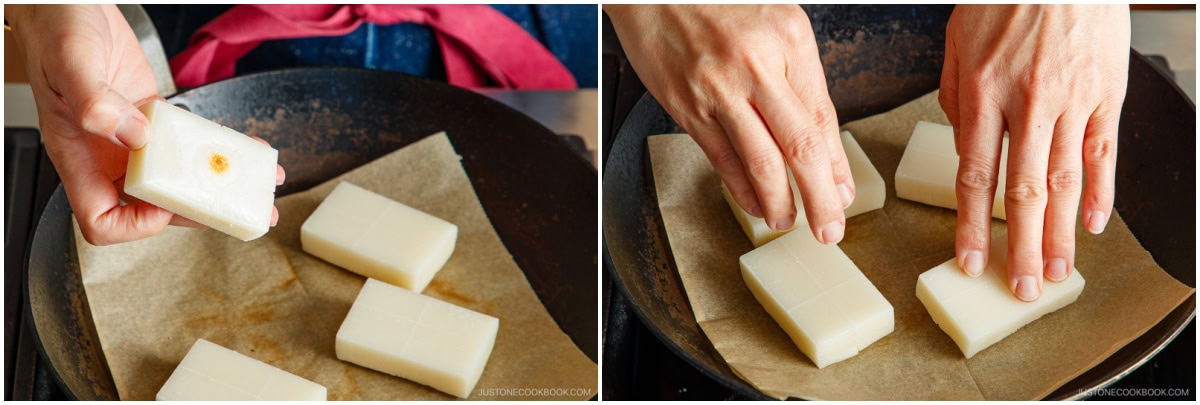
2. Stovetop Method (Grilling)
Line a cold frying pan with parchment paper and set the kiri mochi pieces on top.
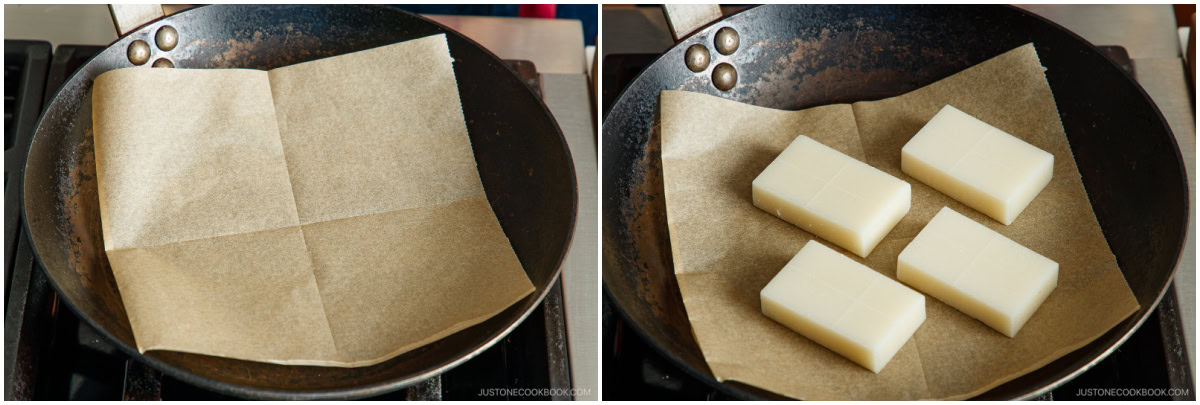
Turn on the heat to medium low and cover with a lid. Set the timer for 5 minutes. Tip: Covering the pan traps heat and moisture, helping the mochi cook evenly and puff up. Remove the lid as the mochi begins to puff.
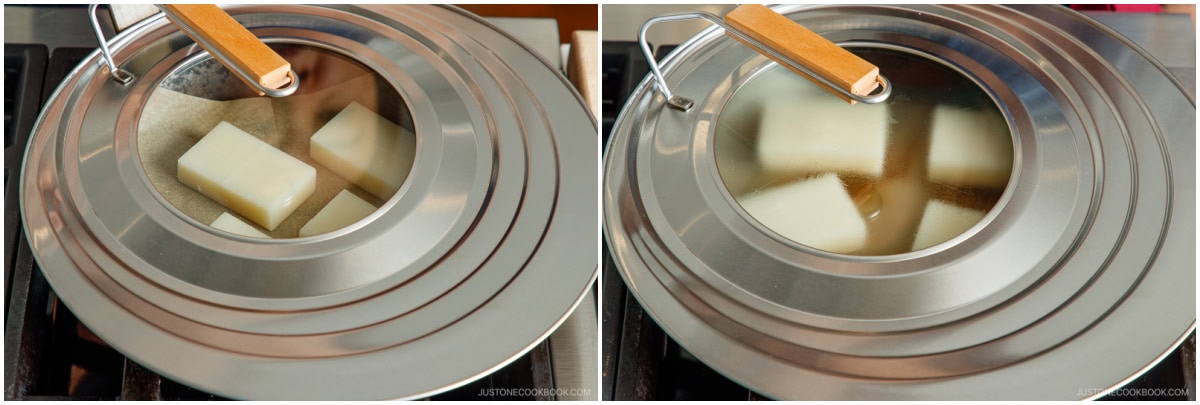
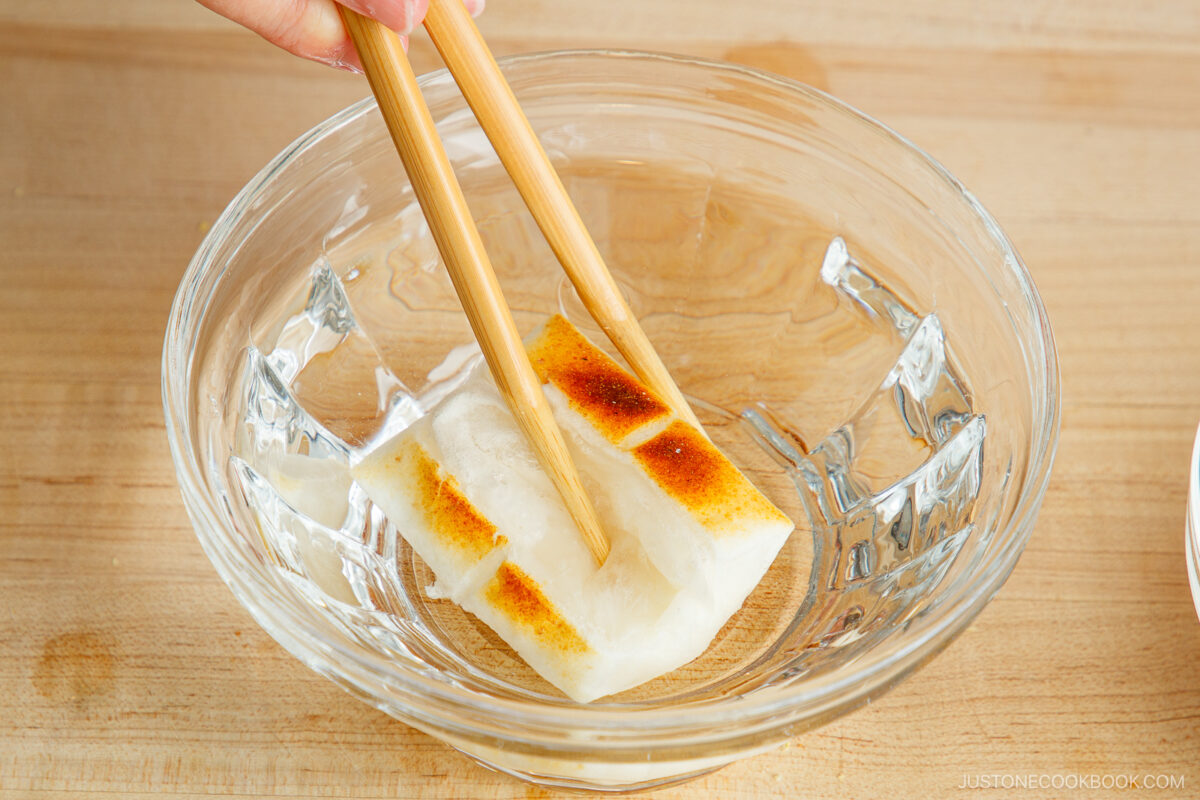
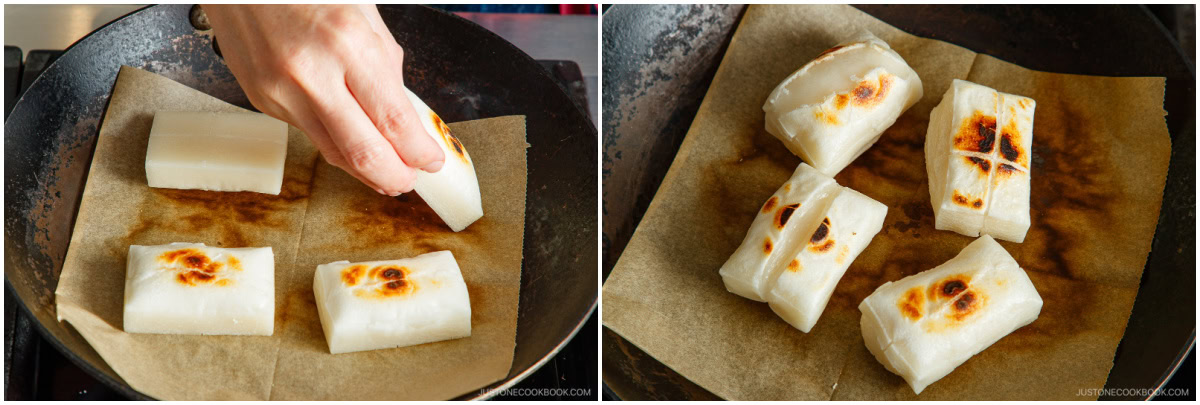
Occasionally lift the lid to check if the mochi starts to puff. If the bottom develops golden toast marks in one spot (see the picture), press down gently once to encourage even toasting.
After 5 minutes, flip them over and grill on the other side for 5–6 minutes, until puffed, browned, and soft inside.
Quickly dip the mochi in a bowl of hot water, then coat it generously on all sides with sweetened kinako.
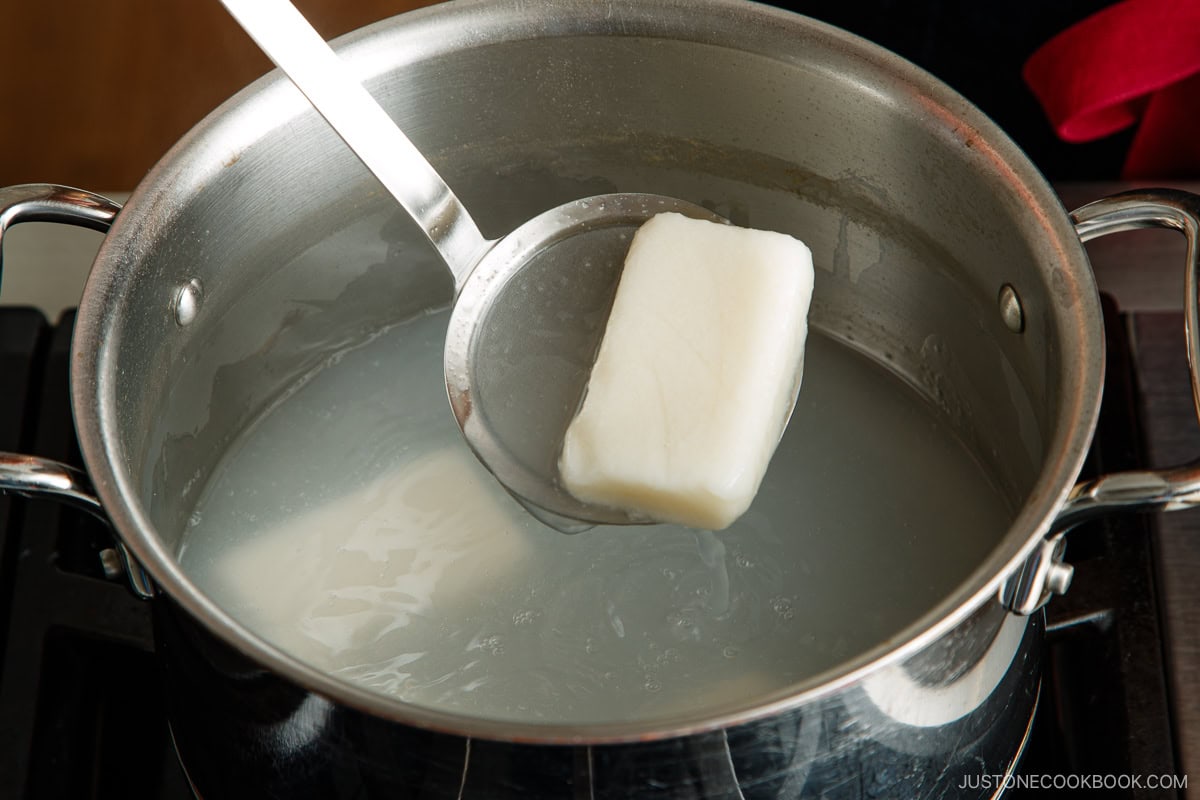
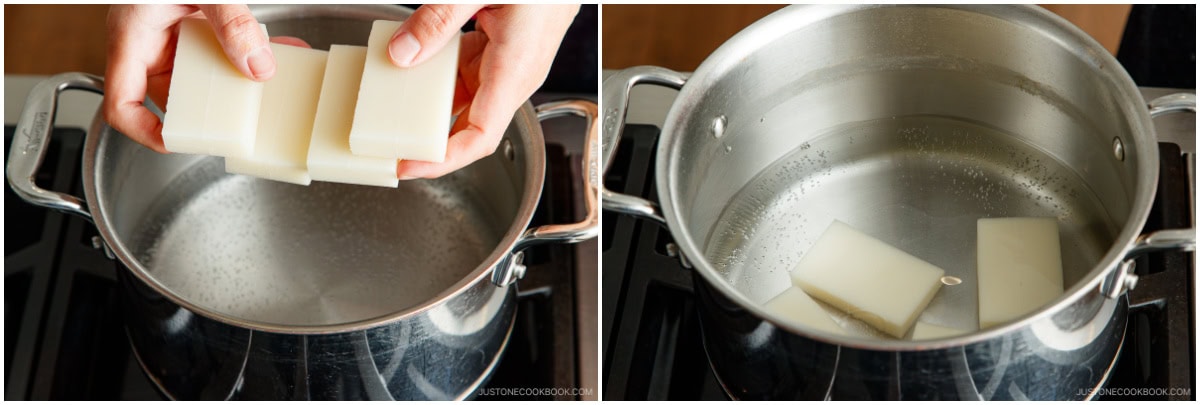
3. Stovetop Method (Boiling)
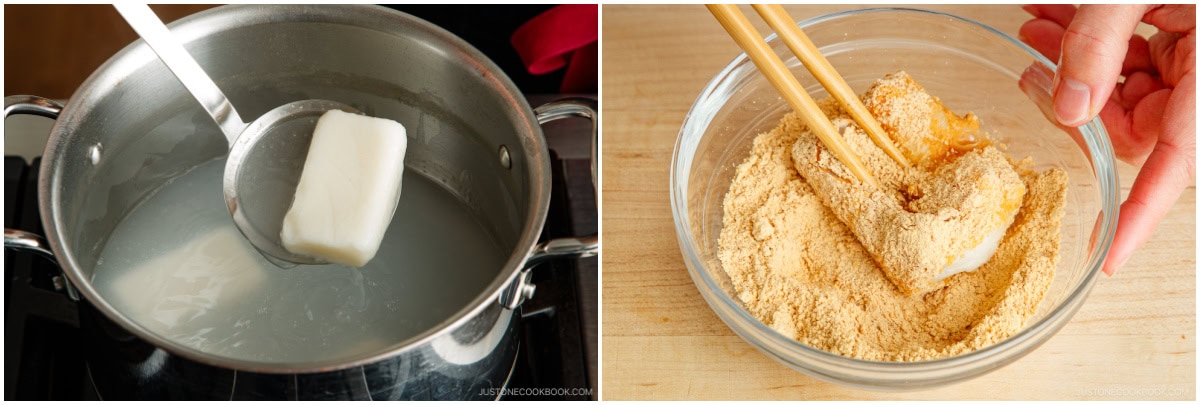
Bring a medium pot of water to a boil, then reduce the heat to low and add 4 Japanese rice cake (kiri mochi) to the pot. Gently simmer for 2 minutes, turning the mochi occasionally with a spoon for even cooking.
When the mochi is soft in the center, transfer it with chopsticks to the bowl with the sweetened kinako. Dredge the hot mochi completely, generously coating it on all sides.
To Serve
Serve on individual plates and enjoy while still warm.
To Store
It's best to cook the mochi right before you serve it, as the mochi will harden as it cools and the kinako mixture will loose its powdery consistency. I recommend preparing only as much kinako mochi as you will consume.
Calories: 274kcal, Carbohydrates: 60g, Protein: 6g, Fat: 1g, Saturated Fat: 0.2g, Polyunsaturated Fat: 1g, Monounsaturated Fat: 0.3g, Sodium: 1mg, Potassium: 176mg, Fiber: 1g, Sugar: 59g, Vitamin A: 8IU, Calcium: 14mg, Iron: 0.5mg
Did you make this recipe?
Tag @justonecookbook on Instagram so we can see your delicious creation!
Editor’s Note: This post was originally published on January 13, 2025. It was republished on January 18, 2026 with more helpful information.


 English (US) ·